Seal Plumbing Openings in Florida Bathrooms Against Pests
A gap behind your bathroom sink can give pests a route into the cabinet, even when the room looks spotless. If you want to seal plumbing openings against pests, start by checking for leaks and activity before reaching for caulk. The right repair depends on the size of the gap, the surrounding material, and whether pests are already inside.
Florida humidity adds another concern: sealing damp drywall or a leaking pipe can hide damage. A careful inspection will tell you which openings you can handle yourself and which need a plumber or pest professional.
Inspect the gap before choosing a repair
Look beyond the visible pipe
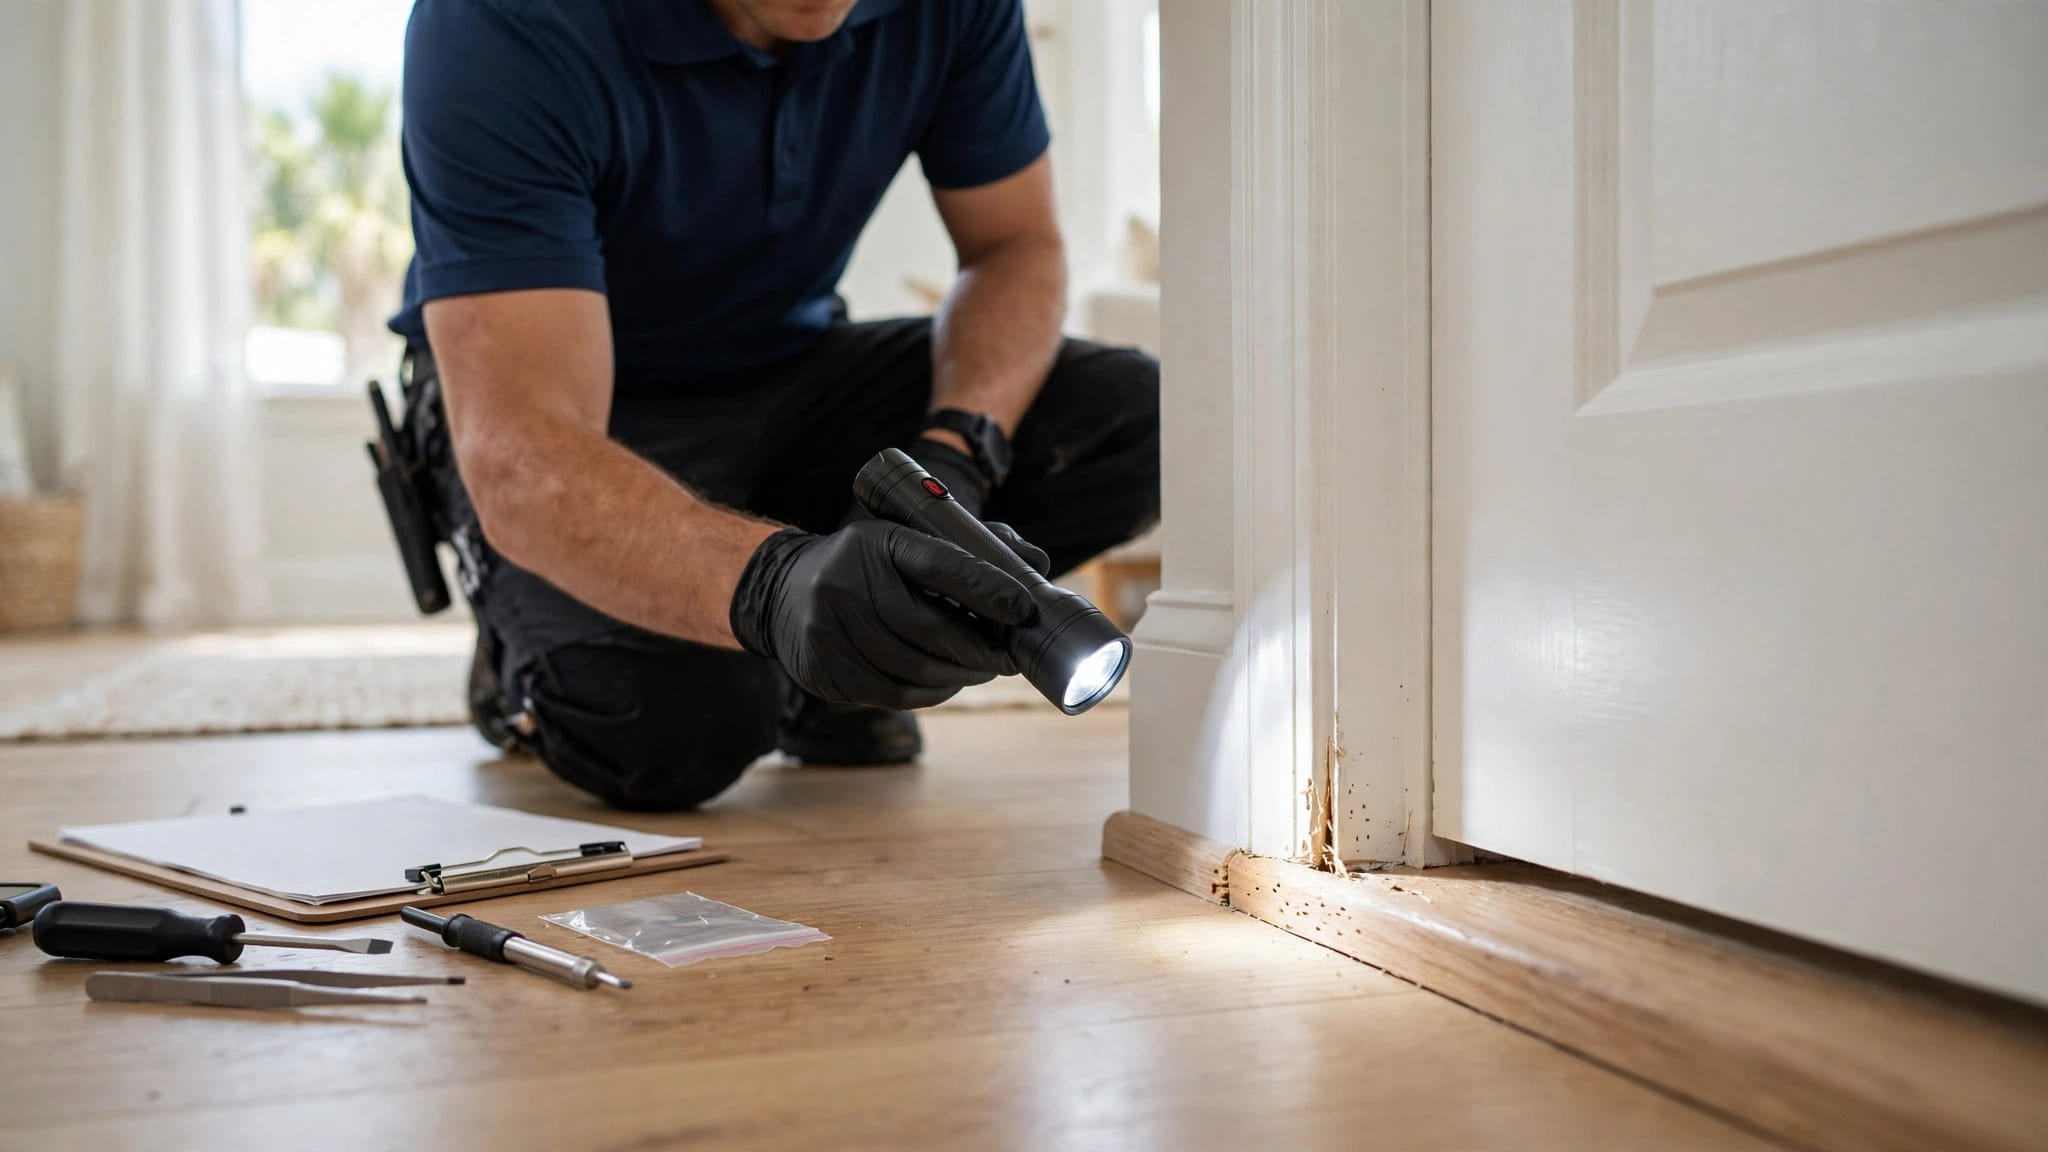
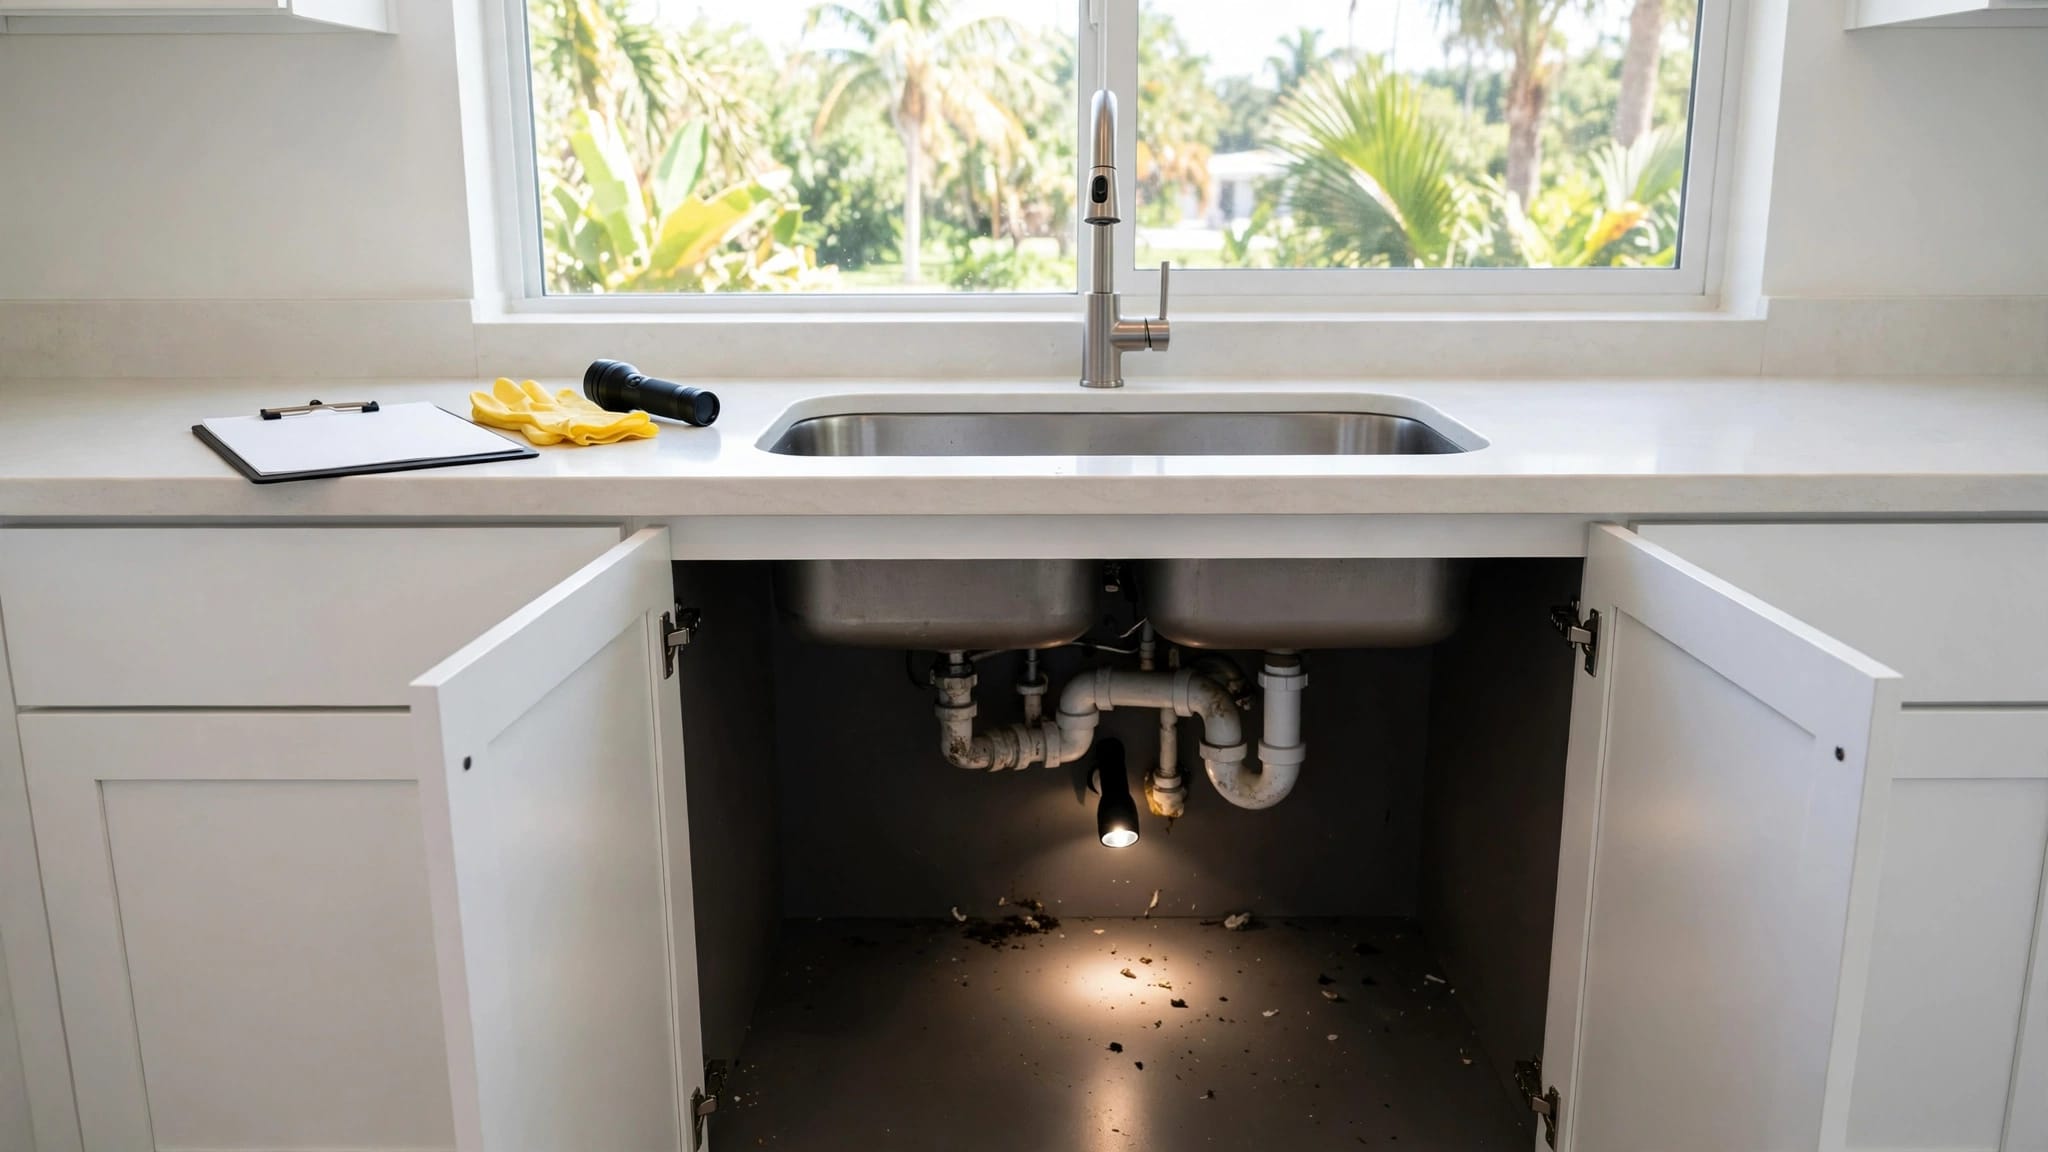
Empty the vanity and use a flashlight to inspect where the hot and cold supply lines enter the wall. Check the drainpipe opening, the cabinet floor, and the area behind the toilet's supply valve. If accessible, inspect the bathroom side of any plumbing wall shared with a closet or laundry area.
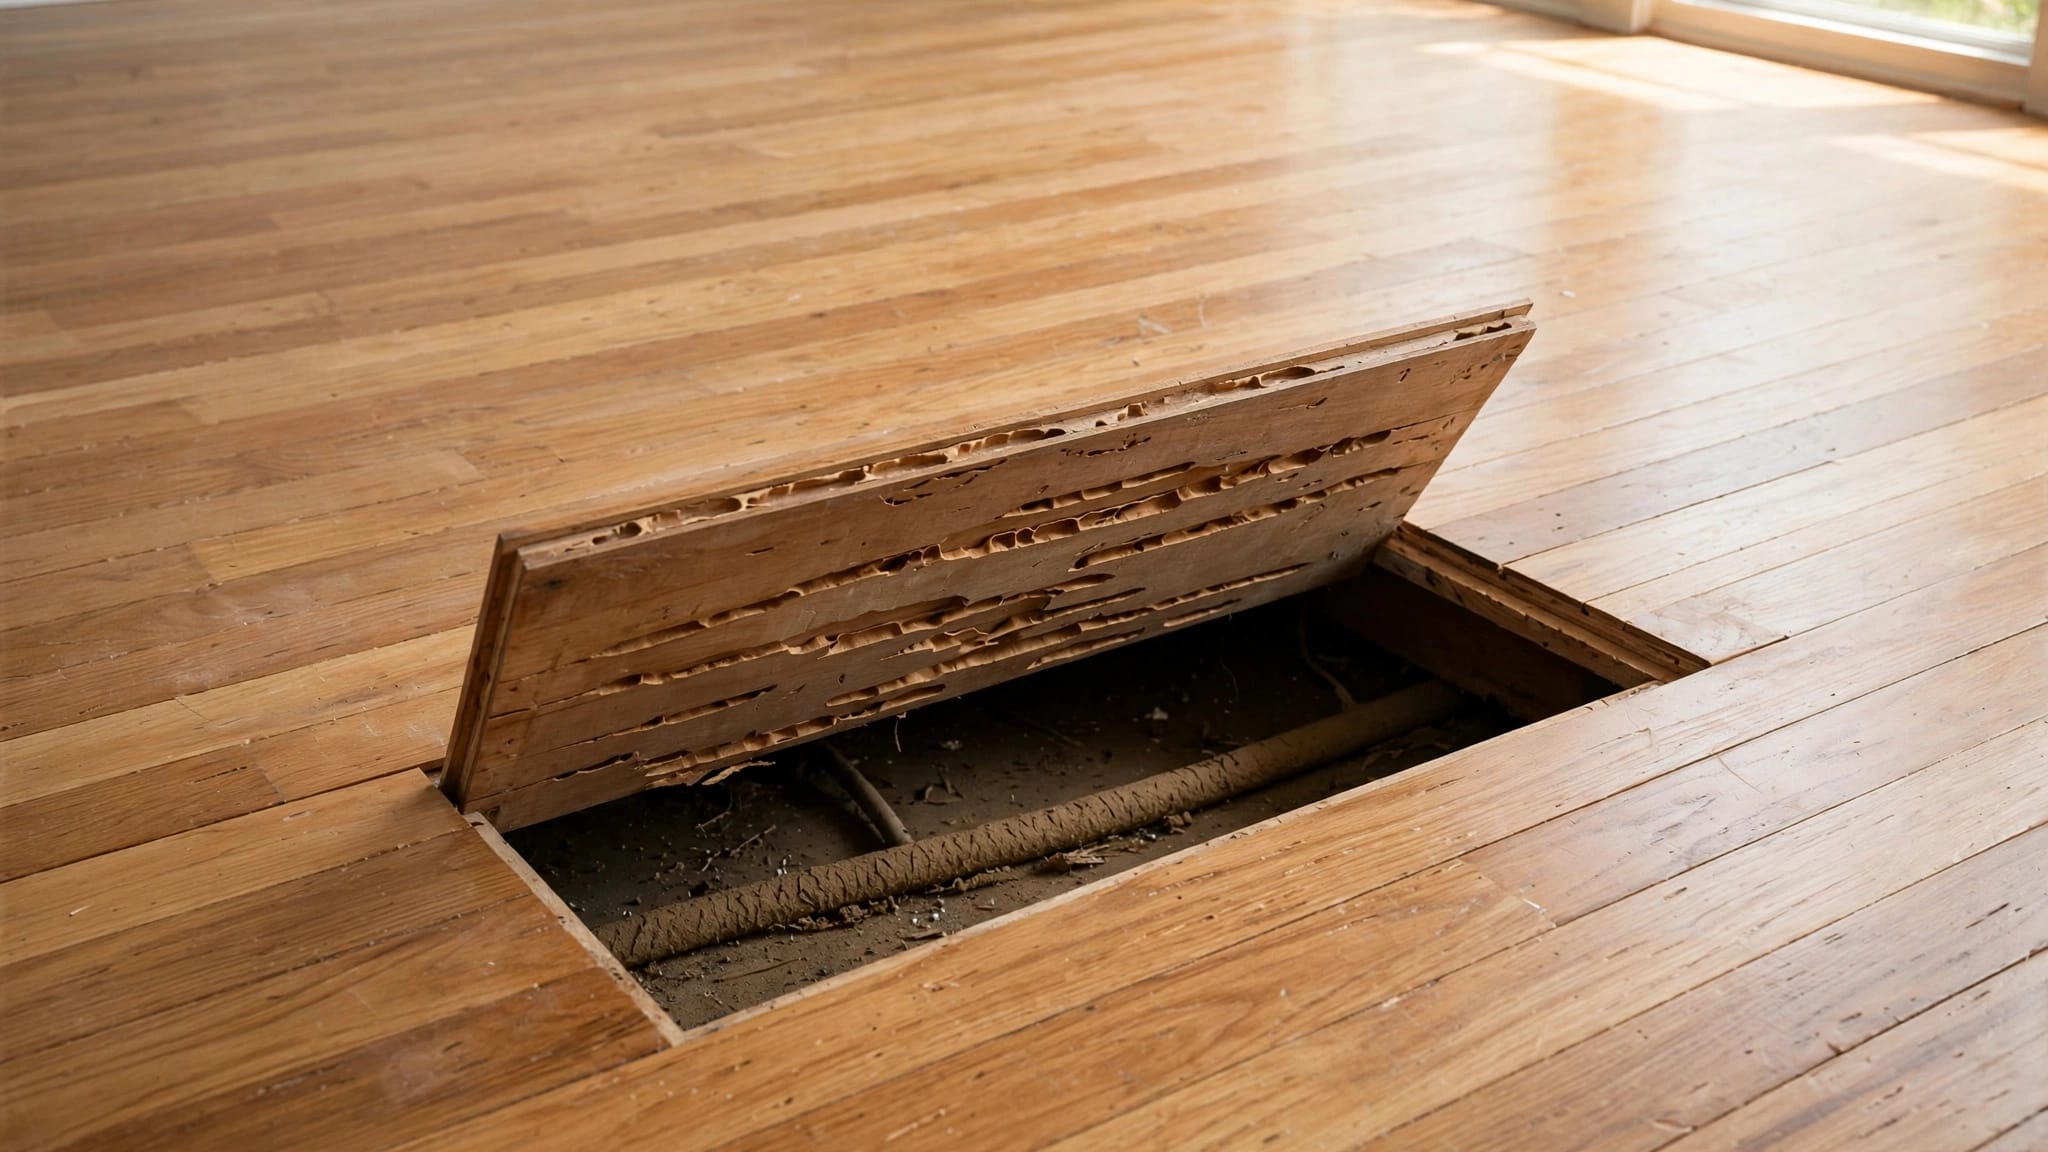
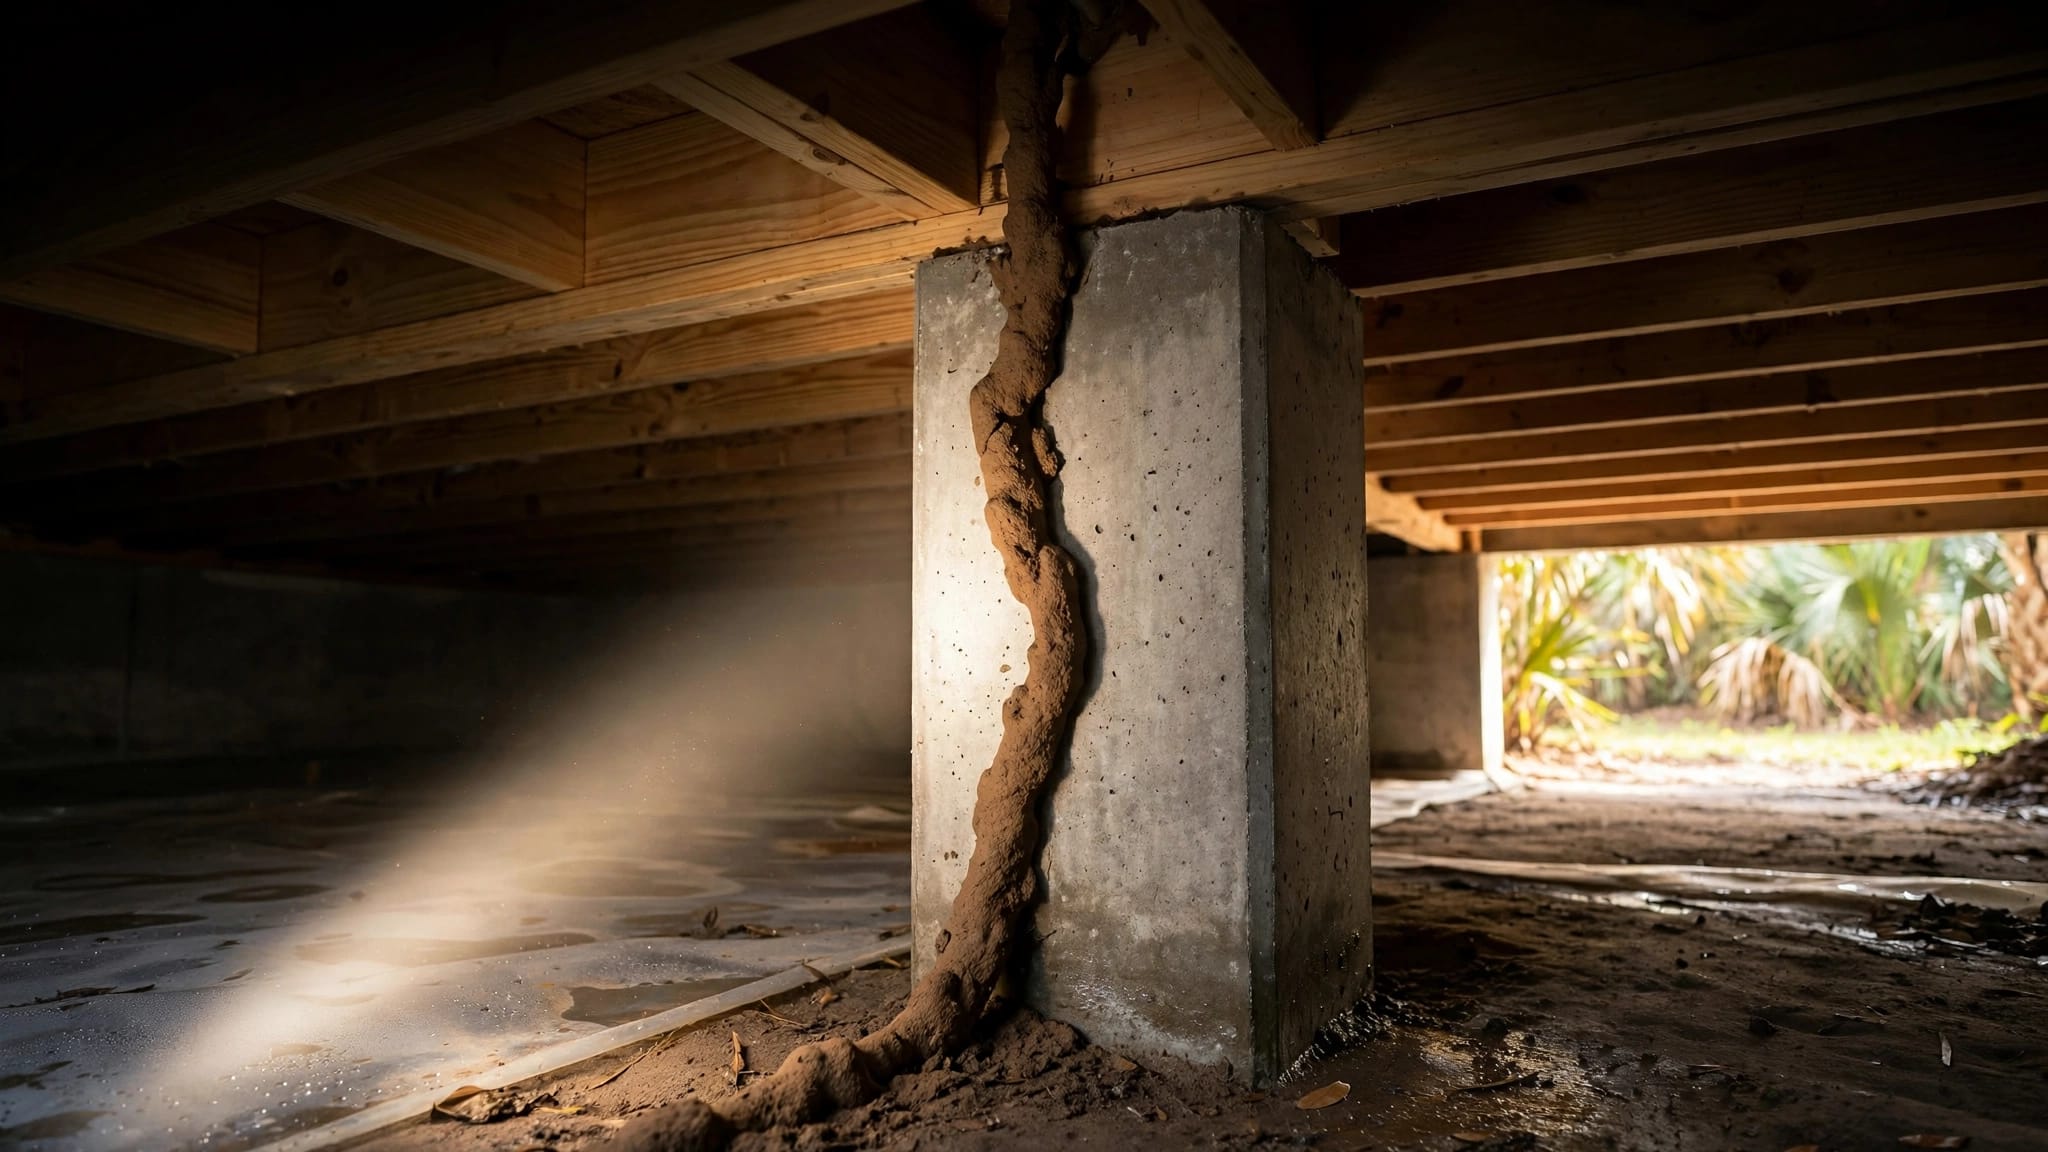
Slide a loose escutcheon, the trim ring around a pipe, away from the wall to see what's behind it. A plate can conceal a rough opening without closing it. Florida slab homes can also have gaps where plumbing passes through cabinets, walls, or the slab. For a wider inspection route, see these common pest entry points in slab homes.
Check for water and pest evidence
Run the faucet, then inspect the supply connections and drain for drips. Look for swollen cabinet flooring, soft drywall, peeling paint, or a musty smell. Repair a leak and let the area dry before sealing the opening.
Also look for insect activity, droppings, gnaw marks, or shredded material. A gap alone doesn't prove you have rodents. However, fresh signs change the order of work: identify and address the active pest problem before closing its possible route.
Choose materials that fit the gap and the bathroom
Use sealant for narrow, sound openings
For a small gap around a stationary pipe, choose a sealant labeled for the surface and bathroom conditions. 100% silicone bathroom caulk is a practical choice in areas that may see splashes. Paintable acrylic-latex or silicone-latex caulk can suit dry trim or painted surfaces when the product label permits it.
Check the label for compatible materials, preparation, cure time, and ventilation requirements. Don't assume every tube sticks equally well to tile, drywall, metal, and plastic. A clean, dry edge matters as much as the product. If the wall crumbles when touched, caulk won't restore it.
A snap-on escutcheon can give a finished appearance after the opening behind it is sealed. Leave access to the shutoff valve and any connection that may need service.
Add a chew-resistant barrier where needed
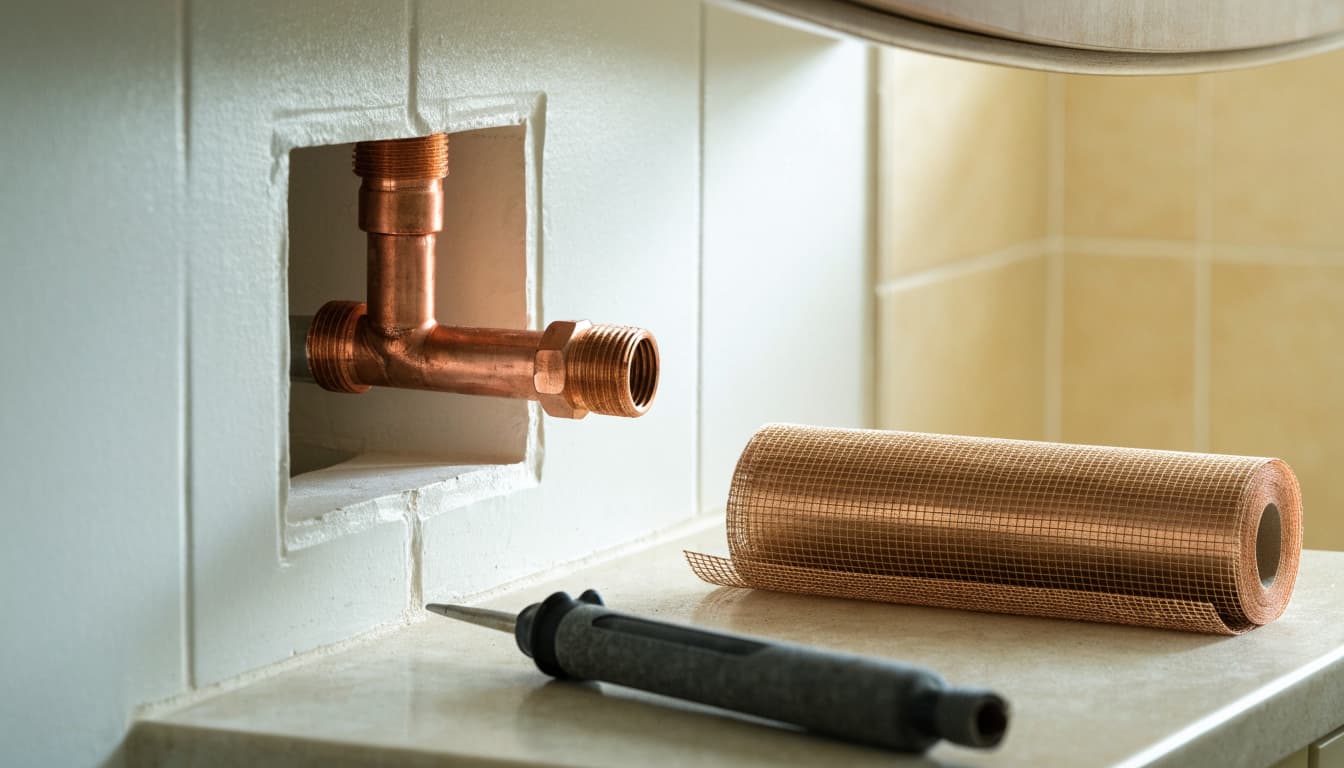
If a gap is too wide for a sound bead of caulk, a pest-resistant backing may help. Copper mesh can fill a suitable opening around a stationary pipe, with sealant covering its exposed edges. For a larger rigid opening, secured metal flashing or corrosion-resistant hardware cloth may be more appropriate. The material must fit without pushing on the pipe.
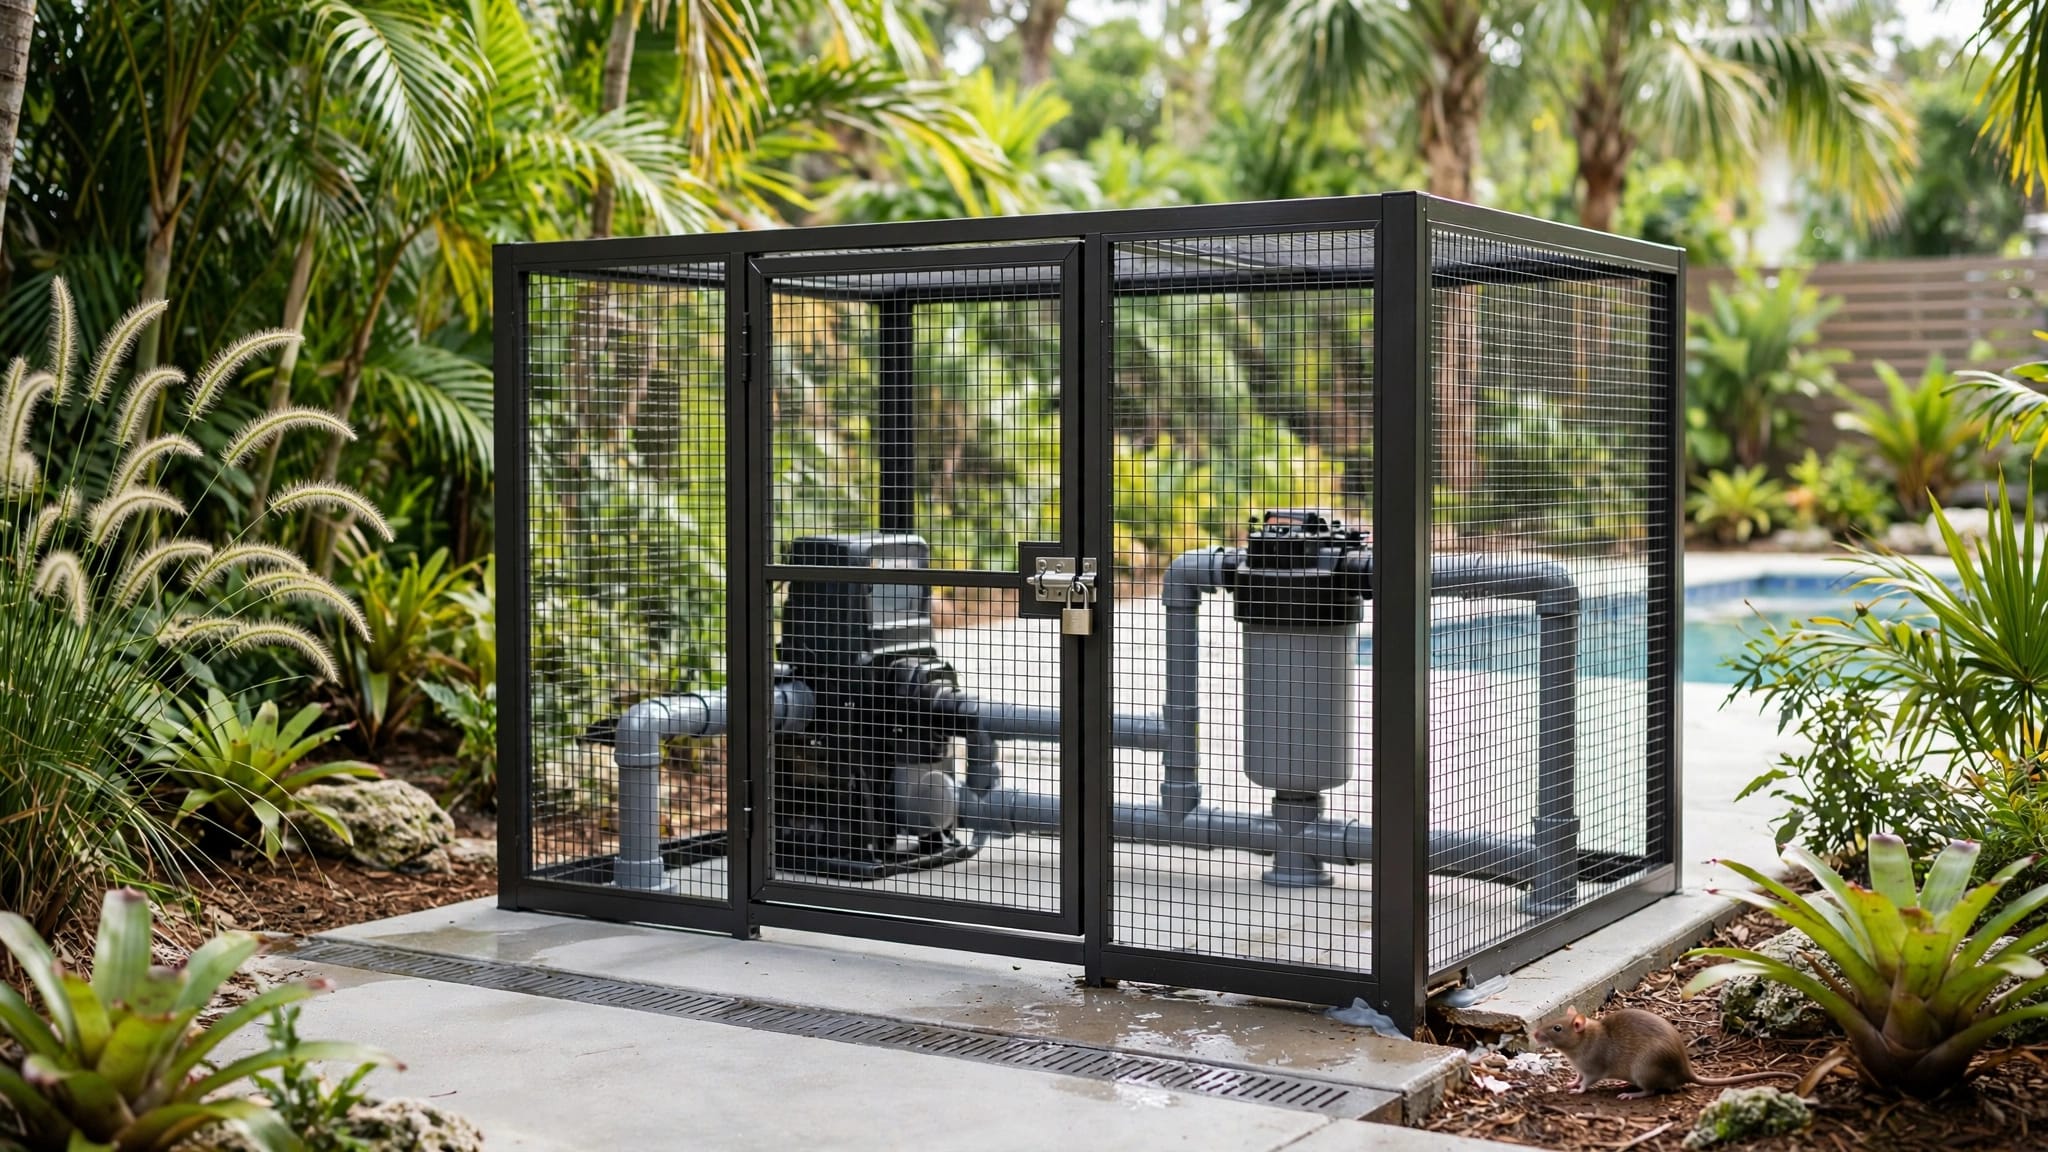
Expanding foam alone isn't a reliable rodent barrier. Rodents can chew soft foam, and excess expansion can stress nearby finishes. Avoid ordinary steel wool in damp locations because it can rust. For other exposed utility areas, these durable materials for rodent exclusion show why a firmly secured barrier matters.
How to seal plumbing openings around bathroom pipes
Prepare a small, dry opening
Choose a gap you can see fully and reach without disconnecting plumbing. Put on gloves and eye protection. Remove loose caulk and debris, then clean the edges according to the sealant instructions. Keep dust and scrapings out of the drain.
Let the surrounding surface dry completely. If you suspect an active leak, stop here. Caulk can conceal water damage while moisture continues to spread behind the vanity.
Apply the repair in order
- Confirm what you're sealing. Trace the edge between the pipe and the wall or cabinet. Leave pipe joints, valve handles, drain openings, and removable access covers alone.
- Fit backing only if the opening needs it. Place pest-resistant mesh in a suitable larger gap without forcing it against the pipe or into the wall cavity. If the hole has broken edges or no sound surface for a seal, arrange a repair instead.
- Apply a controlled bead. Cut the nozzle to suit the gap and follow the manufacturer's application directions. Work the sealant against both sides of the opening, rather than laying a thin strip across its face.
- Finish and allow it to cure. Smooth the bead as the label directs, replace any trim ring, and keep the area dry for the stated cure period. Don't confuse a dry-feeling surface with a fully cured seal.
- Inspect the result. Once cured, check for missed edges and test the nearby plumbing for leaks. Revisit the cabinet after several showers to make sure the repair remains dry.
This approach works best for modest gaps in sound material. To seal plumbing openings that are wide, damaged, or connected to an active wall void, get the underlying problem assessed first.
Keep humidity from undoing the repair
A bathroom can stay damp long after the shower stops, especially when a cabinet is packed with bottles or paper goods. Clear storage away from pipe penetrations so air can circulate and you can spot drips. Run the exhaust fan during showers and afterward until the room has dried.
A small hygrometer can show whether humidity stays high for long periods. If it does, check that the fan works and vents correctly. A dehumidifier may help with persistent indoor humidity, but it won't fix a leaking valve or wet wall.
Sealing a pipe gap while the cabinet floor is wet can hide the evidence you need to find the leak.
Moisture and access often occur together. If insects keep appearing under a sink, inspect for both rather than adding another bead of caulk. Learn more about hidden moisture and pest activity in Southwest Florida homes.
Protect drains, ventilation, and service access
Know what must stay open
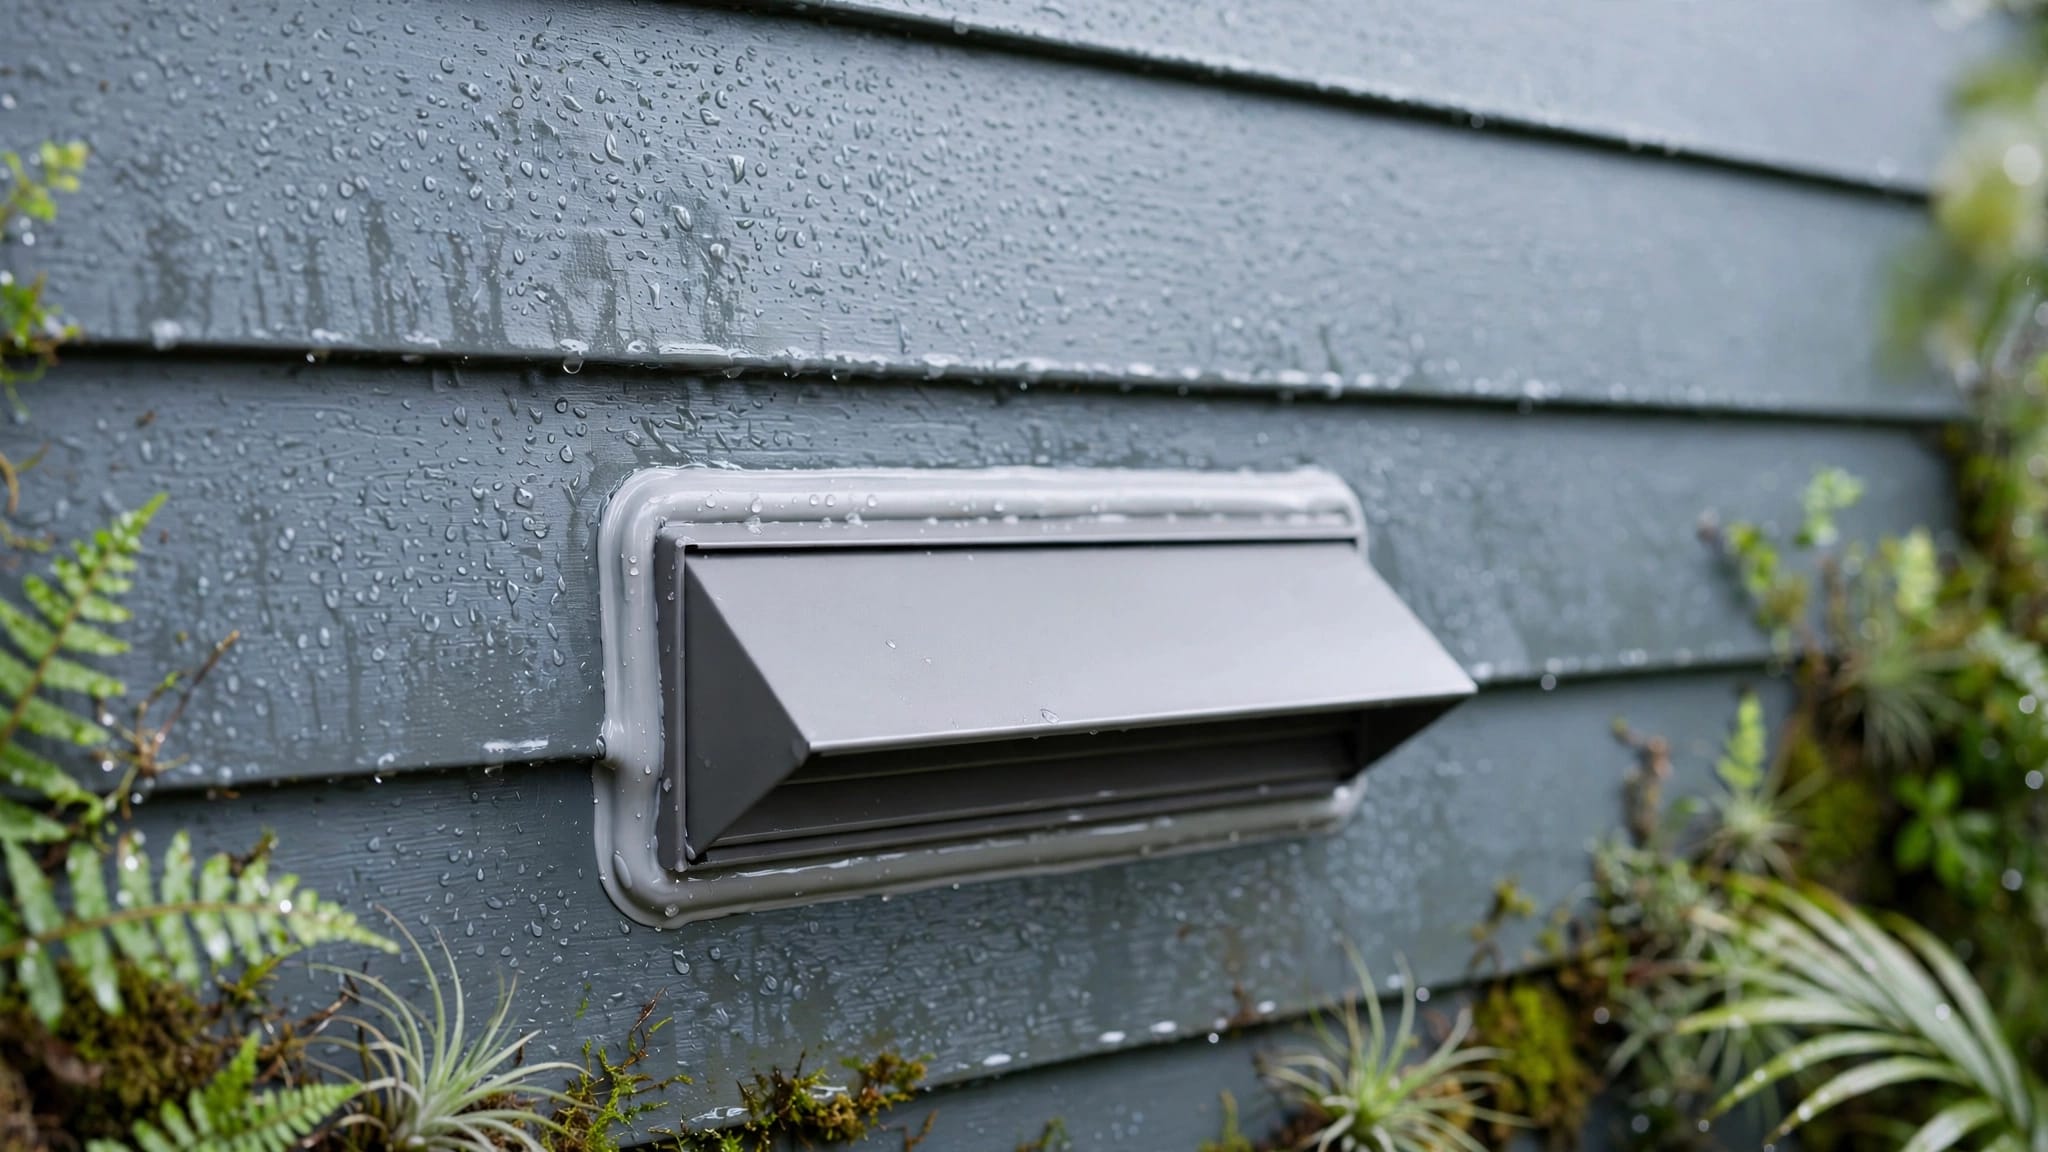
A plumbing penetration is the space around a pipe where it passes through a surface. It isn't the drain itself. Never put caulk or mesh into a sink or shower drain, its overflow opening, or a vent pipe. Keep the bathroom exhaust fan grille and its airflow path clear.
Shower and tub trim can have openings designed to let water escape. Follow the fixture manufacturer's directions before sealing around a trim plate. Likewise, don't caulk an access panel shut or cover a shutoff valve.
Work safely around damage and contamination
Avoid sealing across loose electrical wiring, an electrical box, or a hot surface. Don't remove electrical covers to reach a plumbing gap. Openings in a fire-rated wall or ceiling may require an approved repair, not ordinary bathroom caulk.
If you find rodent droppings, don't sweep or vacuum them dry. Limit disturbance and follow public health guidance for safe cleanup, or ask a professional to handle contaminated material. Follow all sealant safety and ventilation instructions, and keep children and pets away from uncured products.
Know when a gap needs professional repair
Call a plumber or repair contractor for water damage
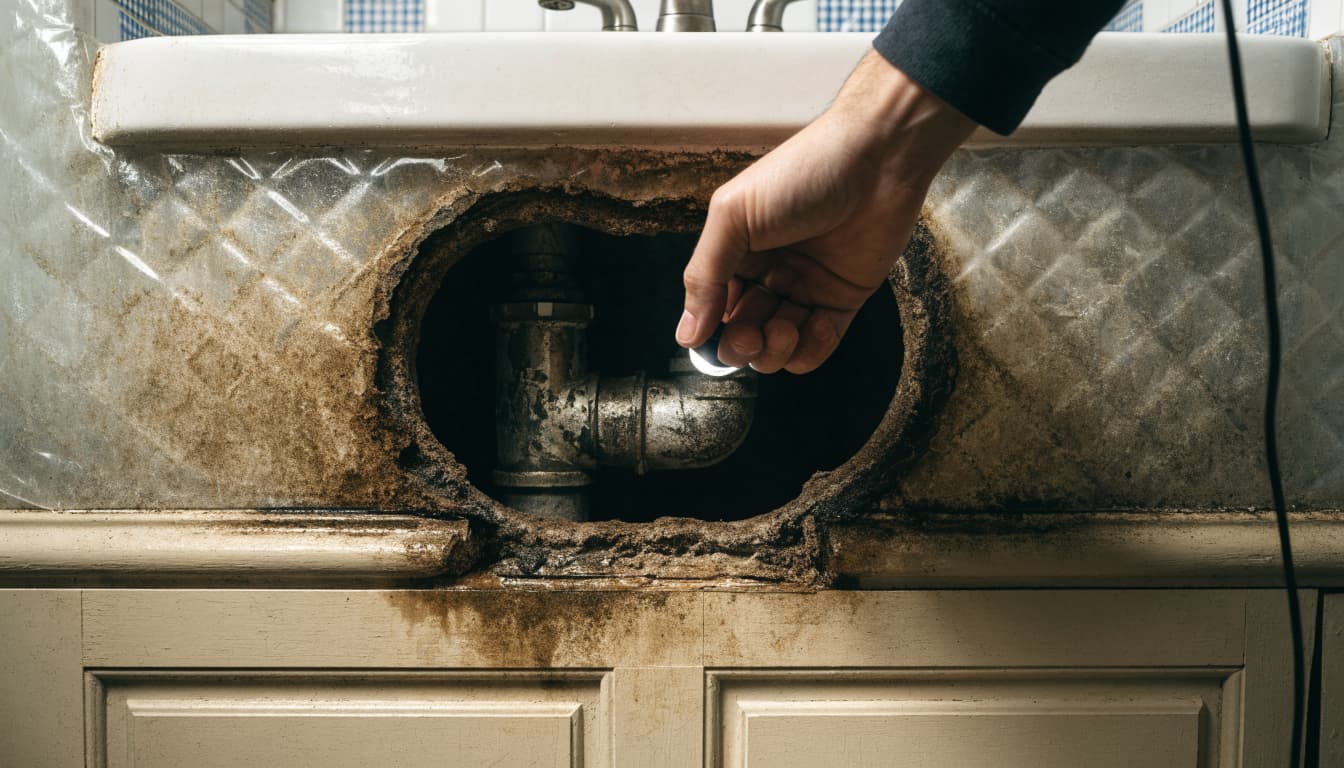
An oversized hole with soft edges needs a solid repair surface, not a thick plug of sealant. Call a plumber for dripping supply lines, a leaking drain connection, recurring dampness, or water appearing around the toilet. A contractor may need to replace damaged cabinet material or drywall after the leak is fixed.
Don't cover bubbling paint, mold-like growth, or a musty wall cavity and hope it dries. In a slab home, unexplained moisture near a pipe entering the floor also deserves investigation before you close the opening.
Get pest help when activity is current
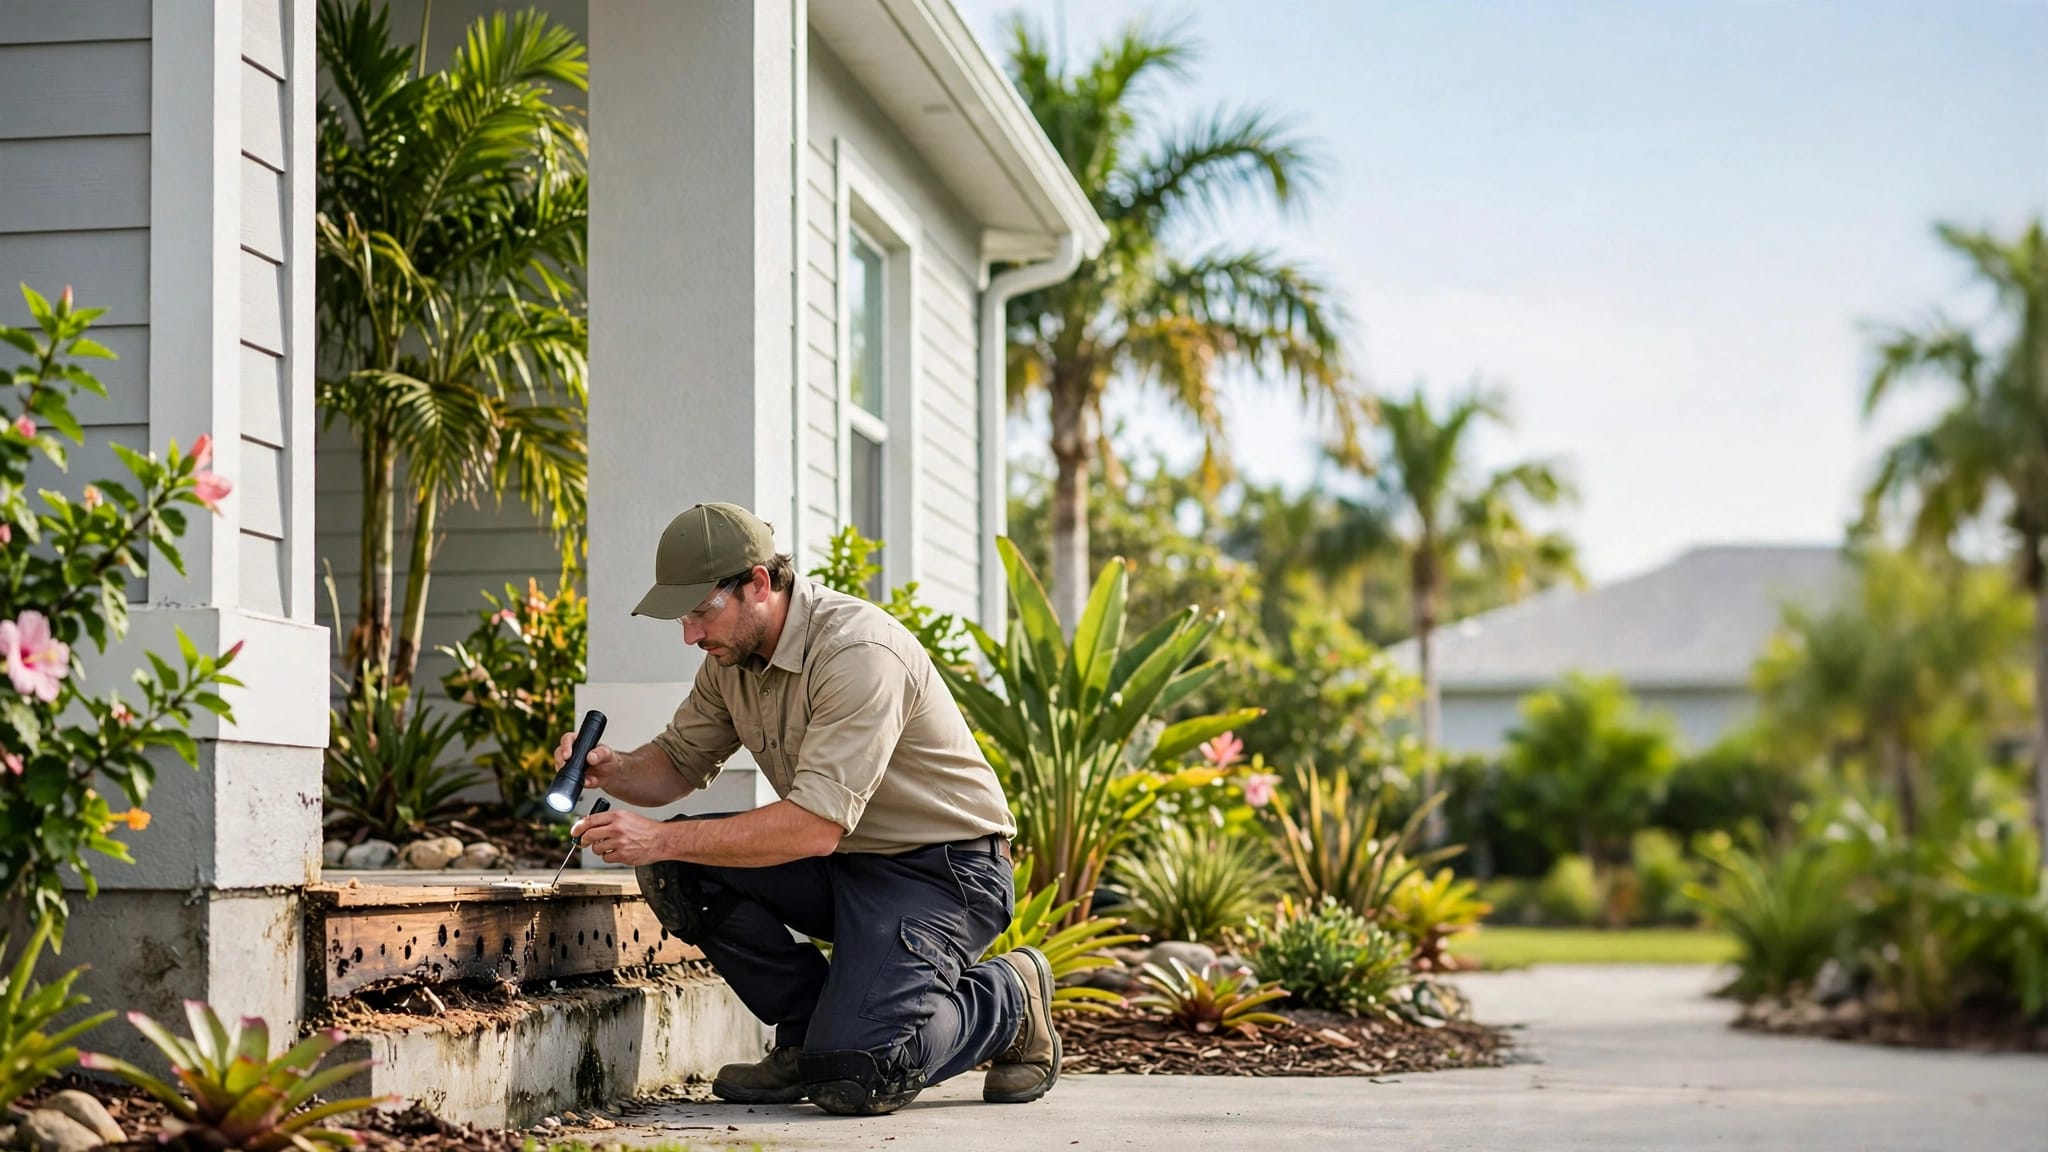
Fresh droppings, repeated scratching, gnaw marks, or pests appearing in several rooms call for a broader inspection. A bathroom pipe gap may connect to a wall cavity, while the outdoor entry point lies elsewhere. These signs of mice inside walls can help you recognize when a cabinet gap is part of a larger problem.
Avoid closing a suspected active rodent route until you've confirmed the animals are out. Otherwise, rodents may remain trapped or move deeper into the structure. Treatment and sealing rodent entry points after removal need to happen in the right order. A pest professional can identify activity and likely travel routes, then coordinate exclusion with any plumbing repair.
Recheck the repair during routine bathroom cleaning
Once a month, open the vanity and look along the sealed edges. Watch for a bead pulling away, fresh staining, new droppings, or an escutcheon that no longer sits flat. A quick look after heavy rain is useful if you've noticed pests appearing at those times.
Keep the drain and overflow clean, too. A sealed wall opening won't address insects breeding in buildup inside plumbing. For a rarely used sink, tub, or shower, run water periodically so its P-trap doesn't dry out. If the same pest signs return after a sound repair, arrange an inspection rather than sealing every visible seam.
Key Takeaways
- Inspect under sinks and behind toilets, then fix leaks before applying sealant.
- Use bathroom-suitable caulk for small gaps around stationary pipes. Larger openings may need a secured, chew-resistant barrier or a structural repair.
- Keep drains, vents, valves, and access panels functional and accessible.
- Get professional help for damaged materials or signs of active rodents.
Frequently Asked Questions
Can I use spray foam around bathroom pipes?
Foam alone won't reliably stop rodents, which can chew through soft material. It can also expand into places you didn't intend to fill. For a small, sound gap, use a compatible sealant. For a larger opening, choose an appropriate pest-resistant backing or have the damaged surface repaired.
Should I seal the gap behind a toilet's water valve?
A small gap where the supply pipe enters a sound, dry wall may be suitable for sealant and an escutcheon. Keep the valve and its connections accessible. If the wall is damp or the valve drips, have the leak fixed before sealing.
Why do bugs still appear after I seal the pipes?
They may be using another opening, or they may already be inside. Check nearby baseboards, cabinet seams, and exterior entry points. Also inspect for dampness and clean buildup in drains. Repeated sightings, especially with droppings or gnaw marks, warrant a pest inspection.
Conclusion
That small opening behind the sink deserves attention, but a dry, sound repair is what keeps it closed. Check for leaks and pest activity first. Then match the sealant or barrier to the gap without blocking anything the bathroom needs to function.
For damaged openings or active rodents, inspection comes before sealing . It protects the repair and helps keep pests outside where they belong.
Schedule a Free Inspection: