Rodent-Proof Pool Equipment Areas in Southwest Florida
Pool equipment areas often sit outside the main defenses of a home, where rodents can reach pipes, wiring, storage items, and shaded hiding places. Building rodent-proof pool equipment protection means closing access points without blocking ventilation, drainage, equipment clearances, or service access.
Southwest Florida homes face extra pressure from heat, humidity, heavy rain, palms, dense landscaping, canals, and roofline travel routes. A reliable plan combines durable exclusion, clean surroundings, regular inspections, and prompt attention to chewed wiring or contamination. Start with the equipment area itself, then check the routes that connect it to the rest of the property.
Key Takeaways
- Mice can enter openings around 1/4 inch wide , while rats may enlarge weak gaps by chewing.
- Seal pipe, conduit, wall, slab, and enclosure gaps with durable materials such as metal flashing, properly secured hardware cloth, mortar, and exterior-rated sealant.
- Never block required vents, weep holes, drainage paths, pump access, or equipment clearances.
- Pool cage screens do not seal the home. Check where the cage meets walls, doors, slabs, and utility penetrations.
- Chewed cable insulation, fresh droppings, nesting material, urine odor, and scratching sounds require prompt attention.
- Avoid loose poison, outdoor bait pellets, and chemicals that could reach pool water, children, pets, or wildlife.
- If rodents are active around electrical wiring, stop handling the area and contact a qualified pest professional and electrician as needed.
Why Pool Equipment Areas Attract Rodents
A pool equipment pad usually combines shelter, warmth, water, and several openings through one small area. Pumps, filters, heaters, timers, conduits, and plumbing lines create protected spaces that rodents can investigate, especially at night.
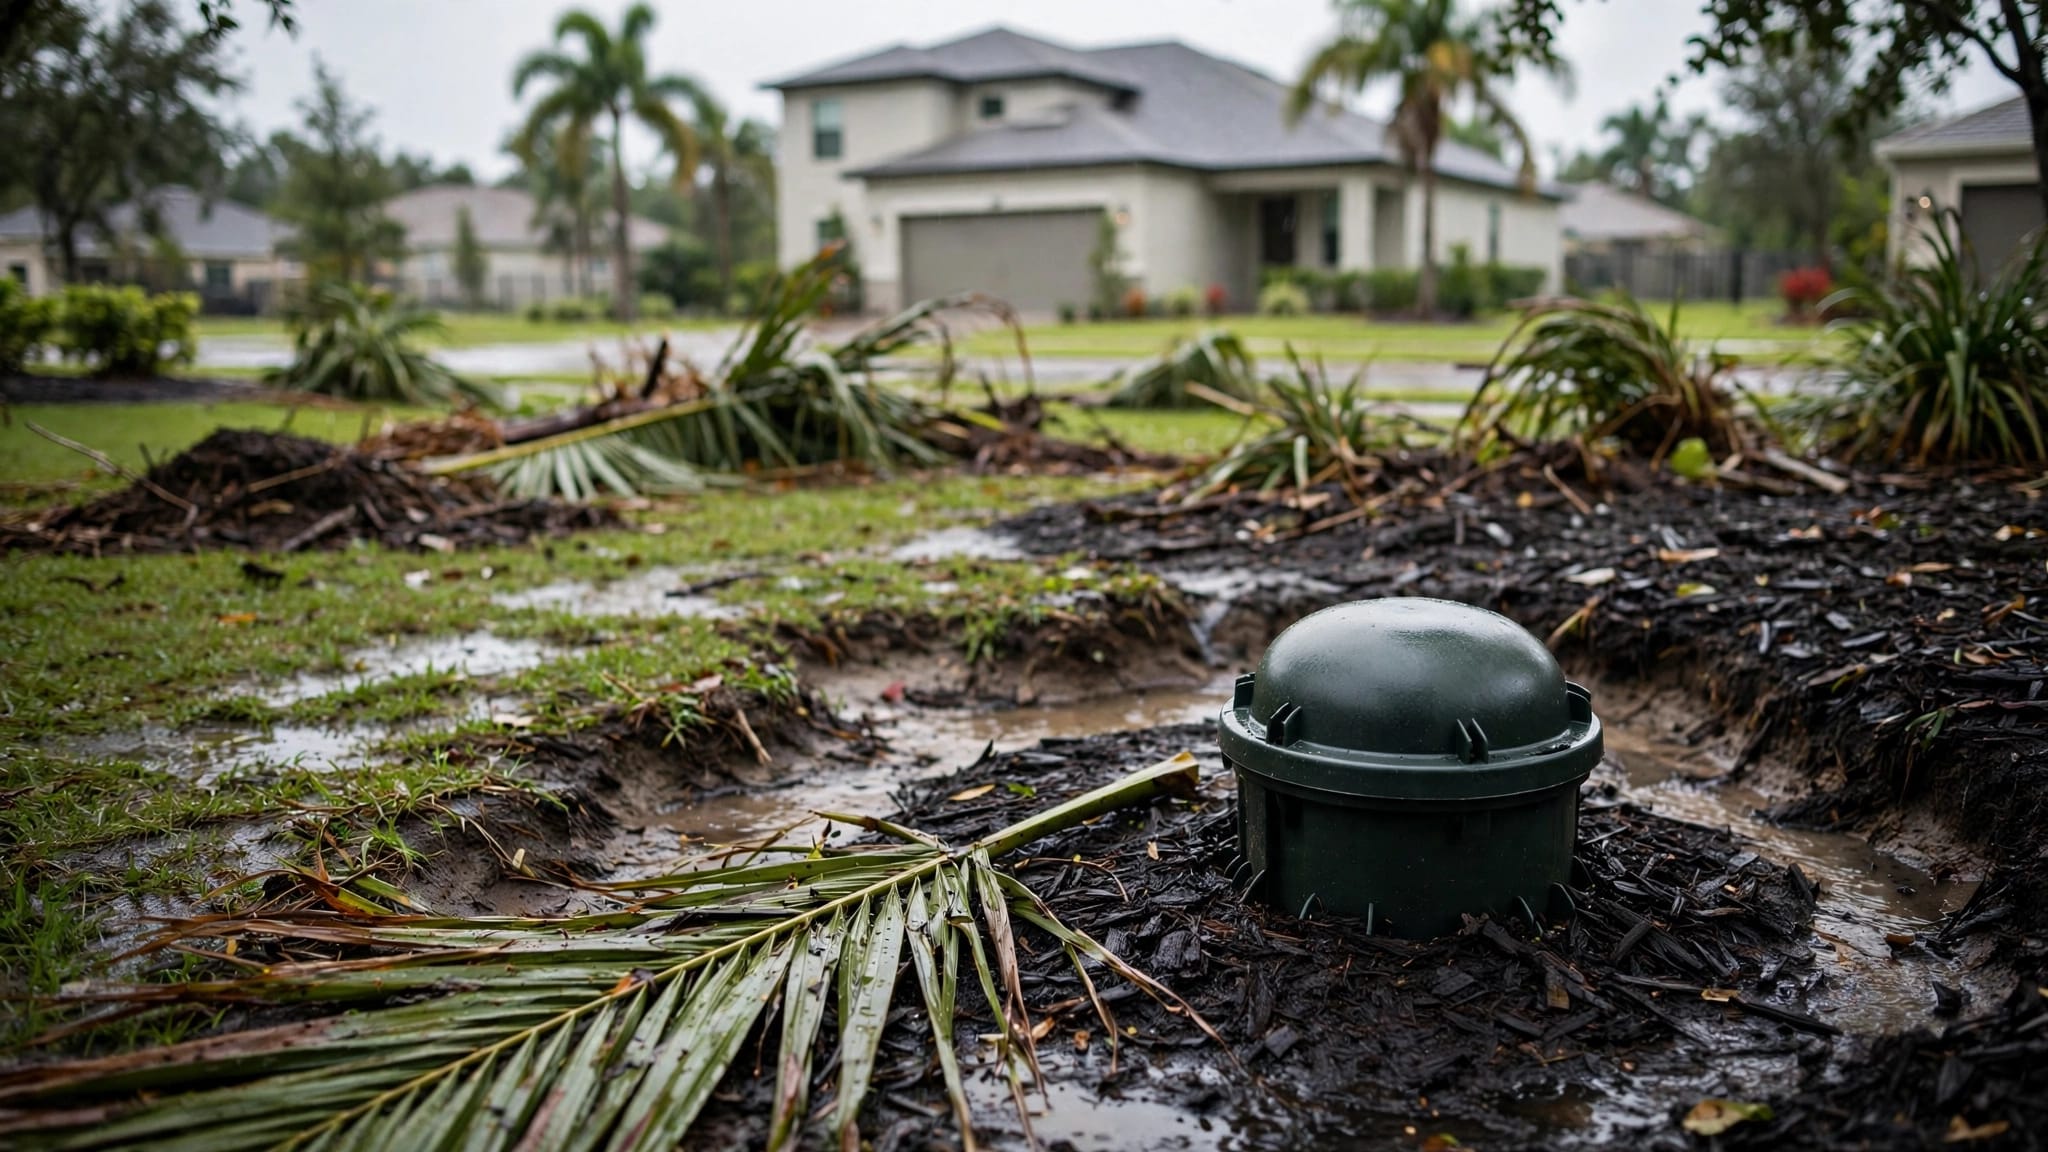
Heavy rain can also change rodent movement. Waterlogged ground may push animals toward walls, covered equipment, sheds, garages, and roof routes. Once they find a dry hiding place, droppings and nesting material can accumulate behind covers or beneath stored items.
Entry points around pipes and screens
Inspect every place where a pipe, cable, conduit, or drain passes through a wall or slab. A gap that looks too small to matter may admit mice. Mice can pass through openings around 1/4 inch wide, while rats can enlarge weak openings made from foam, brittle plastic, or deteriorated sealant.
Pool cages add another inspection challenge. They help create a comfortable outdoor living area, but they do not seal the home. Gaps where the cage meets a wall can conceal access points around doors, thresholds, utility openings, and slab edges. These pool cage gap prevention tips are also useful around pool equipment enclosures.
Landscaping and outdoor food sources
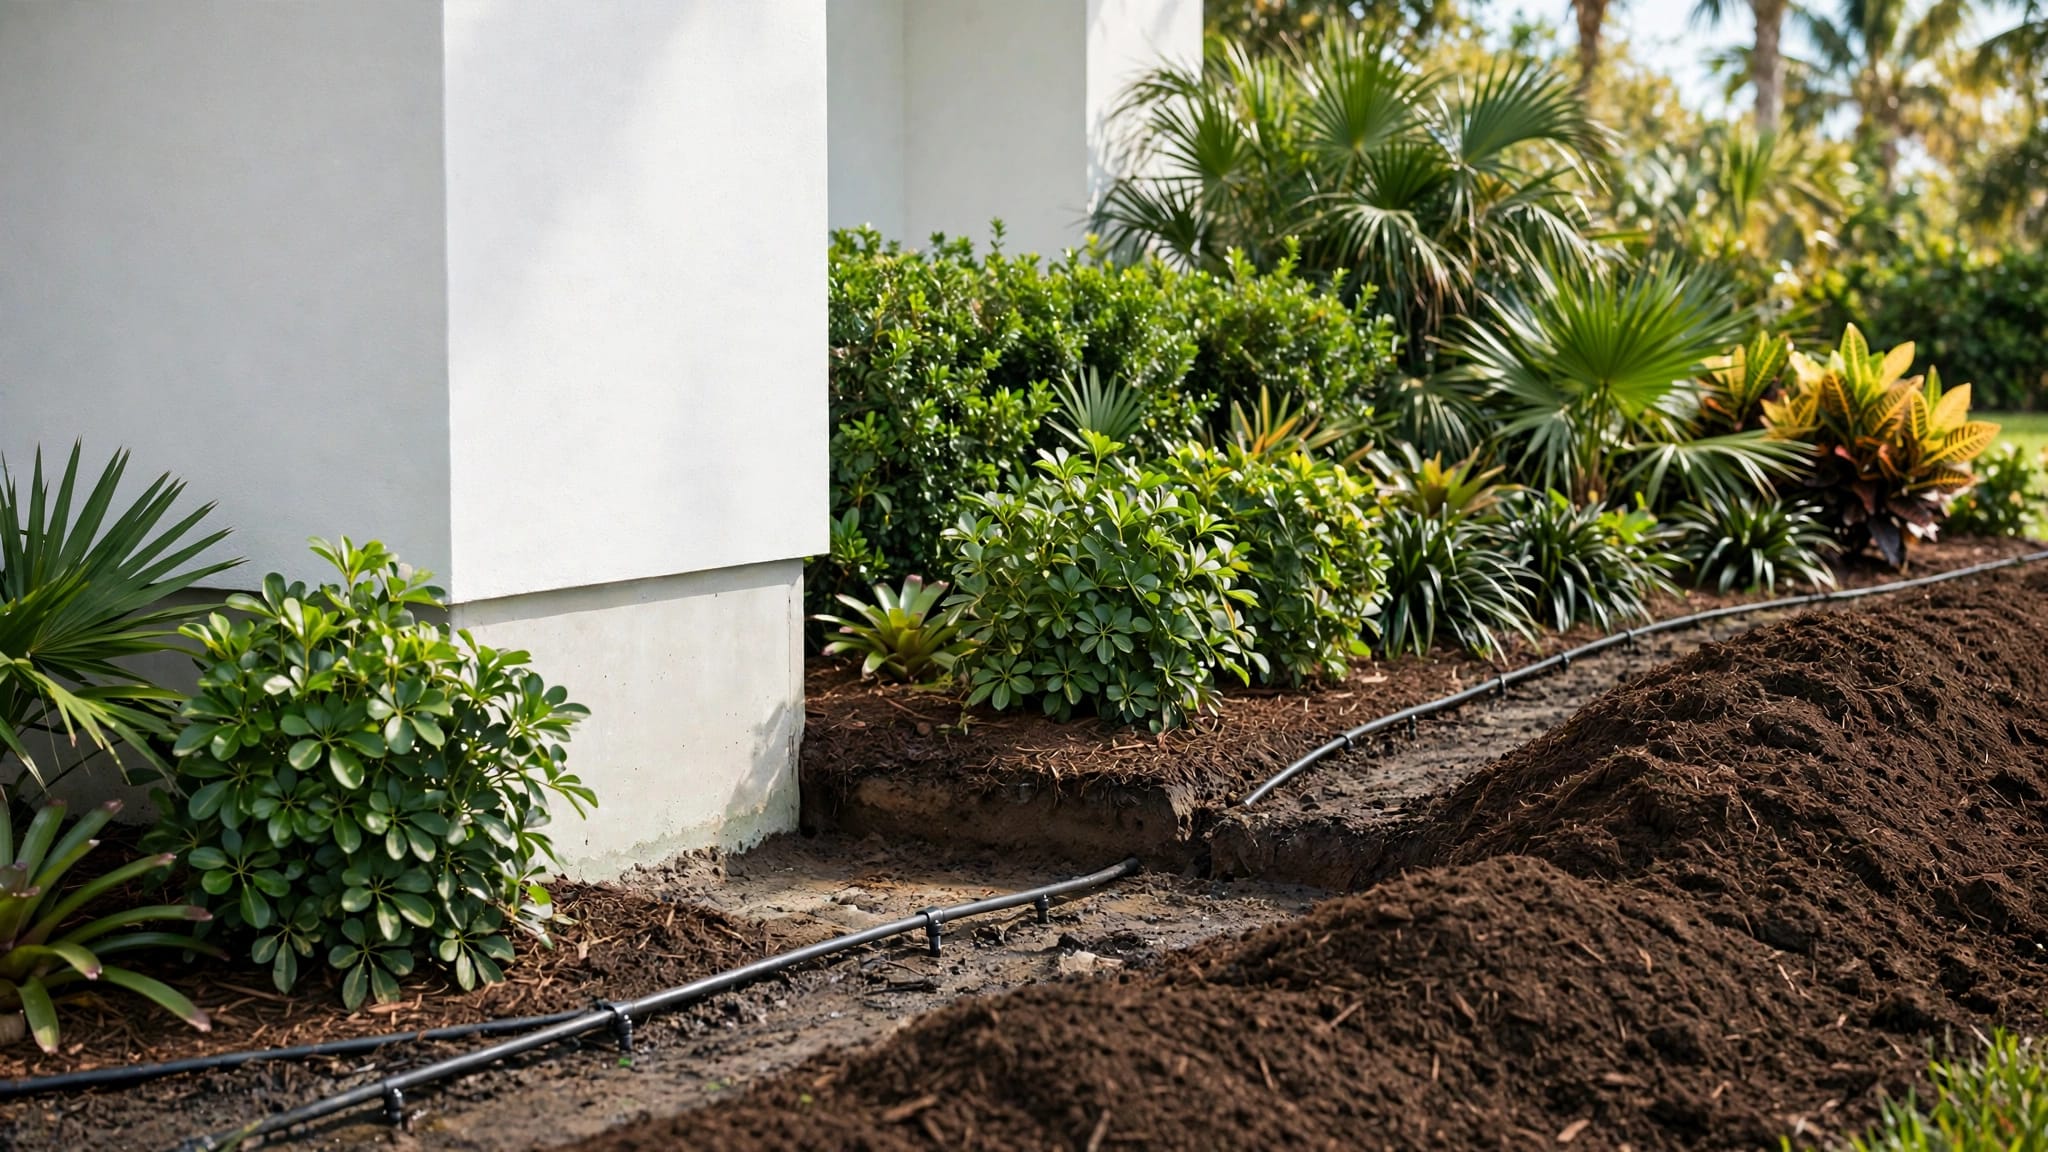
Dense shrubs, palms, vines, fallen fruit, seed debris, and stacked materials can give rodents a covered route toward the equipment area. Roof rats may use branches and palm fronds to reach rooflines, then move between the attic, wall openings, lanai, and yard.
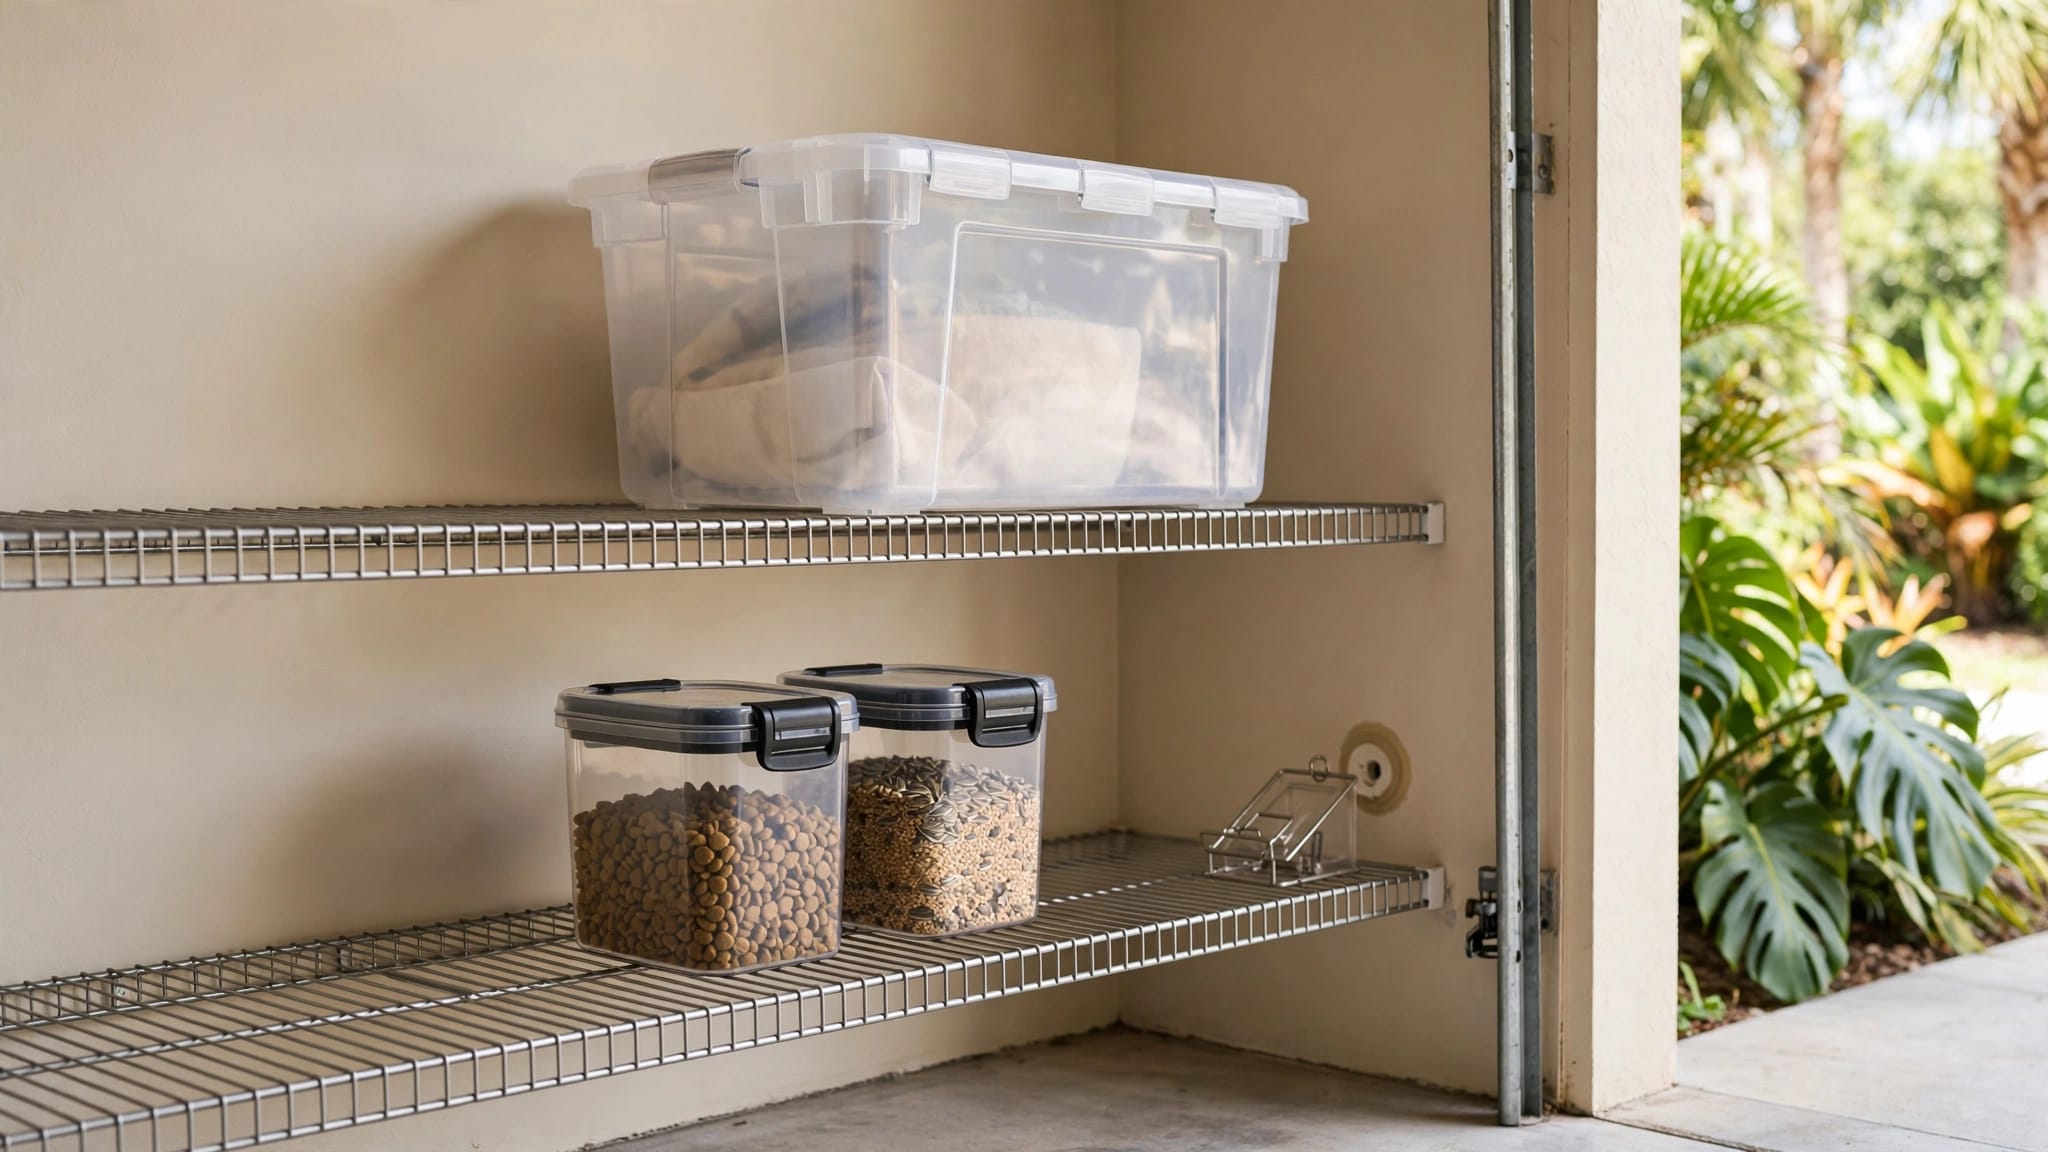
Trim vegetation away from the equipment enclosure and roofline. Remove fallen fruit, keep trash lids closed, rinse food containers, and store birdseed or pet food in hard-sided containers. These changes reduce the reasons rodents keep returning after an entry point is repaired.
How to Build Rodent-Proof Pool Equipment Protection
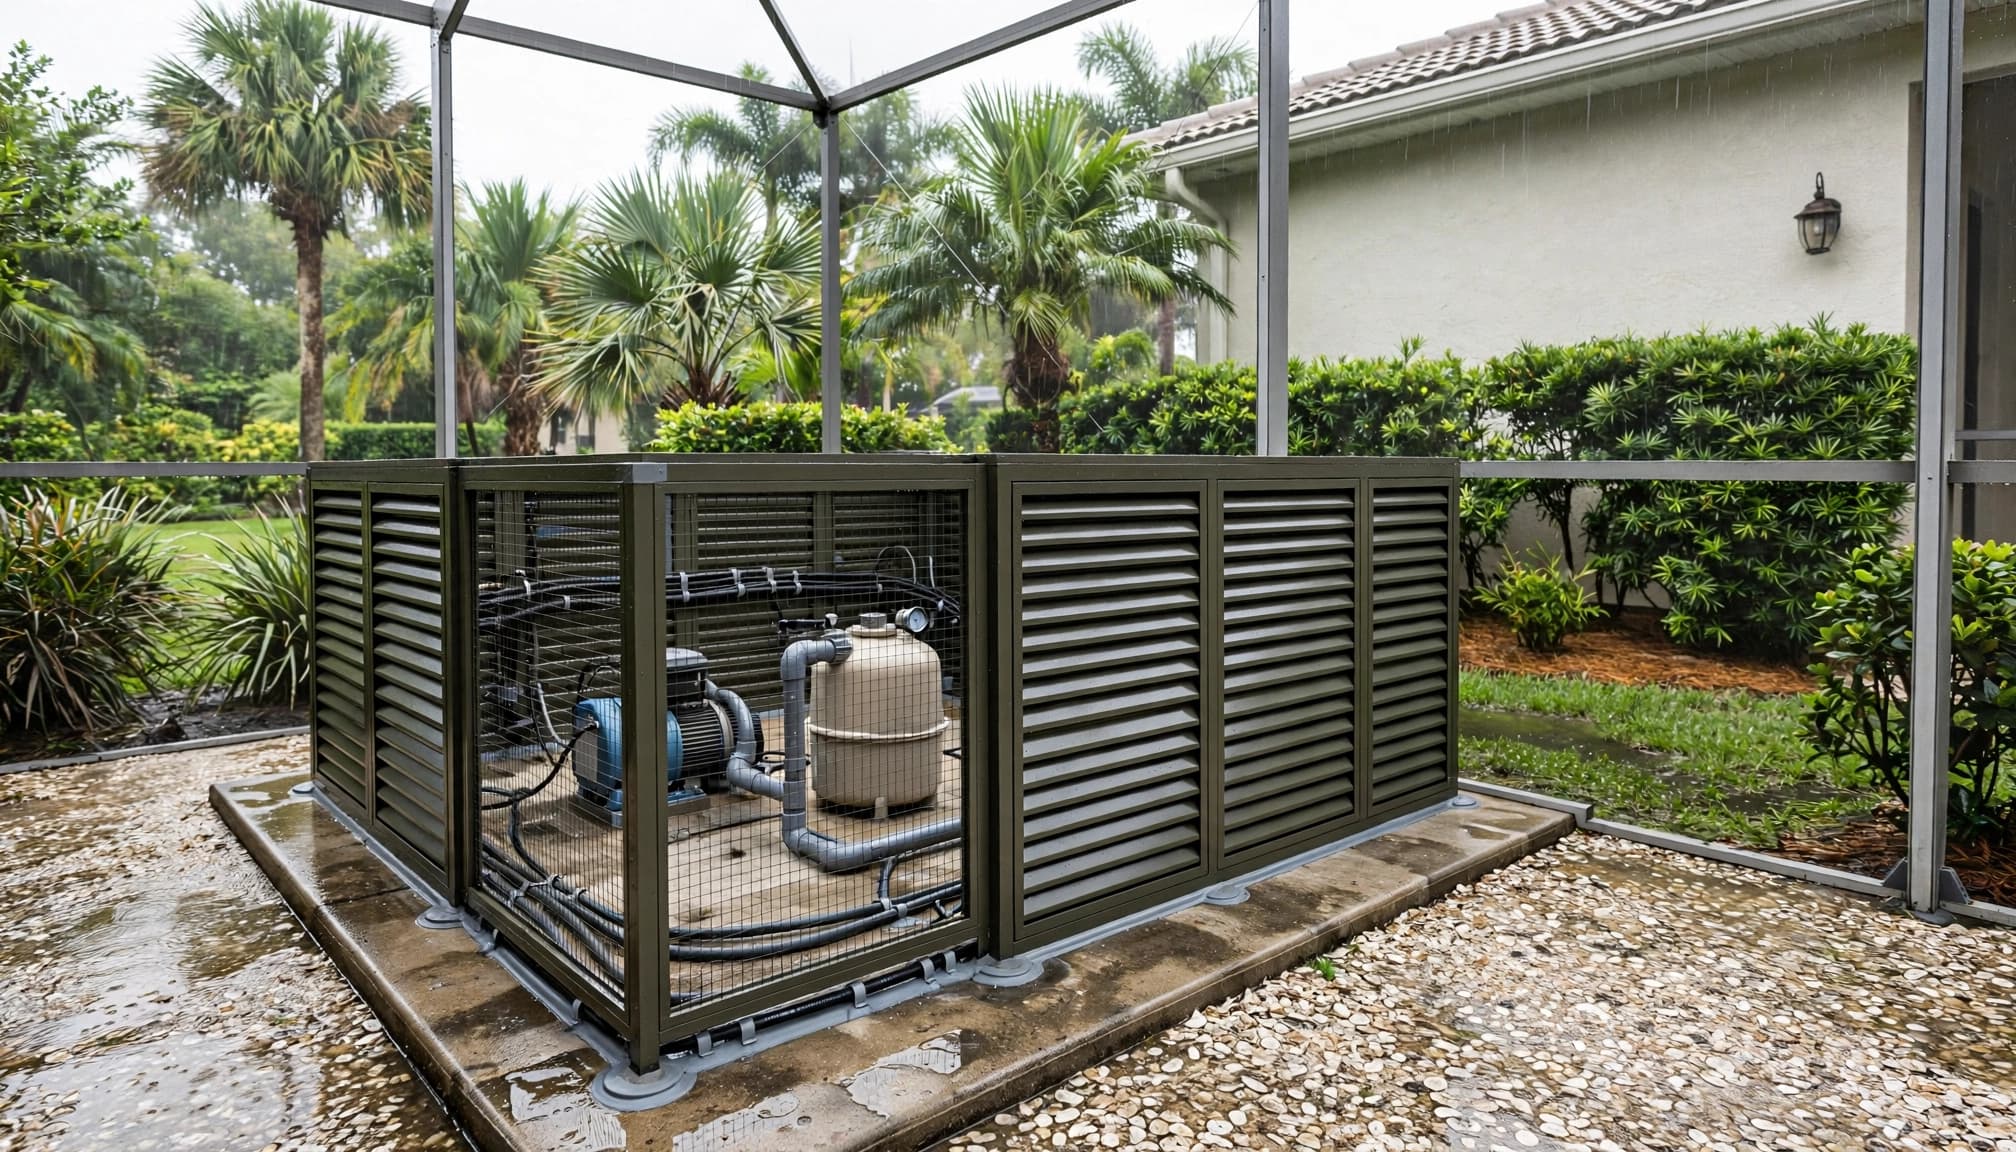
Exclusion work should protect the equipment area without turning it into a sealed, overheated box. Pool pumps and other components need airflow, drainage, working clearance, and routine service access.
Seal gaps with chew-resistant materials
First, clean loose debris from the area and identify the actual opening. Do not cover a gap before checking whether rodents are still inside. Closing an active route too early can force animals into a wall, cabinet, or equipment cavity.
For suitable openings, use materials that resist chewing and match the surface. Metal flashing, 1/4-inch hardware cloth, mortar, and exterior-rated sealant are more durable choices than foam alone. Hardware cloth should be secured firmly, with edges protected so rodents cannot lift or chew around it.
Use sealant for small edges and weather gaps, not as the only defense against a determined rodent. Around conduits and plumbing, the repair should follow the shape of the penetration without stressing the pipe or preventing future service.
For more guidance on selecting rodent-proof materials for home repairs, review the surrounding slab, utility, door, and vent openings as part of the same inspection.
Protect ventilation without blocking it
Ventilation openings need screening, but they also need to remain open to moving air. Never fill a vent with sealant, insulation, plastic, or loose material simply to keep rodents out.
Install properly secured, corrosion-resistant screening where appropriate, and keep the full vent area clear. Do not cover weep holes or drainage openings. In Southwest Florida, blocked openings can trap humidity and rainwater, which may damage equipment and create another attractive shelter.
The finished enclosure should also leave enough room for a technician to reach valves, filters, electrical disconnects, and service panels. A rodent-resistant area that cannot be safely maintained will develop problems faster.
A Step-by-Step Inspection for Homeowners
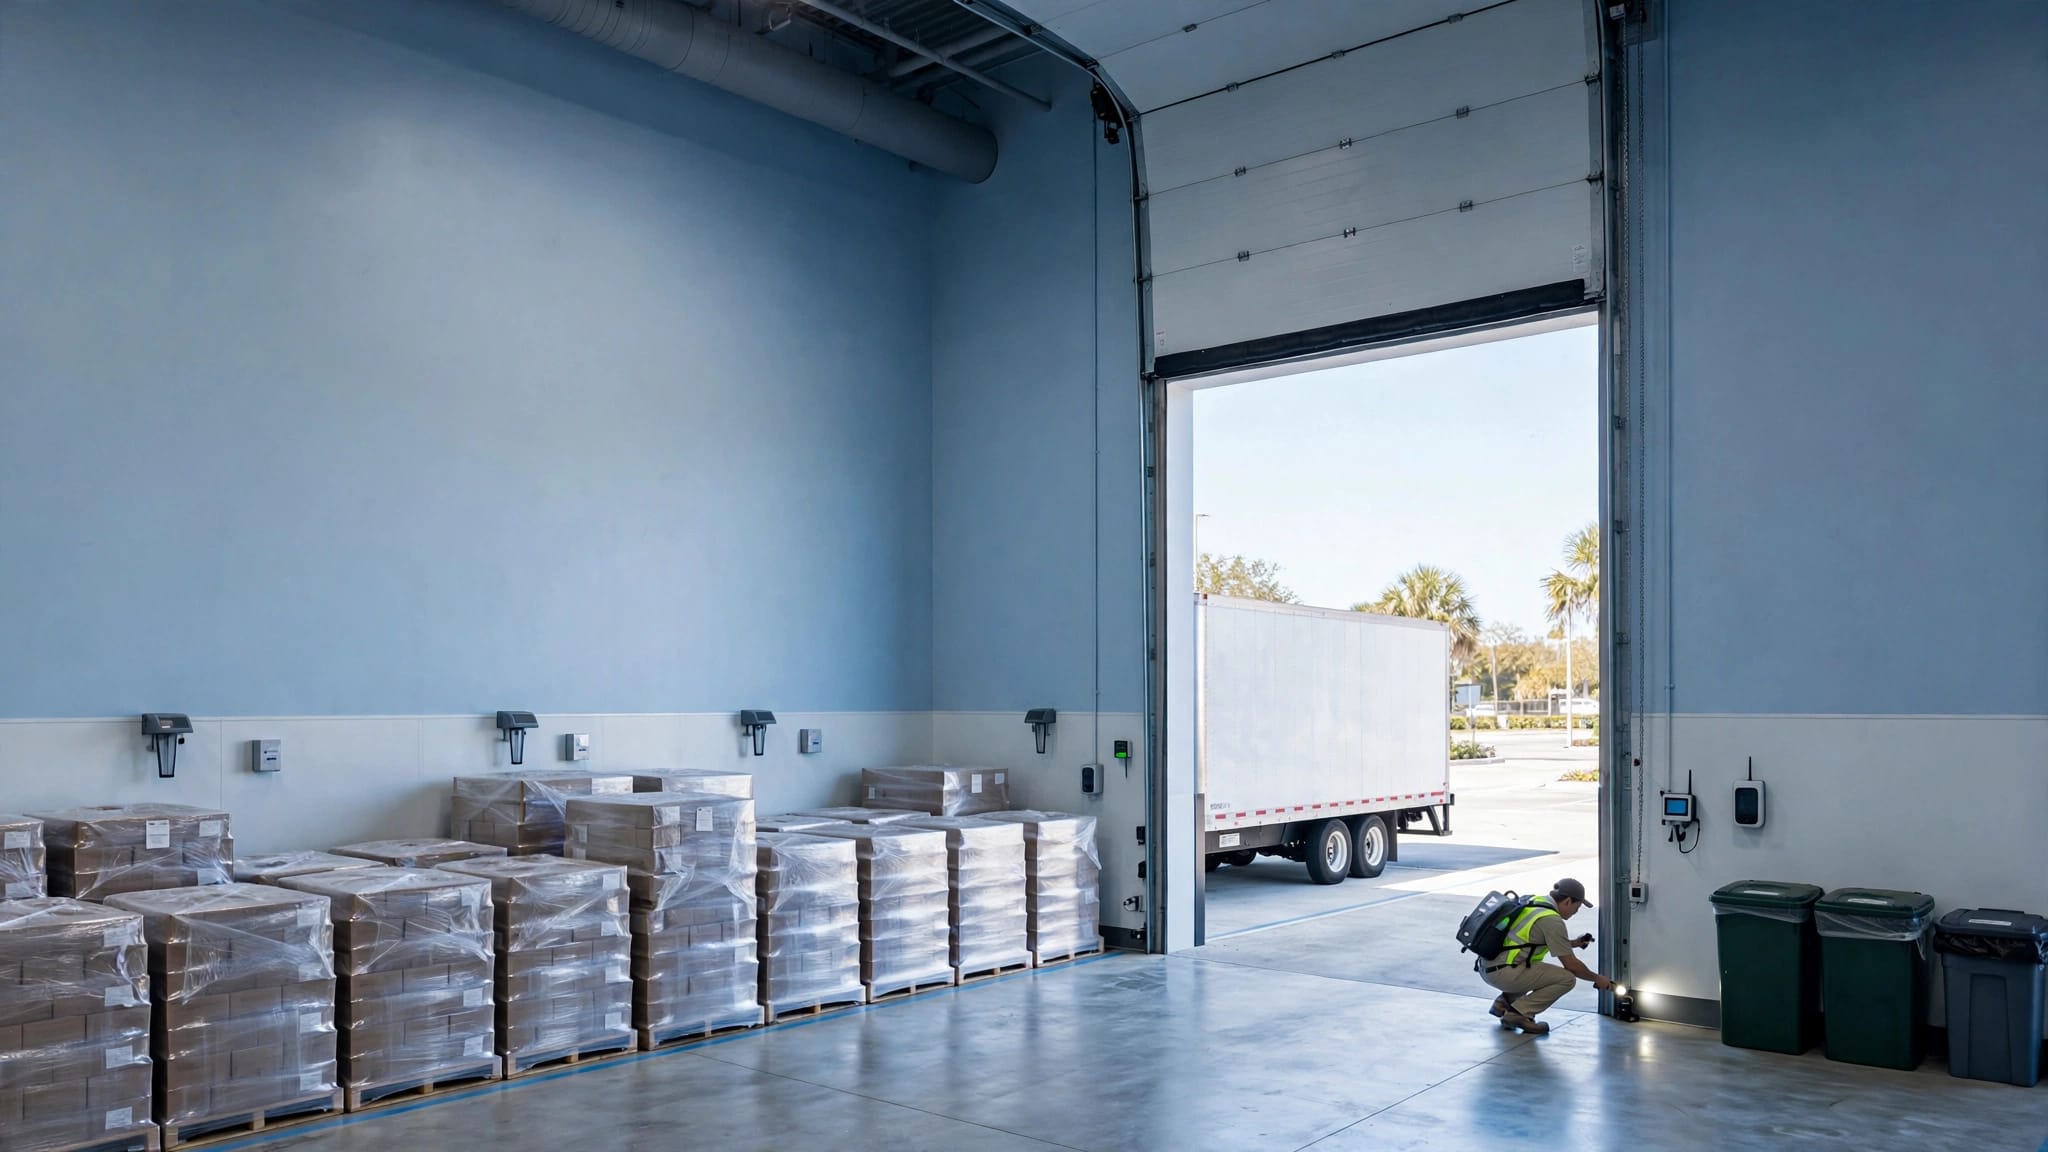
Walk through the inspection during daylight, preferably after the area has dried from heavy rain. Take photographs from outside the equipment cabinet or enclosure, but do not remove electrical covers or reach behind energized equipment.
- Clear the view. Move stored toys, cardboard, bags, loose fabric, and dead vegetation away from the pad. Keep children and pets away while you inspect.
- Check the perimeter. Look along the slab edge, wall base, enclosure corners, doors, screen frames, and areas where the cage meets the home.
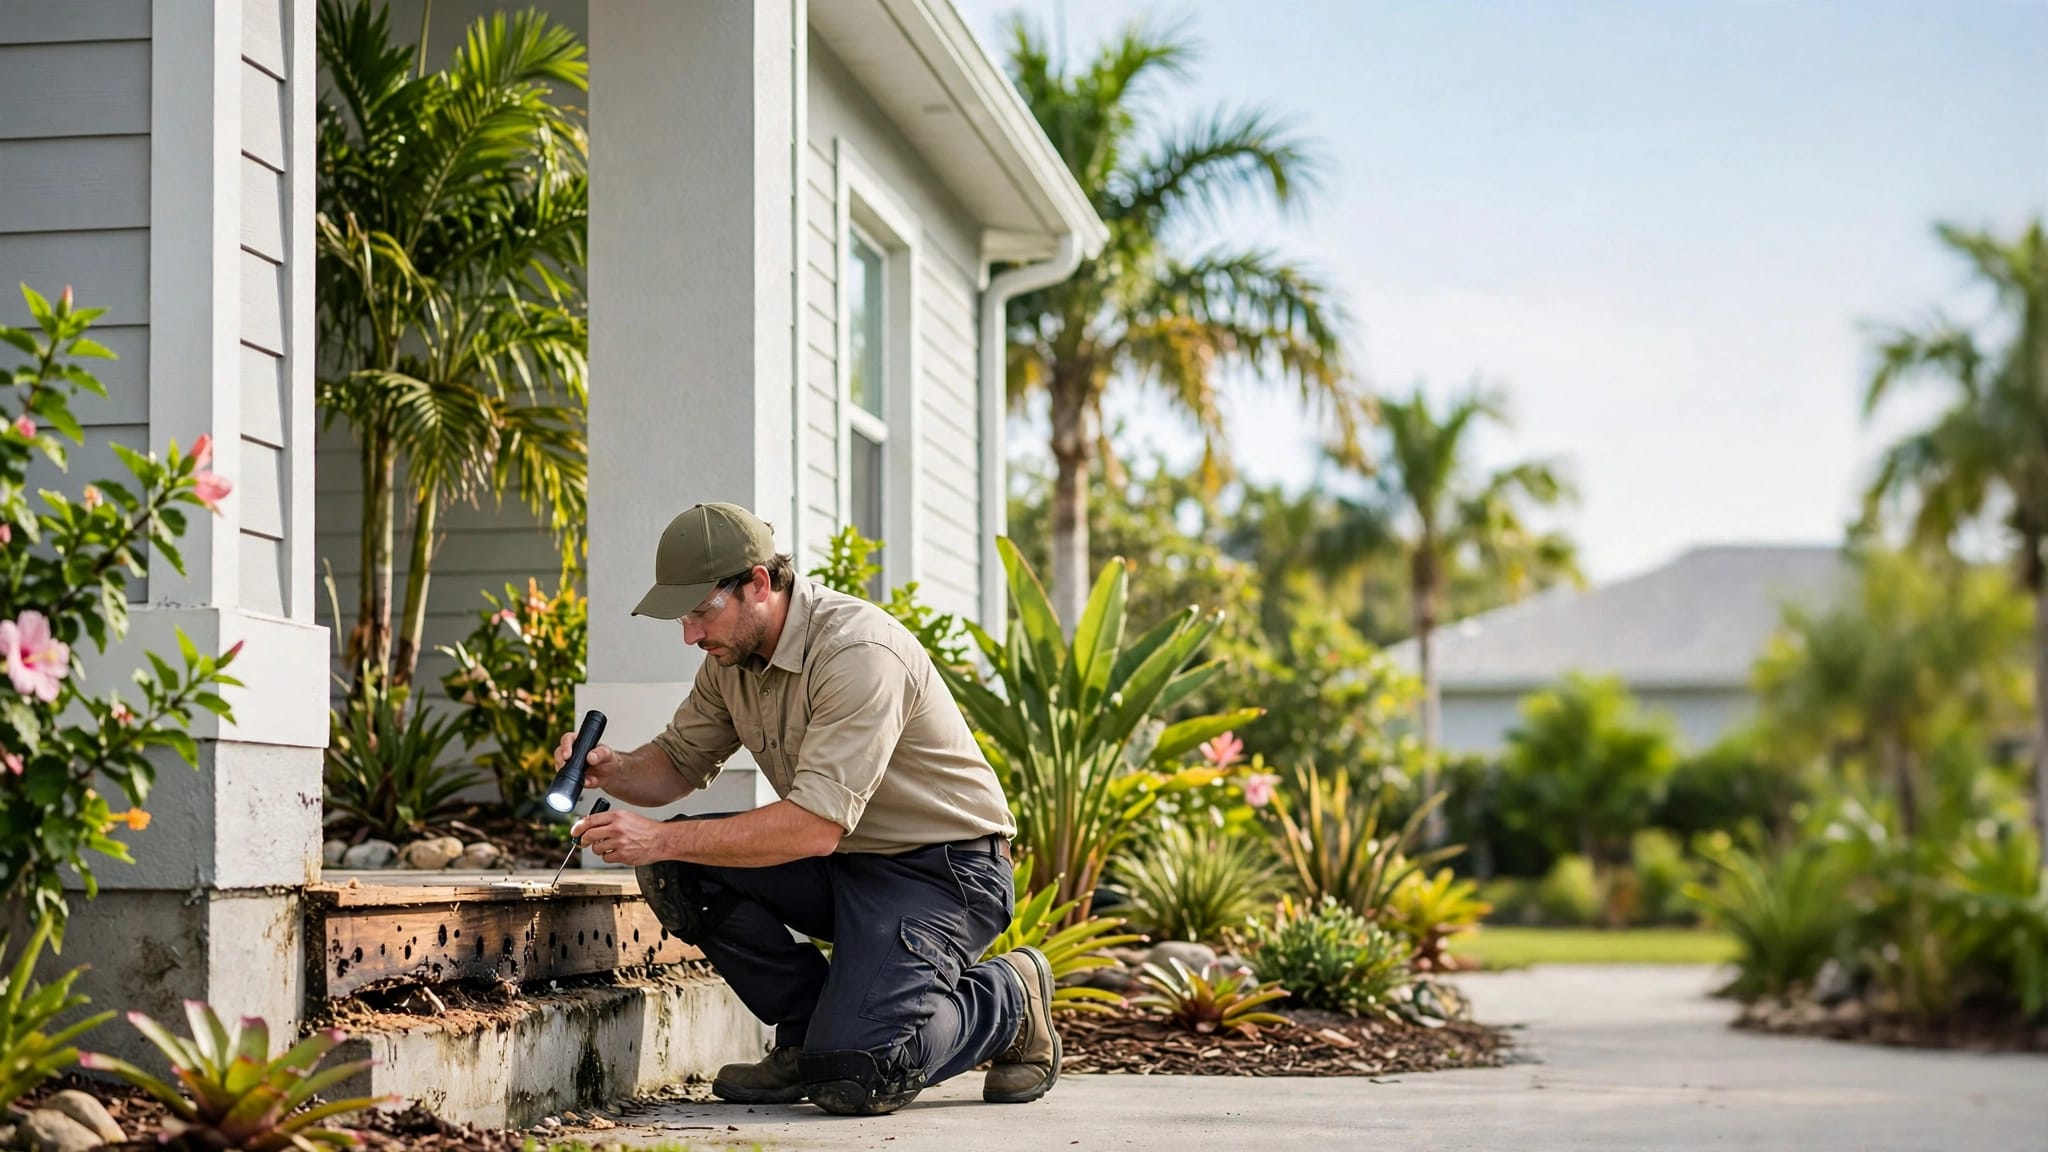
- Trace every utility route. Follow pipes, cables, drains, and conduits to their entry points. Look for gaps, cracked sealant, damaged screens, or soft material with gnaw marks.
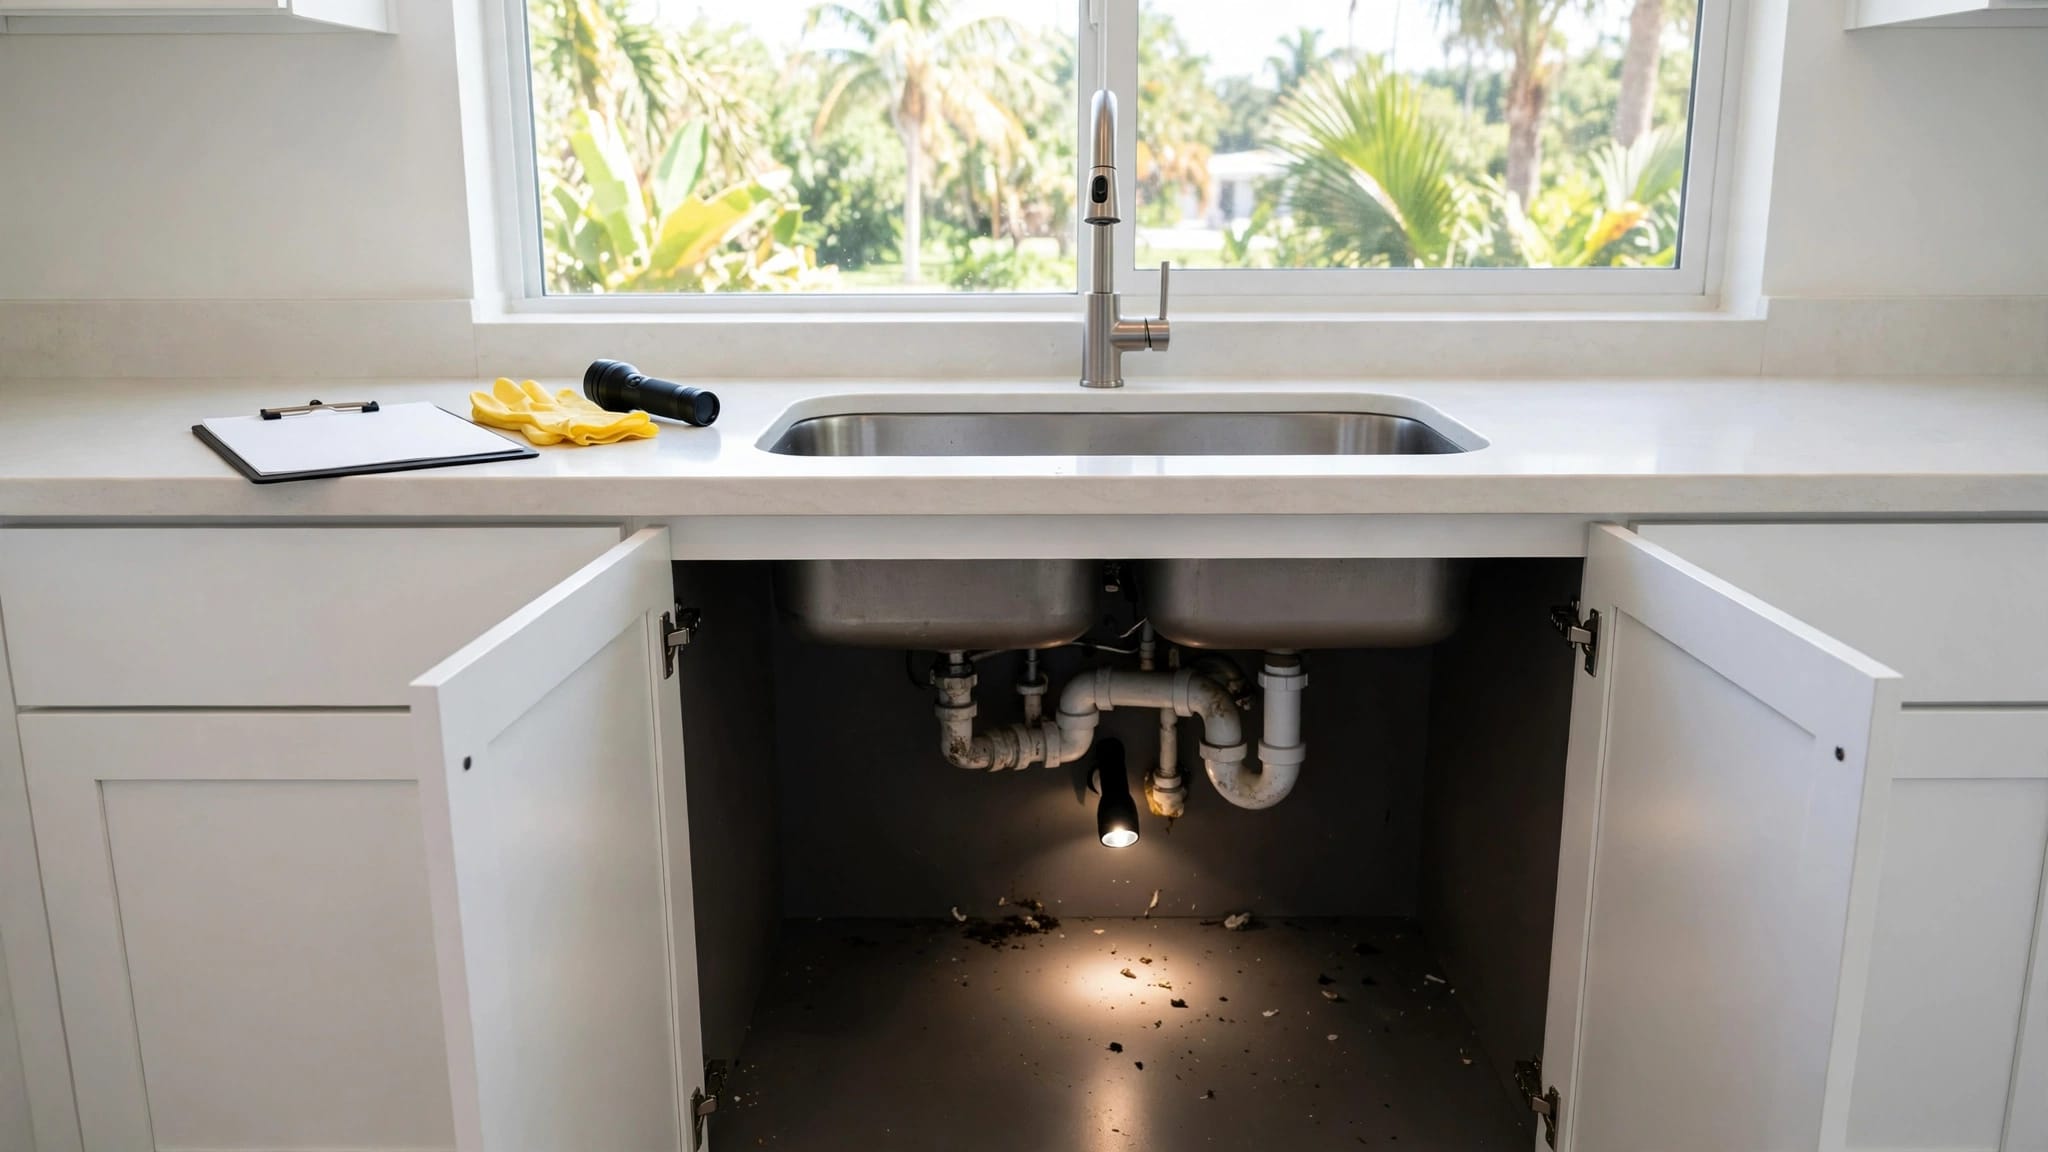
- Inspect above and behind the equipment. Use a flashlight without touching wiring. Look for droppings, shredded plant material, nesting, rub marks, or a urine-like odor.
- Check drainage. Confirm that rainwater can leave the area and that leaves have not blocked channels or low points. Do not redirect contaminated runoff toward the pool.
- Review vegetation and storage. Trim branches away from the enclosure and roofline. Remove fallen fruit and store supplies in sealed, hard-sided containers.
- Document damage. Photograph suspicious areas and note when you noticed sounds, odors, droppings, or equipment problems.
- Arrange the right help. Active rodent signs call for pest inspection. Chewed or exposed wiring also requires a qualified electrical professional.
Do not use the equipment area as a place to test loose bait, powders, oils, or household chemicals. Products can be moved by rain, paws, wind, or rodents and may contaminate surfaces near the pool.
Signs of Rodent Damage That Need Prompt Attention
Rodent damage can begin outside and spread through connected routes. A pool pad may be the first visible location, while the main nesting site sits in a wall, attic, garage, or roofline.
Chewed wiring and equipment damage
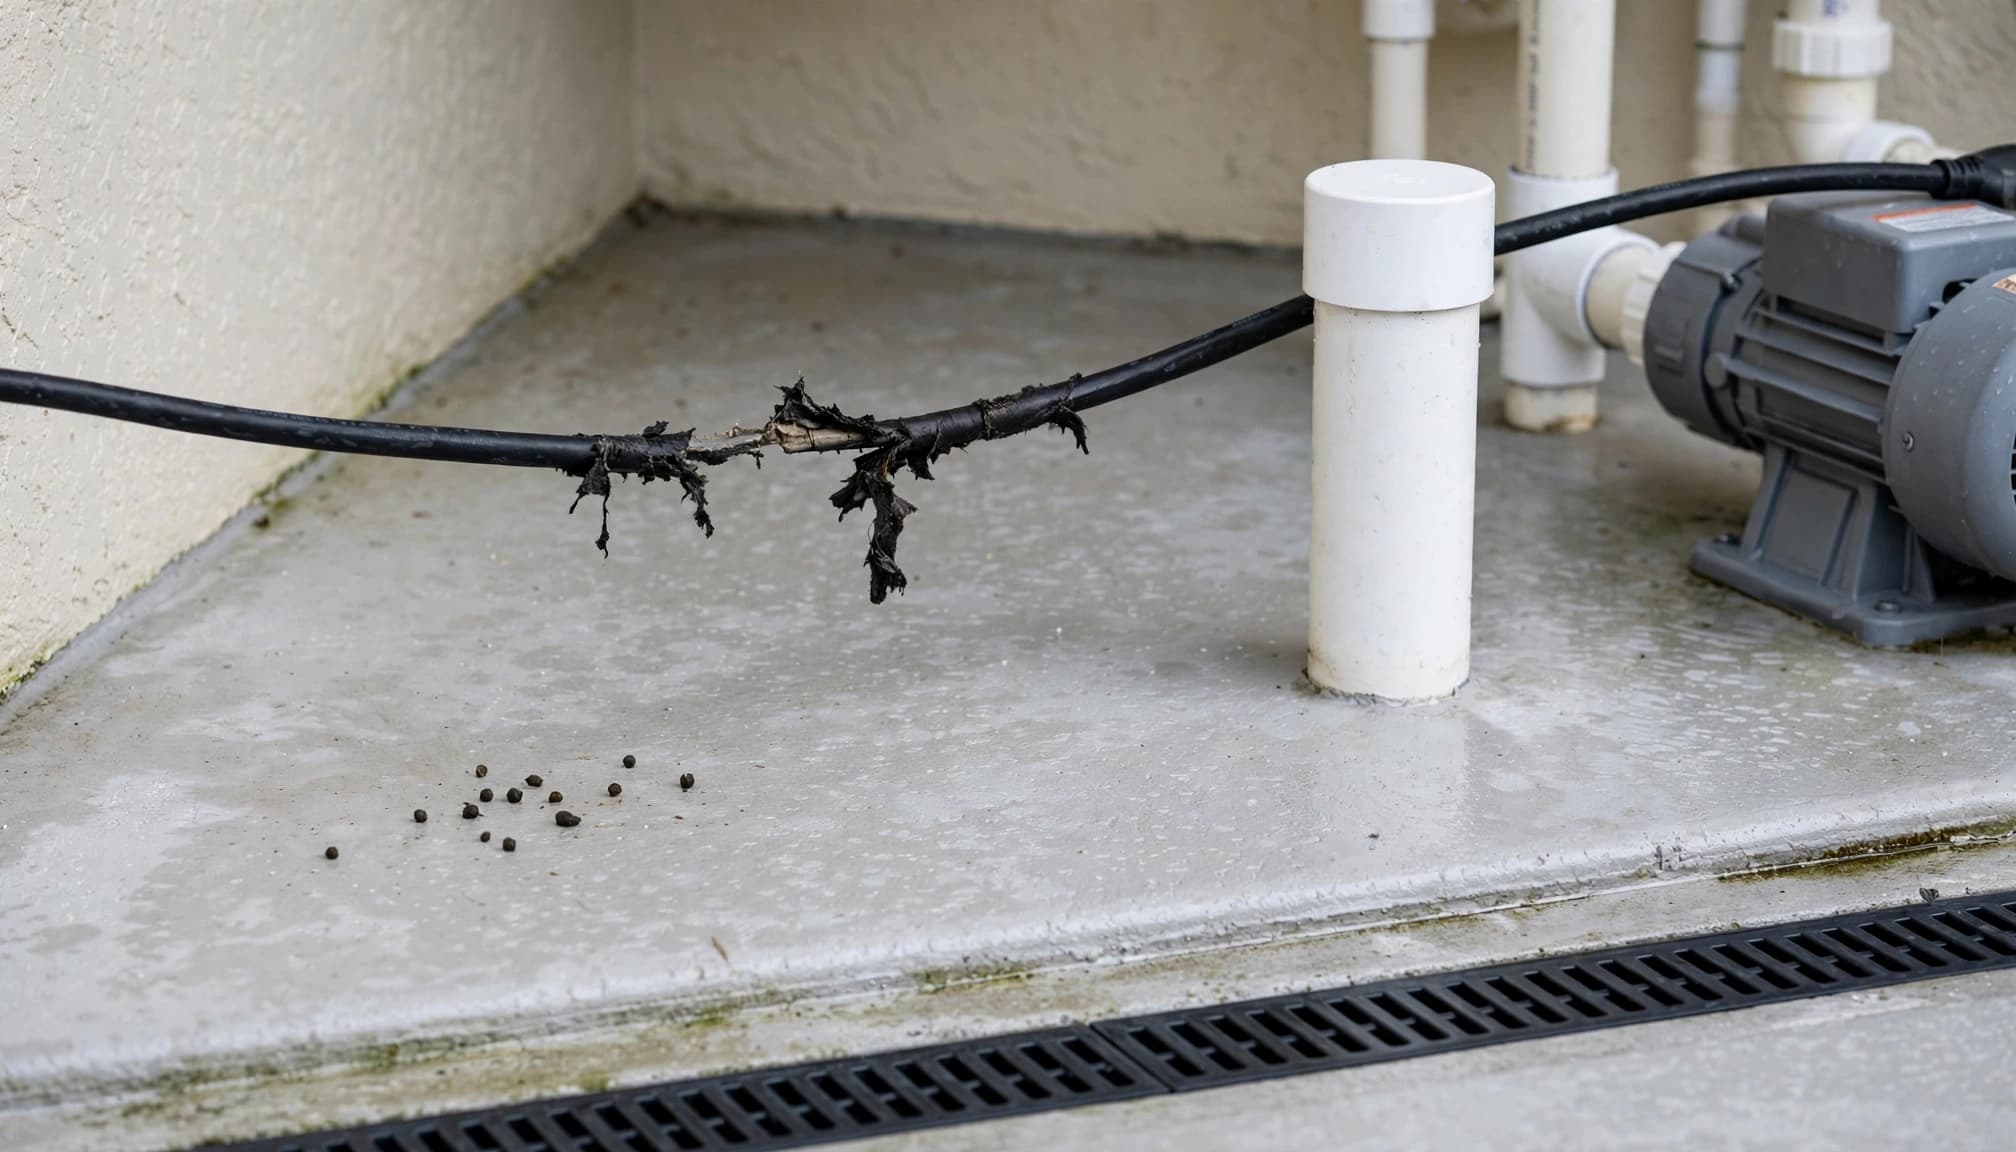
Look for scraped or missing insulation on pump cords, conduit, lighting wires, automation cables, and nearby air-conditioning lines. Gnaw marks can also appear on plastic covers, stored fabric, cardboard, wood, or flexible tubing.
Treat wiring damage as an electrical safety issue. Do not touch exposed conductors, tape over serious damage, or switch equipment on and off repeatedly to test it. Keep people and pets away, turn off power only if you can do so safely from an accessible disconnect, and contact a qualified electrician. A pest professional should inspect the route and close the access point after the electrical concern is controlled.
Droppings, nesting, and odor
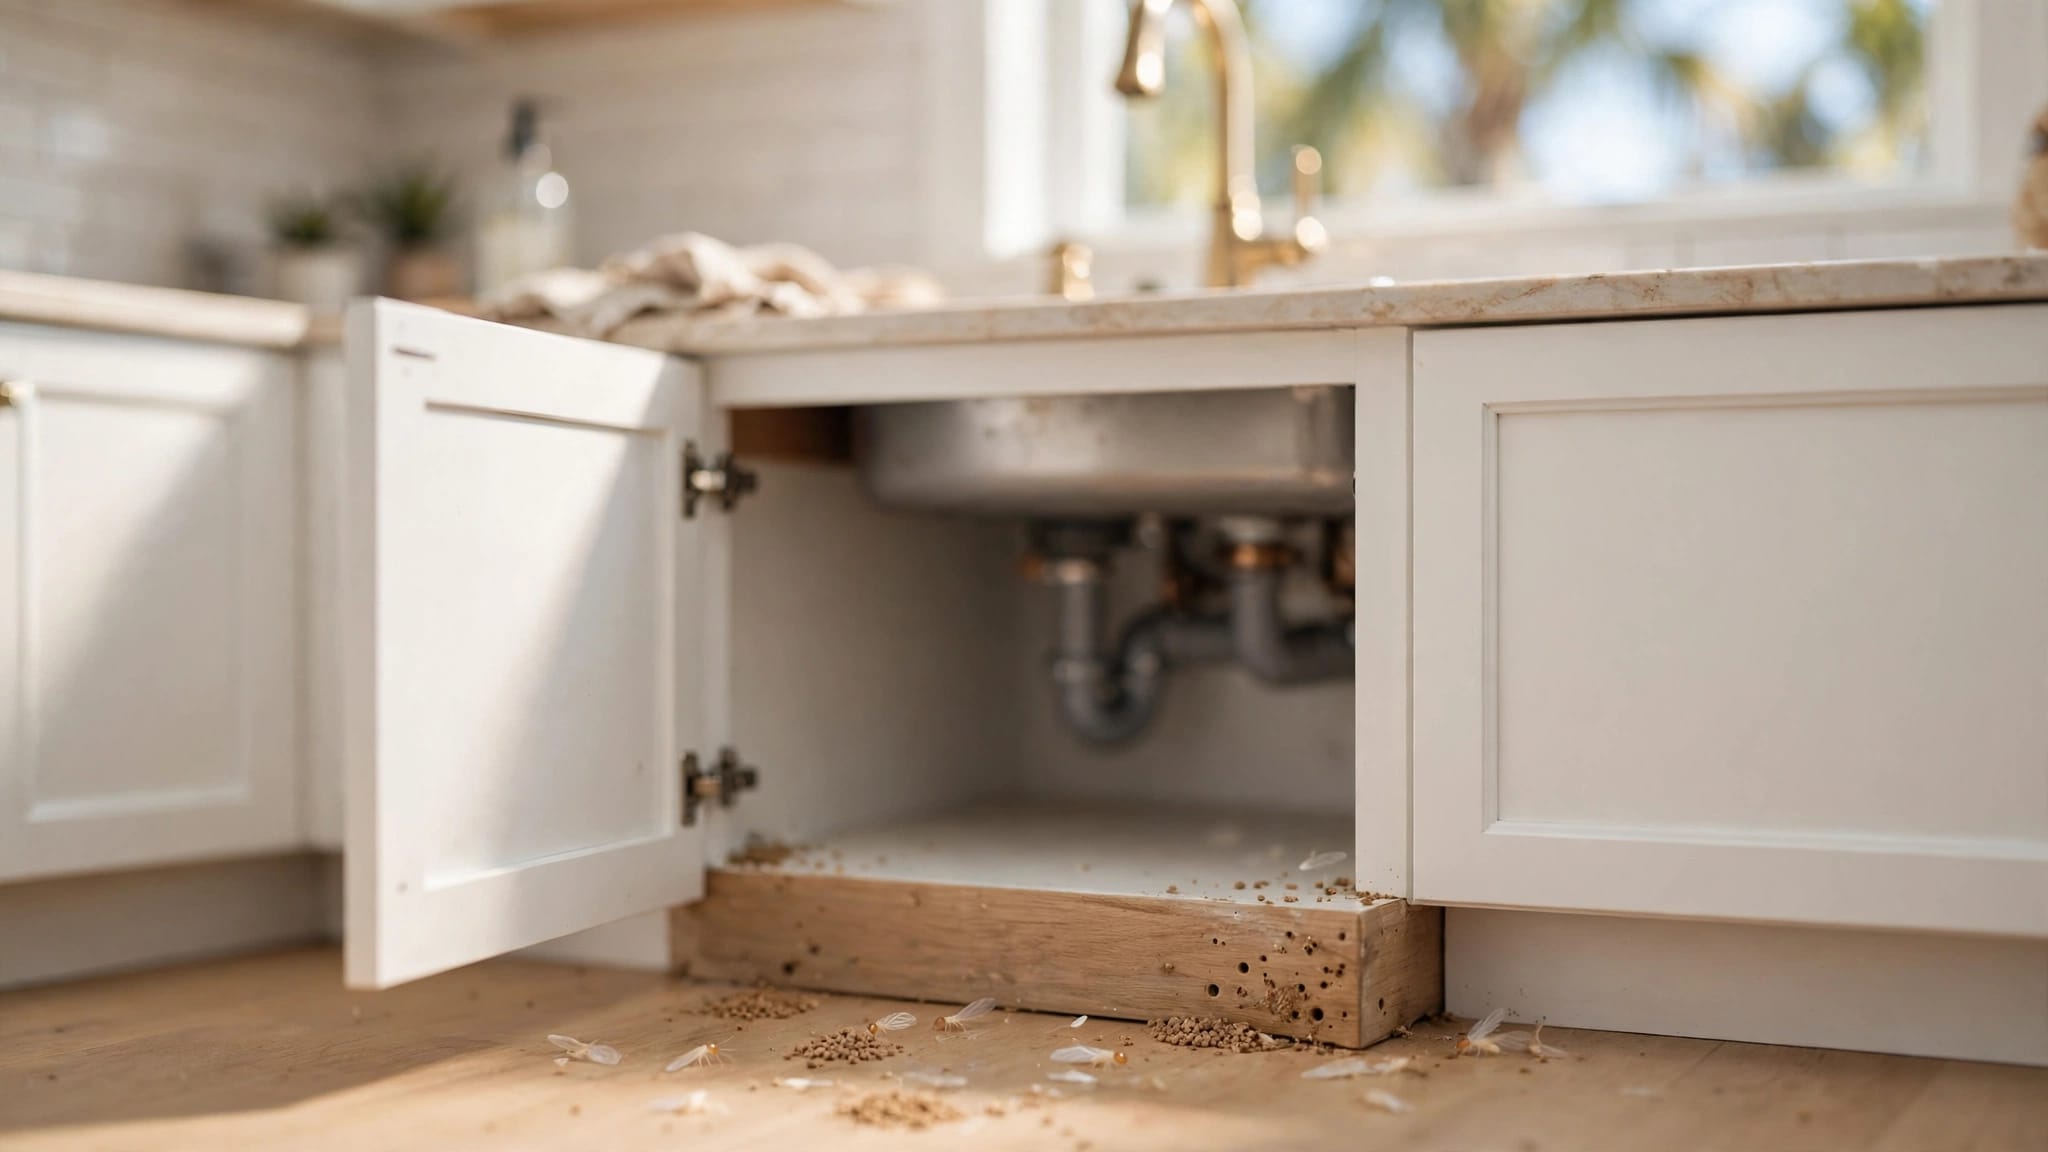
Fresh droppings often look dark and slightly shiny. Older waste becomes dull, dry, or dusty, but appearance alone cannot identify the animal. Shredded paper, insulation, fabric, dried plant material, greasy rub marks, scratching sounds, and a persistent urine or musky odor add stronger evidence.
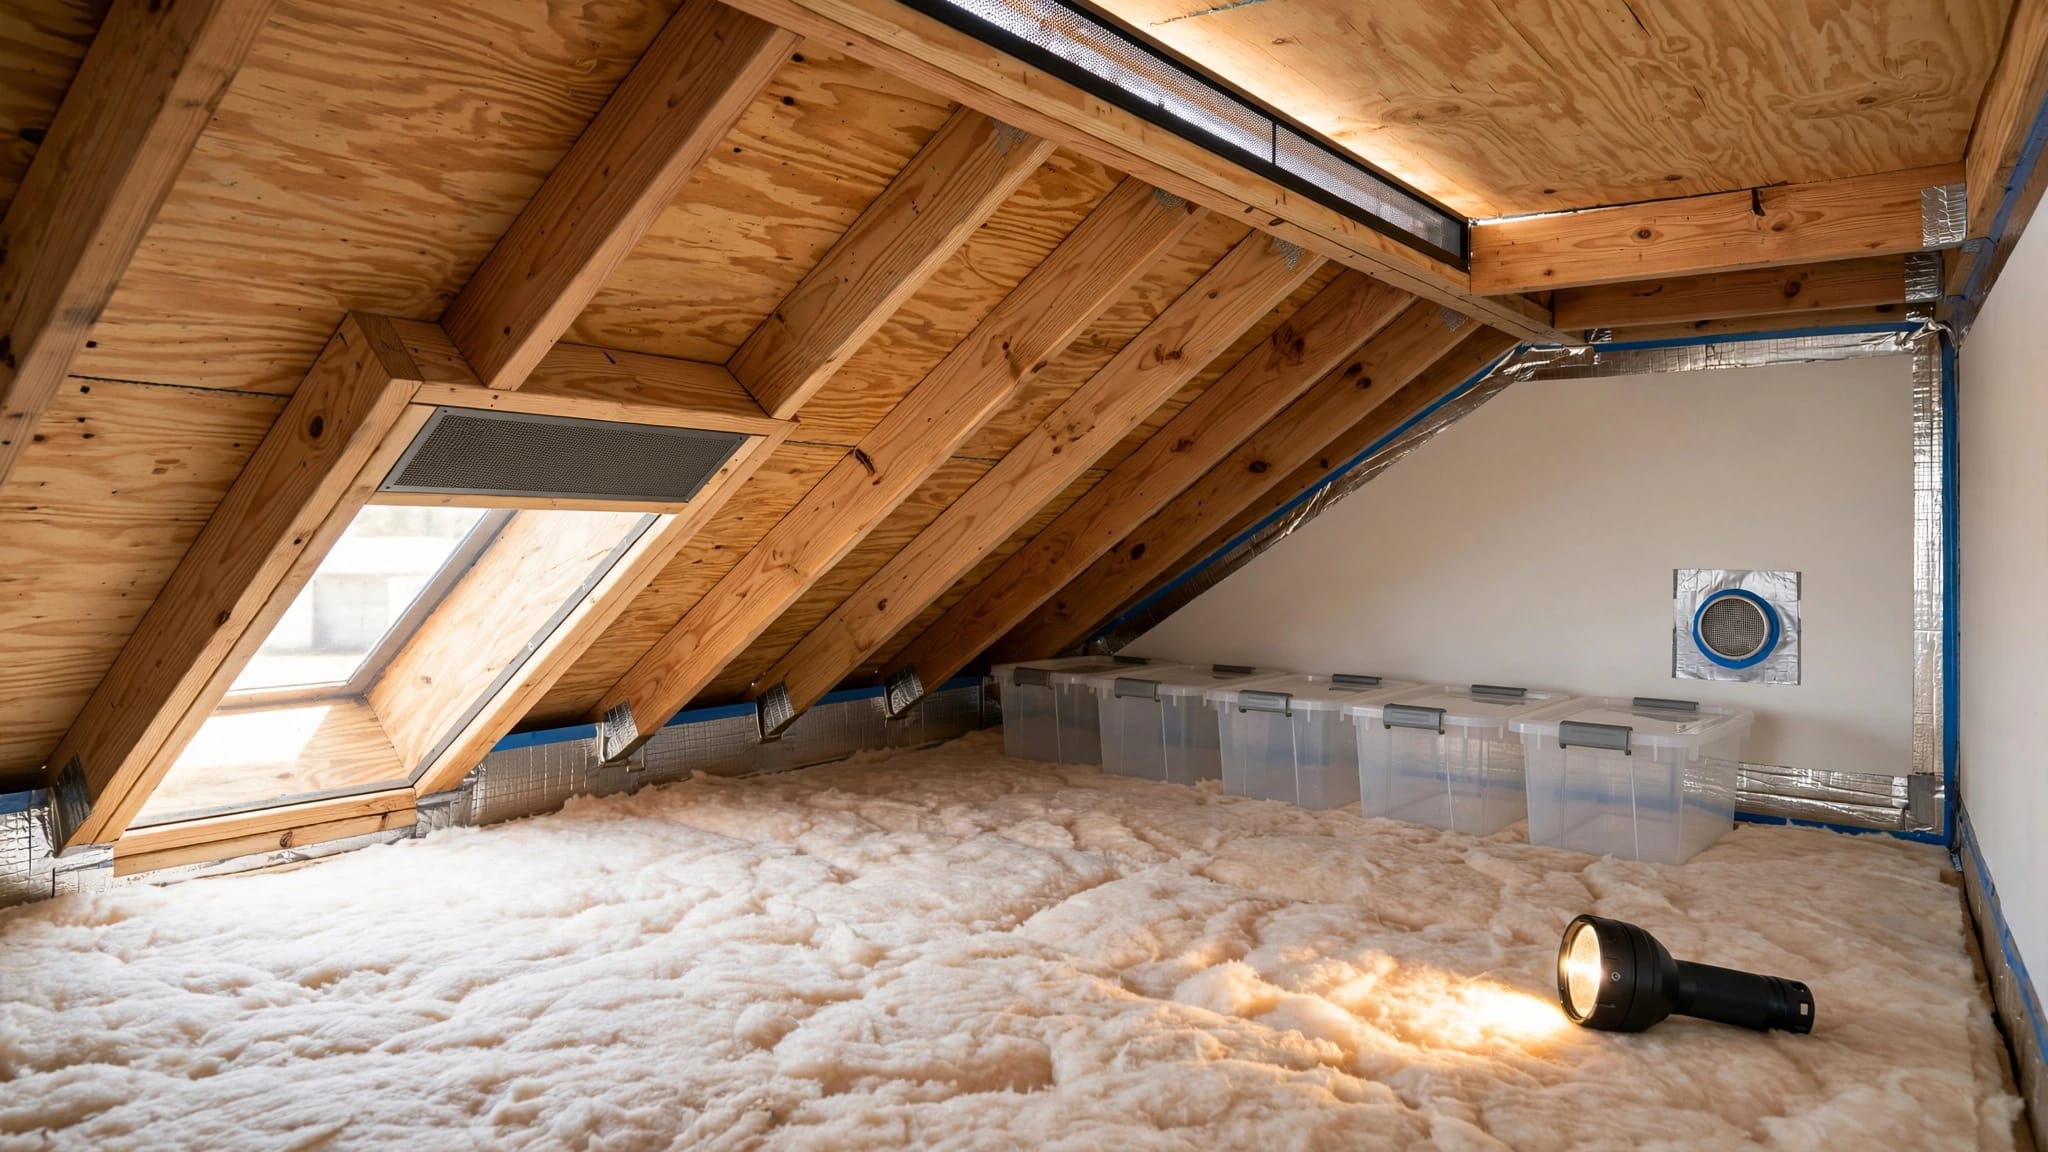
Avoid sweeping or vacuuming dry droppings. Keep the area isolated and ask for professional advice when contamination is widespread, the odor is strong, or the nesting site is hidden. Homeowners who suspect activity beyond the pool area may need a Cape Coral attic rodent inspection, especially when scratching sounds come from ceilings or roof spaces.
Maintenance Checklist and Mistakes to Avoid
A short inspection each month can catch small repairs before rodents establish a route. Check the area after major storms, landscaping work, roof repairs, or periods when the home is vacant.
Monthly inspection checklist
- Check pipe, conduit, wall, slab, and enclosure penetrations for new gaps.
- Confirm that screens remain tight and that vents, weep holes, and drains stay open.
- Look for fresh droppings, gnaw marks, nesting material, rub marks, and odors.
- Keep at least a clear working path around pumps, filters, valves, and disconnects.
- Remove leaves, fallen fruit, cardboard, and fabric from the equipment area.
- Trim shrubs and palm growth that touch the enclosure, wall, or roof.
- Check doors and screen panels for gaps, tears, or damaged sweeps.
- Photograph changes so a pest or electrical professional can see the progression.
Common prevention mistakes
Foam-only repairs often fail when rodents can chew around or through the material. Loose mesh also leaves edges that animals can lift. Another common mistake is sealing an opening without confirming that no animal remains inside.
Avoid blocking ventilation to create a tighter enclosure. Do not cover drainage paths or place storage against equipment. Never scatter poison pellets around a pool pad, put bait where pets can reach it, or use a product that could wash into the pool or stormwater system.
If you prefer a service plan that avoids traditional poisons, ask about ECO Rodent Shield for Southwest Florida properties. Any control approach should still include inspection, sanitation, exclusion, and safe handling around children, pets, and wildlife.
FAQ About Rodent-Proof Pool Equipment Areas
Can I seal every opening around the pool equipment?
No. Seal rodent entry gaps, but keep required ventilation, drainage, equipment clearances, and service access open. A technician may need to assess whether an opening is a vent, weep hole, drain, or utility penetration before you close it.
Does a pool cage keep rats and mice away?
No. A pool cage can limit some outdoor access, but it does not seal the home or equipment area. Check cage-to-wall joints, door thresholds, damaged screens, nearby landscaping, and utility openings.
Should I put poison near the pump?
Avoid loose poison around pool equipment. Rain and irrigation can move bait or residue, while pets and wildlife may reach it. A poisoned rodent can also die inside a wall or equipment cavity, creating an odor and cleanup problem. Ask a qualified pest professional about a control plan suited to the property.
When should I call a professional?
Call promptly when you find chewed wiring, repeated fresh droppings, strong odor, nesting inside equipment, scratching in walls or ceilings, or damage that you cannot safely reach. Pest professionals can trace activity and entry points, while electricians should handle unsafe wiring.
Conclusion
Rodent-proof pool equipment protection starts with a careful inspection, not with a quick patch over every opening. Seal vulnerable penetrations with durable materials, keep vegetation and food sources under control, and preserve the airflow, drainage, clearance, and access the equipment needs.
Chewed wiring, fresh droppings, nesting, and persistent odors deserve quick attention. With consistent maintenance and professional help when activity extends into walls, attics, or electrical routes, your pool area can remain safer, cleaner, and easier to service.
Schedule a Free Inspection: