Preparing Your Cape Coral Home for Drywood Termite Tenting
A fumigation tent around your Cape Coral home can look dramatic, but drywood termite tenting follows a careful, planned process. The treatment works only when the structure is ready, the property is vacant, and the licensed fumigation team can seal and clear the home properly.
Your preparation list may include food, medications, plants, pets, alarms, utilities, and access arrangements. Use your pest control company's written preparation sheet as the final authority, then work through the home room by room before the scheduled date.
Key Takeaways
- Follow the fumigation company's written preparation instructions before general online advice.
- Remove or protect food, medicine, pet supplies, plants, and other items listed by the provider.
- Arrange for every person, pet, and plant to leave before treatment begins.
- Keep gates, doors, utility areas, and the property perimeter accessible to the fumigation crew.
- Never re-enter until the licensed fumigation professional has tested and cleared the property.
Why Drywood Termite Tenting Requires Careful Preparation
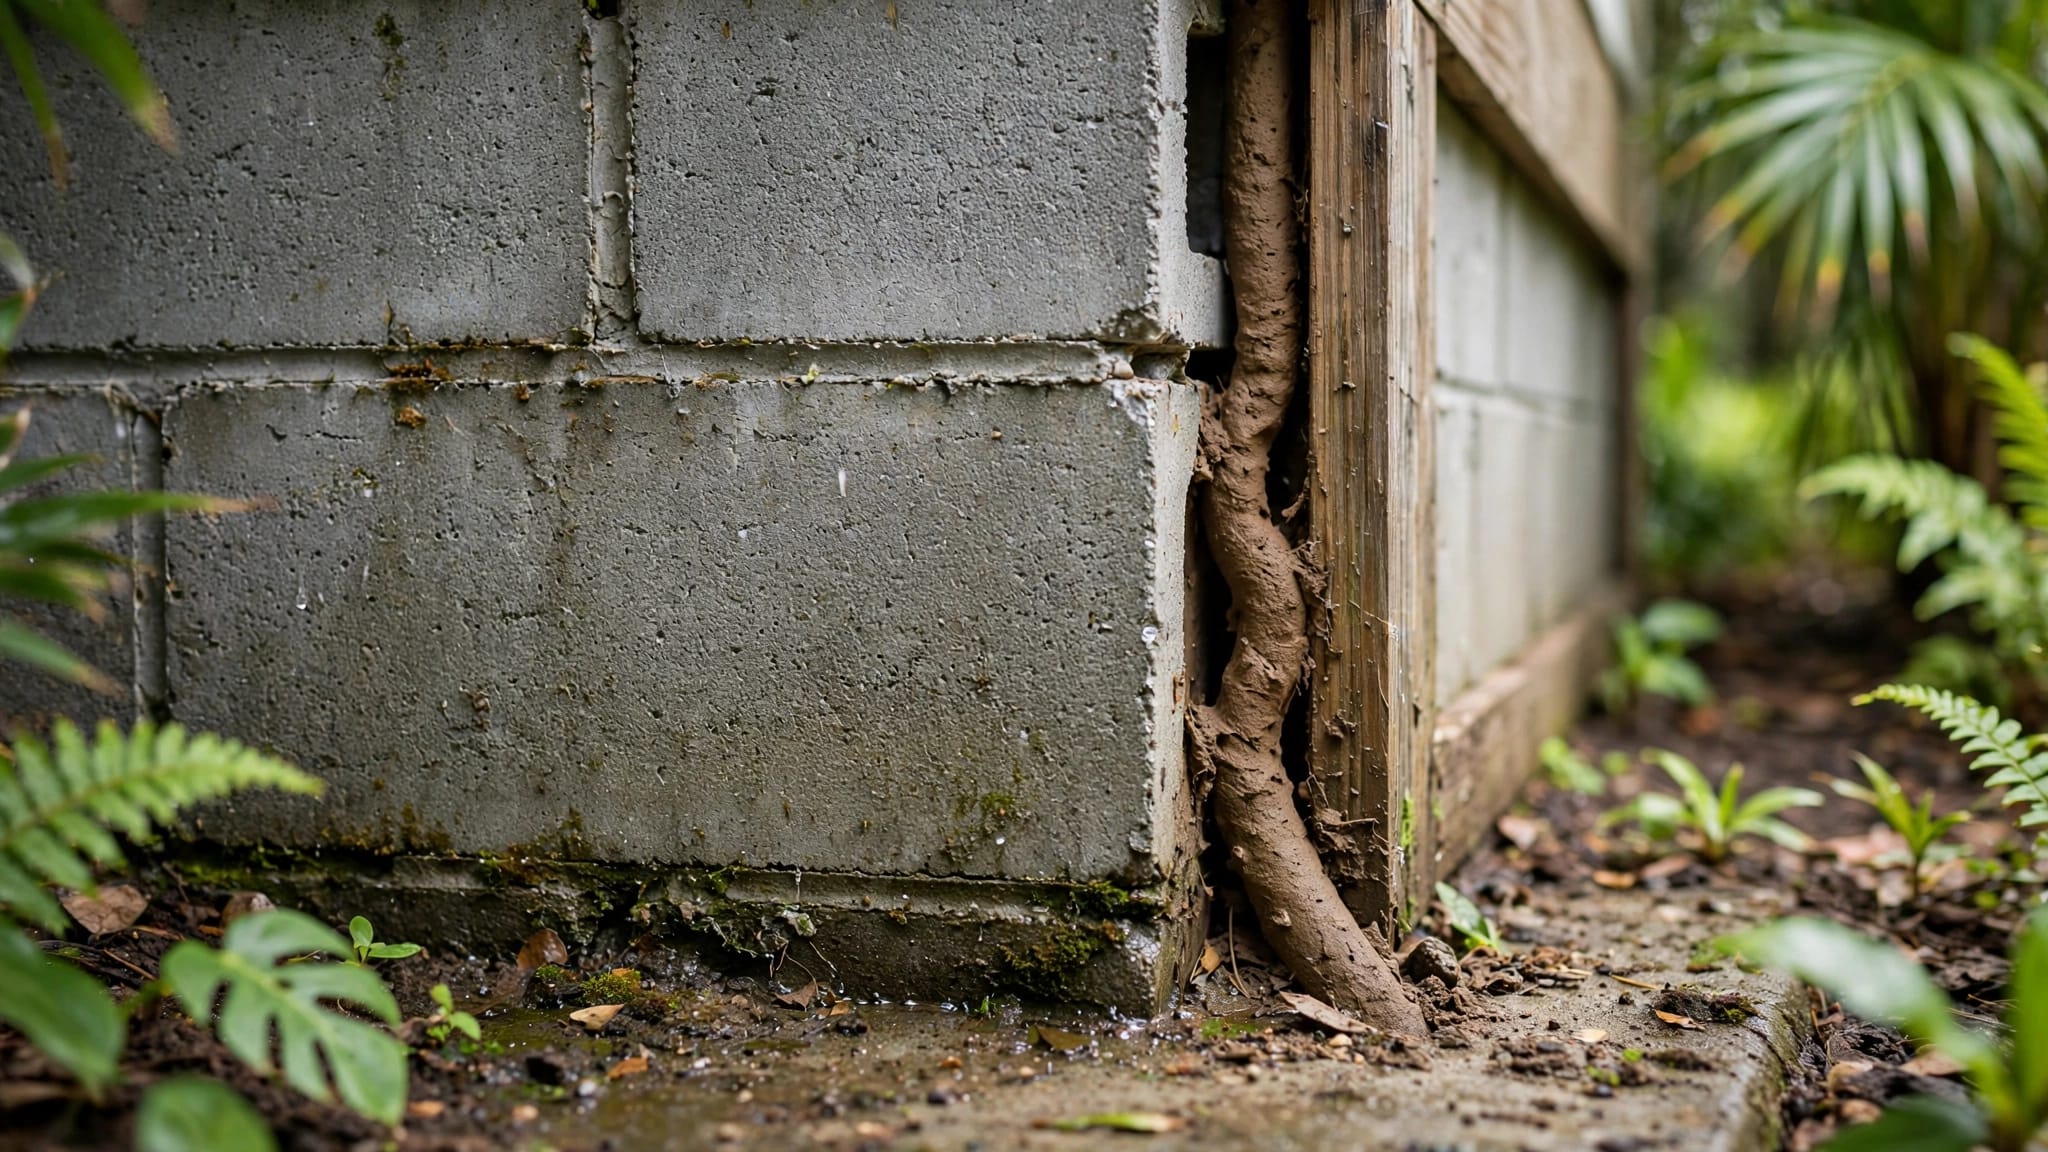
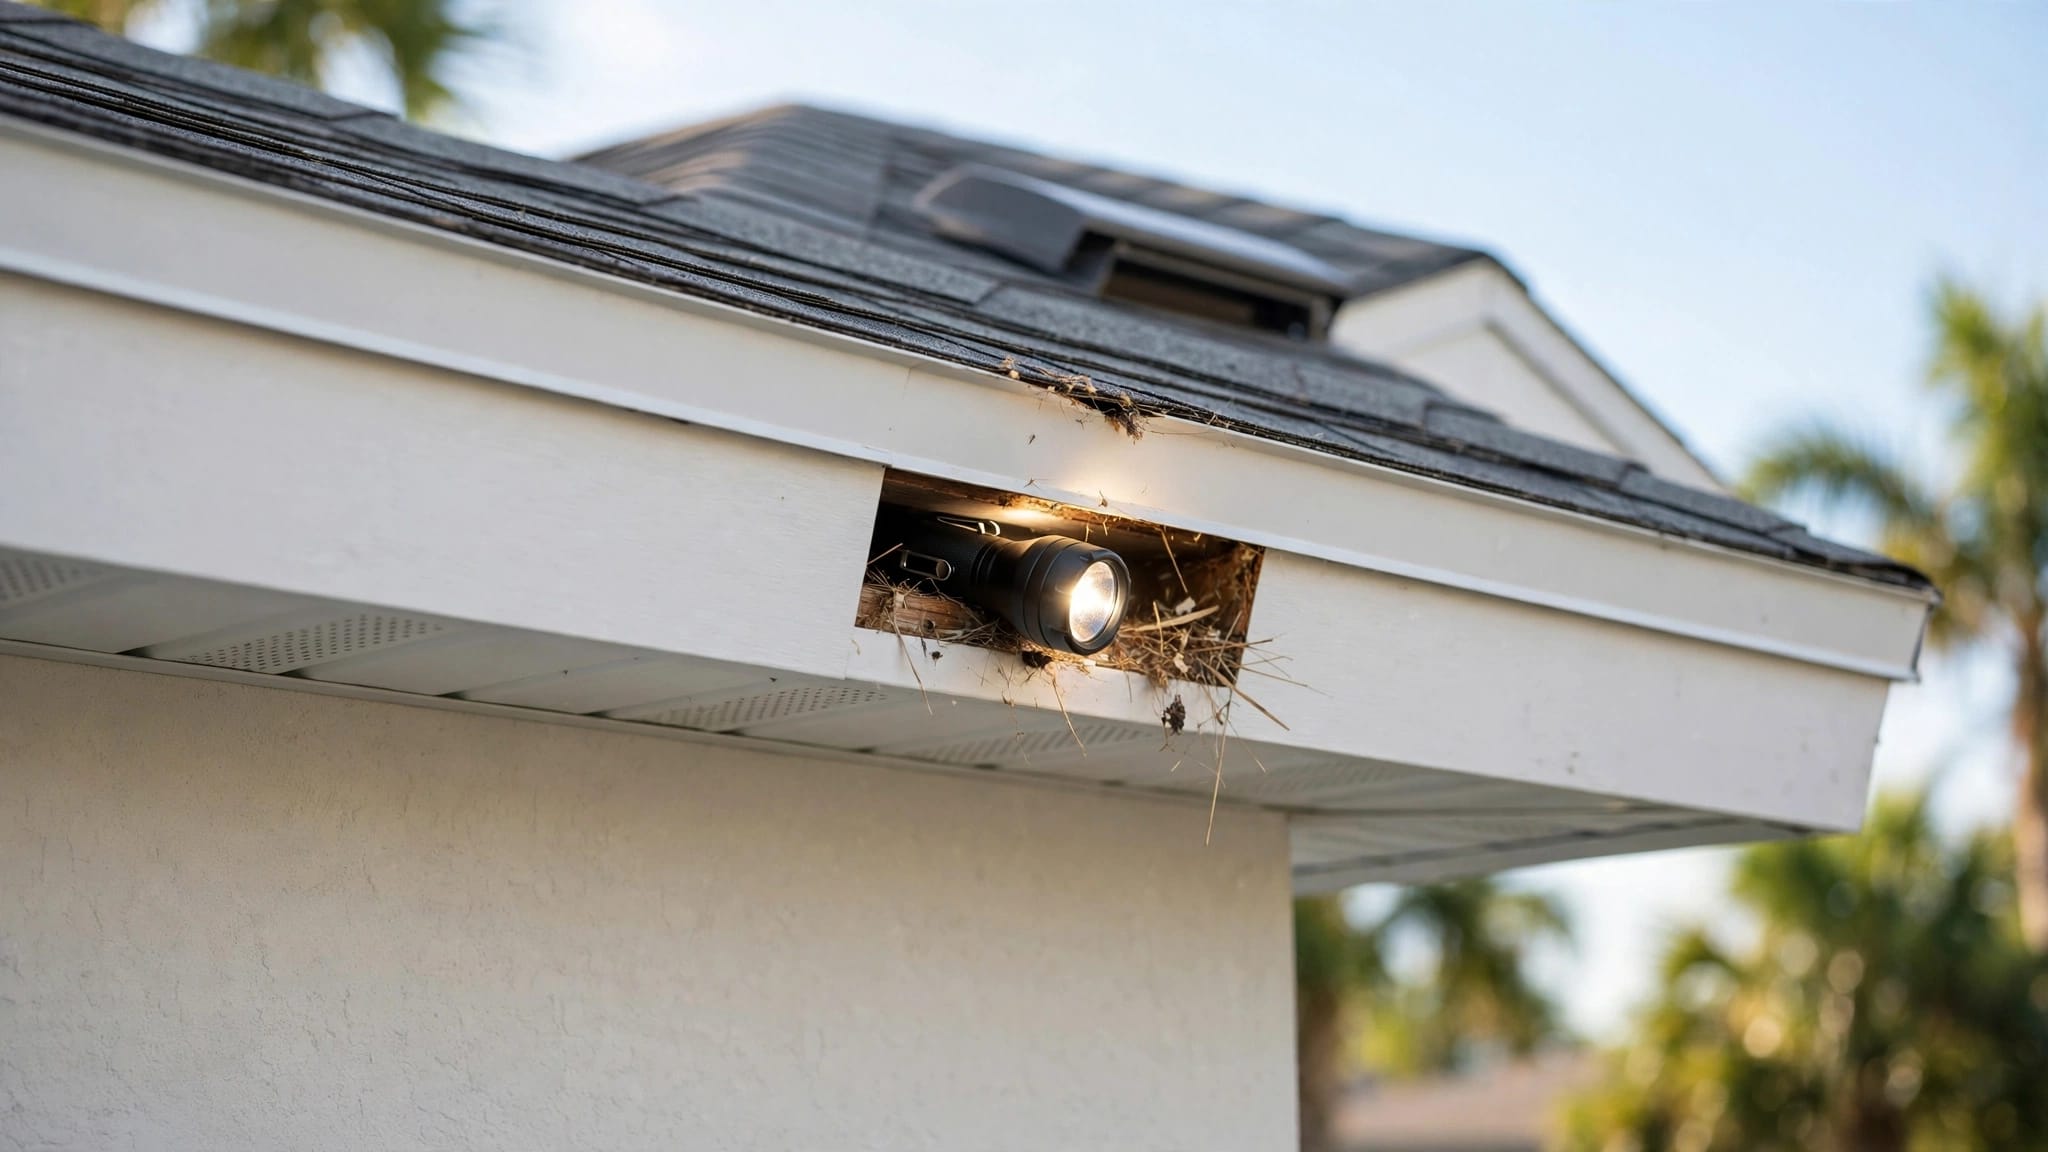
Drywood termites live inside dry wood, including structural timbers, attic framing, trim, cabinets, and furniture. Unlike subterranean termites, they don't need soil contact to infest a home. You can learn more about the differences between termite species before treatment, especially if you aren't sure which type is affecting your property.
Tenting, also called structural fumigation, involves enclosing the home with specialized tarps. A licensed fumigation professional then introduces a gas treatment at a controlled concentration. The gas must reach hidden termite galleries throughout the structure, including spaces that spot treatments may not reach.
Preparation matters for two reasons. First, some household items must leave the home or receive protection according to the product label and company instructions. Second, the technicians need clear access to seal the structure, place monitoring equipment, inspect the property, and complete required safety checks.
Cape Coral homes also present practical challenges. Many properties have screened lanais, pools, detached garages, irrigation equipment, vacation-rental furnishings, and dense landscaping near exterior walls. Tell the company about these features during the inspection. The crew may provide specific instructions for each one.
The preparation sheet from your fumigation provider takes priority over any general checklist because requirements vary by product, home design, and treatment plan.
Start With the Licensed Fumigation Company's Instructions
Ask for the written preparation sheet as soon as your treatment date is confirmed. Read it carefully, and contact the company if any direction is unclear. Don't rely on memory from a previous fumigation or advice from a neighbor.
Confirm the following details with the provider:
- The arrival date and approximate start time
- When everyone must leave the property
- How long the home must remain vacant
- Which foods, medications, and household products must be removed
- Whether items need special bags or other approved protection
- How keys, gates, alarms, and garage access will be handled
- Who will provide the final clearance before re-entry
Some companies provide approved fumigant bags or require specific preparation methods. Use only the materials and procedures they identify. Ordinary plastic storage bags may not meet the company's requirements for every item.
Also ask whether the treatment includes connected areas such as an attached garage, attic, crawl space, or enclosed patio. A technician needs accurate information about every part of the structure before the tent goes up.
If you rent out the property, share the schedule with your property manager and cleaning team. Block the home on every booking platform, notify guests, and arrange cleaning only after the property receives clearance.
Remove Food, Medicine, and Consumable Items
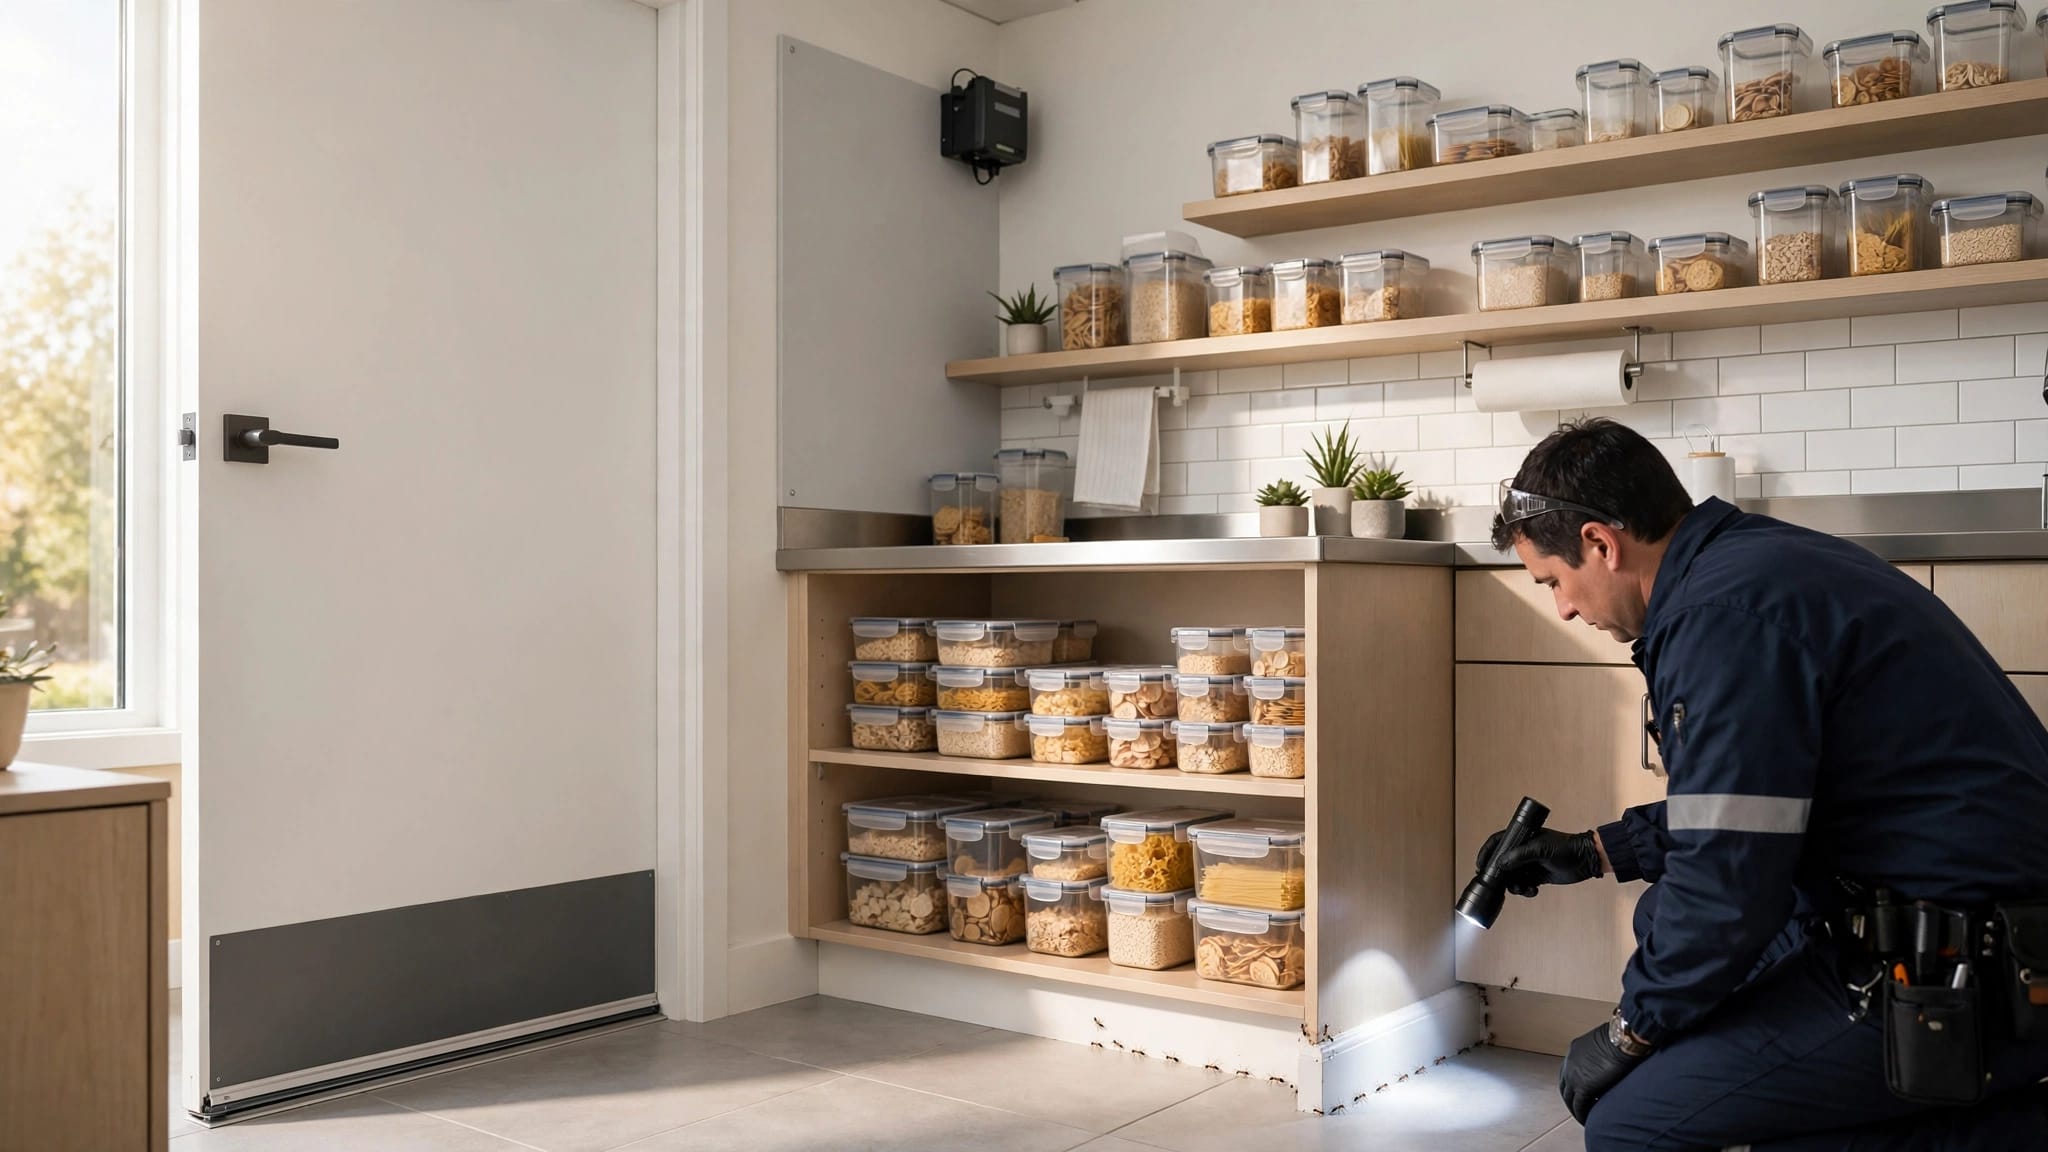
Food and medicine require close attention during drywood termite tenting preparation. Follow the company's exact list rather than assuming sealed packages are safe to leave behind.
Common items that may need to leave the home or receive approved protection include:
- Opened and unopened food
- Snacks, pet food, and birdseed
- Vitamins and prescription medications
- Candy, gum, tobacco, and vaping products
- Spices, tea, coffee, and powdered drink mixes
- Cosmetics and personal-care products applied to the body
- Baby formula, bottles, and feeding supplies
Pay attention to food stored in refrigerators, freezers, pantries, cabinets, and garage shelves. A sealed manufacturer's package may still require removal if the fumigation company lists it in the preparation instructions.
Prescription medications create an extra planning issue. Keep them with you or arrange a safe temporary location before leaving. Never place medicine in a hot vehicle or an unapproved storage area. If you need refrigerated medication, plan for temperature control according to your pharmacist's instructions.

Make a room-by-room inventory several days ahead. That gives you time to spot forgotten items in a desk drawer, nightstand, freezer, or workshop. Photographing shelves before packing can also help you restore the kitchen quickly after the home is cleared.
Plan for People, Pets, Plants, and Sensitive Items
Every person must leave before fumigation begins. This includes children, guests, caregivers, contractors, and anyone who might enter to retrieve an item. Arrange transportation and lodging for the entire treatment period, including possible schedule changes.
Pets must leave too. Remove dogs, cats, birds, reptiles, fish, and small animals from the property. Take food, water containers, bedding, toys, medications, and waste supplies with them. Ask the fumigation company whether outdoor animal enclosures, chicken coops, or wildlife habitats require special attention.
Plants may also need to leave, including potted plants inside the home, on a screened lanai, or in an attached enclosure. Tell the provider about landscaping that touches the exterior walls. Don't trim, move, or remove plants unless the company instructs you to do so.
Arrange care with enough time for a calm transition. A pet left with a friend or boarding facility shouldn't need to return until the home has passed its final clearance.
Remove valuable, irreplaceable, or heat-sensitive belongings if the company recommends it. These may include artwork, musical instruments, collectibles, and certain rubber or leather items. The fumigation provider can tell you which materials require special handling.
Prepare Rooms, Appliances, and Utilities
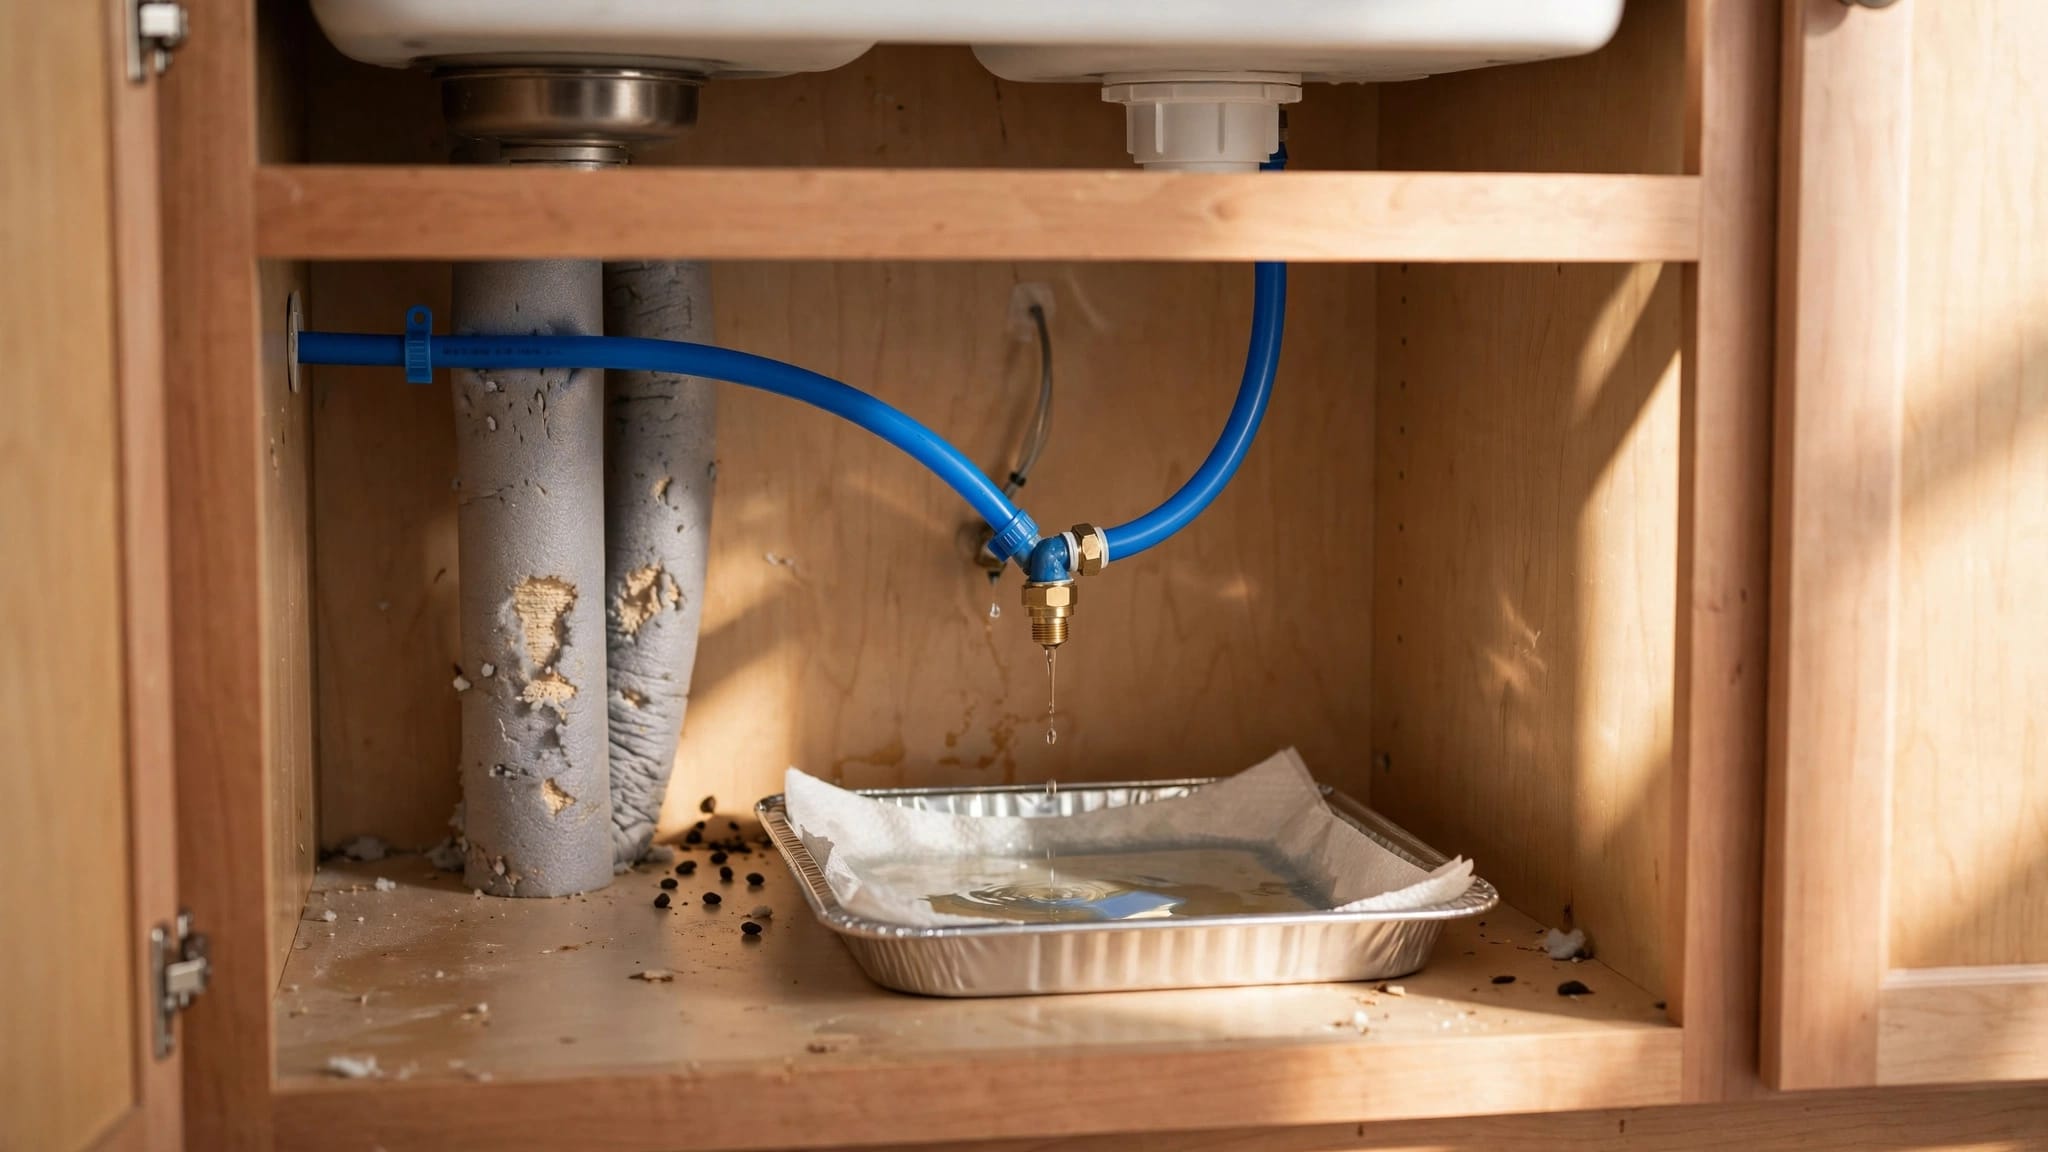
Walk through each room and open access points the crew may need to inspect. This can include closets, cabinets, attic hatches, storage rooms, and areas blocked by furniture. The technicians will tell you whether doors, drawers, or compartments should remain open.
Unplug electrical devices if the preparation sheet requires it. Leave appliances and utilities in the condition specified by the provider. Don't turn off gas, water, electricity, air conditioning, or pool equipment on your own unless the company gives that instruction.
Air-conditioning settings may matter during the treatment and clearance process. A fumigation professional may provide directions for the thermostat, fans, or ventilation equipment. Follow those directions exactly.
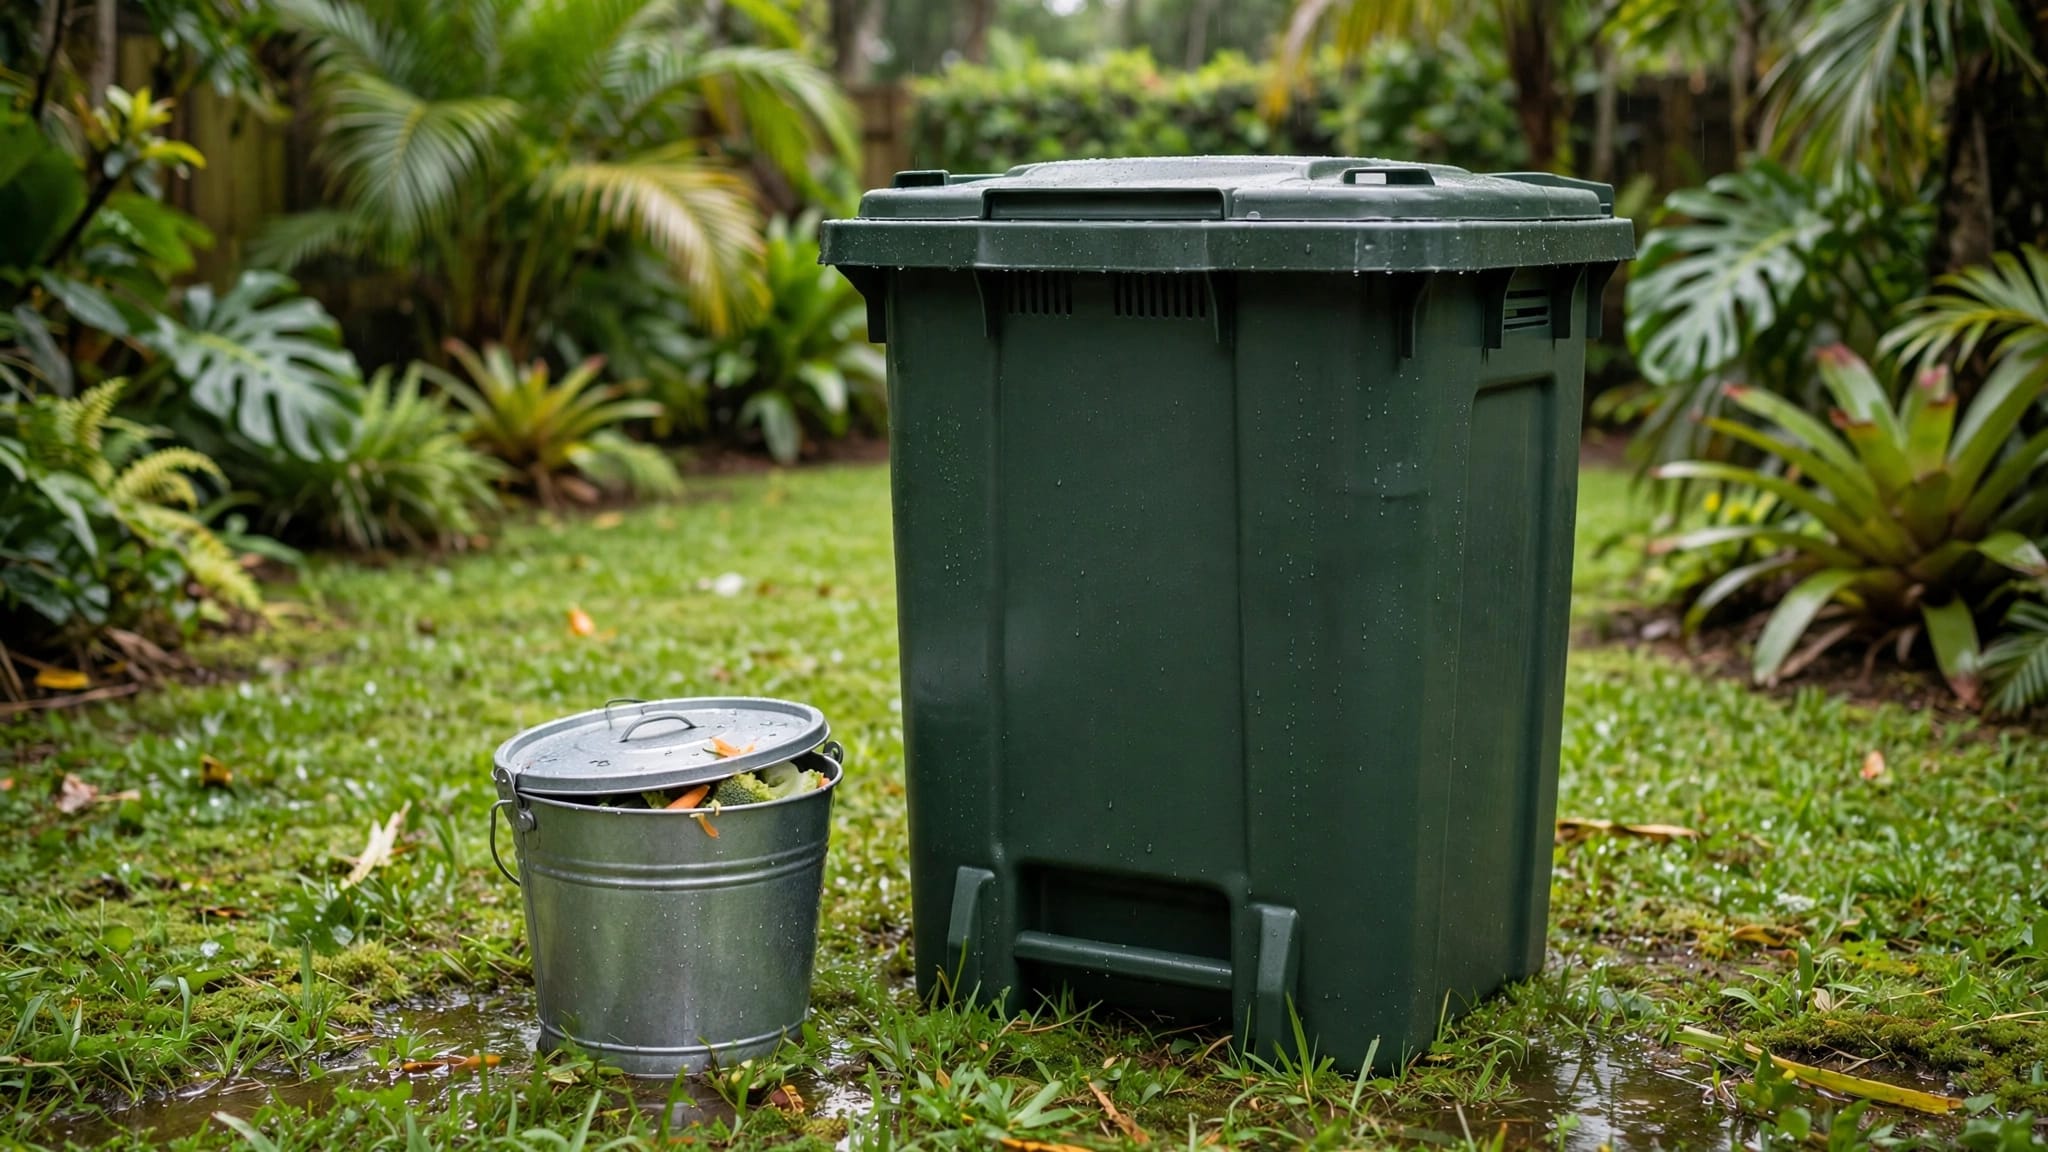
Secure or remove items outside the home. Store toys, patio cushions, bicycles, tools, grills, and loose decorations according to the company's instructions. Move vehicles away from the structure if requested, and leave enough room for the crew to work around the tent.
Keep the following areas accessible:
- Driveway and garage entry
- Side gates and backyard paths
- Exterior electrical and gas equipment
- Attic or crawl-space access
- Pool, lanai, and detached-building areas
- Alarm panels and utility shutoffs
Don't apply additional pesticides, seal holes, or make repairs immediately before treatment unless the company approves them. Extra chemicals or changes to the structure could interfere with the fumigation plan.
Handle Alarms, Access, and Home Security
Tell the fumigation company about every alarm, camera, smart lock, gate, and monitored security system. A tent can block signals, cover equipment, or make normal access impossible.
Your provider may give instructions for alarm disarming, temporary monitoring, or key delivery. Coordinate those steps before the crew arrives. If you use a security company, notify it about the treatment schedule and expected access requirements.
Remove automatic systems that could create problems, such as scheduled irrigation or pool features, only when the fumigation team tells you to. Keep written records of any settings you change so you can restore them later.
Give the company current contact information. A technician may need to reach you if they find an inaccessible room, an item that requires removal, or a condition that changes the treatment schedule.
Before leaving, check doors and windows according to the preparation sheet. The crew may need specific openings accessible before sealing, but the property must also be secure after the work begins. Never improvise with locks, windows, or gates.
What to Expect During and After Tenting
On treatment day, the fumigation crew will inspect the structure, confirm that people and animals are out, and prepare the perimeter. They may place warning signs, seal openings, and install equipment that monitors gas levels.
The home must remain vacant during the treatment and aeration period. Don't enter because you forgot a charger, document, medication, or piece of clothing. Call the fumigation company instead and ask how to handle the item safely.
Treatment timing varies by home size, weather, fumigant, structural conditions, and the company's process. Don't schedule movers, cleaners, guests, or repair workers until the provider confirms that the home is ready.
After aeration, a licensed fumigation professional must test the air inside the property. Do not re-enter until that professional has cleared the home. The tent coming down doesn't automatically mean the house is safe to occupy.
Keep the clearance documentation with your home records. Ask when you can reconnect utilities, reset alarms, restart irrigation, return plants, and bring pets inside. Follow the company's post-treatment directions rather than making assumptions.
A Final Cape Coral Preparation Checklist
Use this short list after reviewing the provider's written instructions:
- Confirm the treatment date, vacancy period, access plan, and clearance process.
- Remove or protect food, medicine, pet supplies, and personal-care products as directed.
- Arrange temporary care for every person, pet, and plant.
- Clear access to garages, gates, attics, crawl spaces, utility areas, and exterior walls.
- Notify your alarm company, property manager, guests, and service providers.
- Follow the company's instructions for appliances, utilities, irrigation, pool equipment, and air conditioning.
- Remove vehicles and outdoor belongings if requested.
- Take valuable or sensitive items away from the property when advised.
- Leave the home before the crew begins sealing and treatment.
- Return only after the licensed professional provides final clearance.
If you're still investigating the source of the damage, review these key signs of a termite infestation with a qualified technician. Correct identification helps determine whether fumigation is appropriate for the structure.
Conclusion
Preparing for drywood termite tenting is mostly about careful coordination. Follow the written preparation sheet, remove the items the provider identifies, arrange a safe place for people and pets, and keep the property accessible.
The most important step happens after treatment: wait for the licensed fumigation professional to test and clear the home before anyone re-enters. With a complete plan and clear communication, Cape Coral homeowners can approach the process with fewer surprises and better peace of mind.
Schedule a Free Inspection: