What to Remove Before Interior Pest Control in Cape Coral Homes
A pest-control visit goes better when your technician can reach the places pests use most, including baseboards, cabinet voids, and quiet corners. Preparing for interior pest control doesn't mean emptying your whole home. It means removing the items that block access or could come into contact with a treatment.
Cape Coral homes often have tile floors, open kitchens, laundry rooms, and lanai doors that create busy pathways through the house. A few focused steps can keep the appointment simple while helping your technician inspect and treat the right areas.
Start with the rooms where you've seen activity, then work outward.
Why prep matters before interior pest control
Pests favor edges, gaps, hidden moisture, and undisturbed storage. When furniture, bags, pet supplies, or countertop items cover those areas, a technician may have less room to inspect or apply a targeted treatment.
Preparation also protects belongings that shouldn't be near a product application. Food, dishes, pet items, medications, and children's toys deserve attention before the appointment.
Give the technician access to pest pathways
Ants and roaches often travel along walls, under sinks, around plumbing lines, and behind appliances. Rodents may leave droppings near pantry shelves, garage walls, or utility areas.
Move only what blocks access. A technician doesn't need an empty house, but clear space near affected walls helps them see cracks, droppings, trails, and moisture problems.
Follow the plan for your pest and treatment
Instructions differ for ants, German roaches, fleas, bed bugs, rodents, and other pests. A light crack-and-crevice treatment may have different preparation needs than a flea service or a focused bed bug treatment.
Before the visit, confirm re-entry timing, food-contact precautions, pet arrangements, and ventilation guidance with your licensed pest professional. For a broader view of service options, review Cape Coral residential pest control.
Don't assume every room needs the same preparation. The pest, product, and treatment location determine what must be removed.
Clear living rooms, bedrooms, and hallways
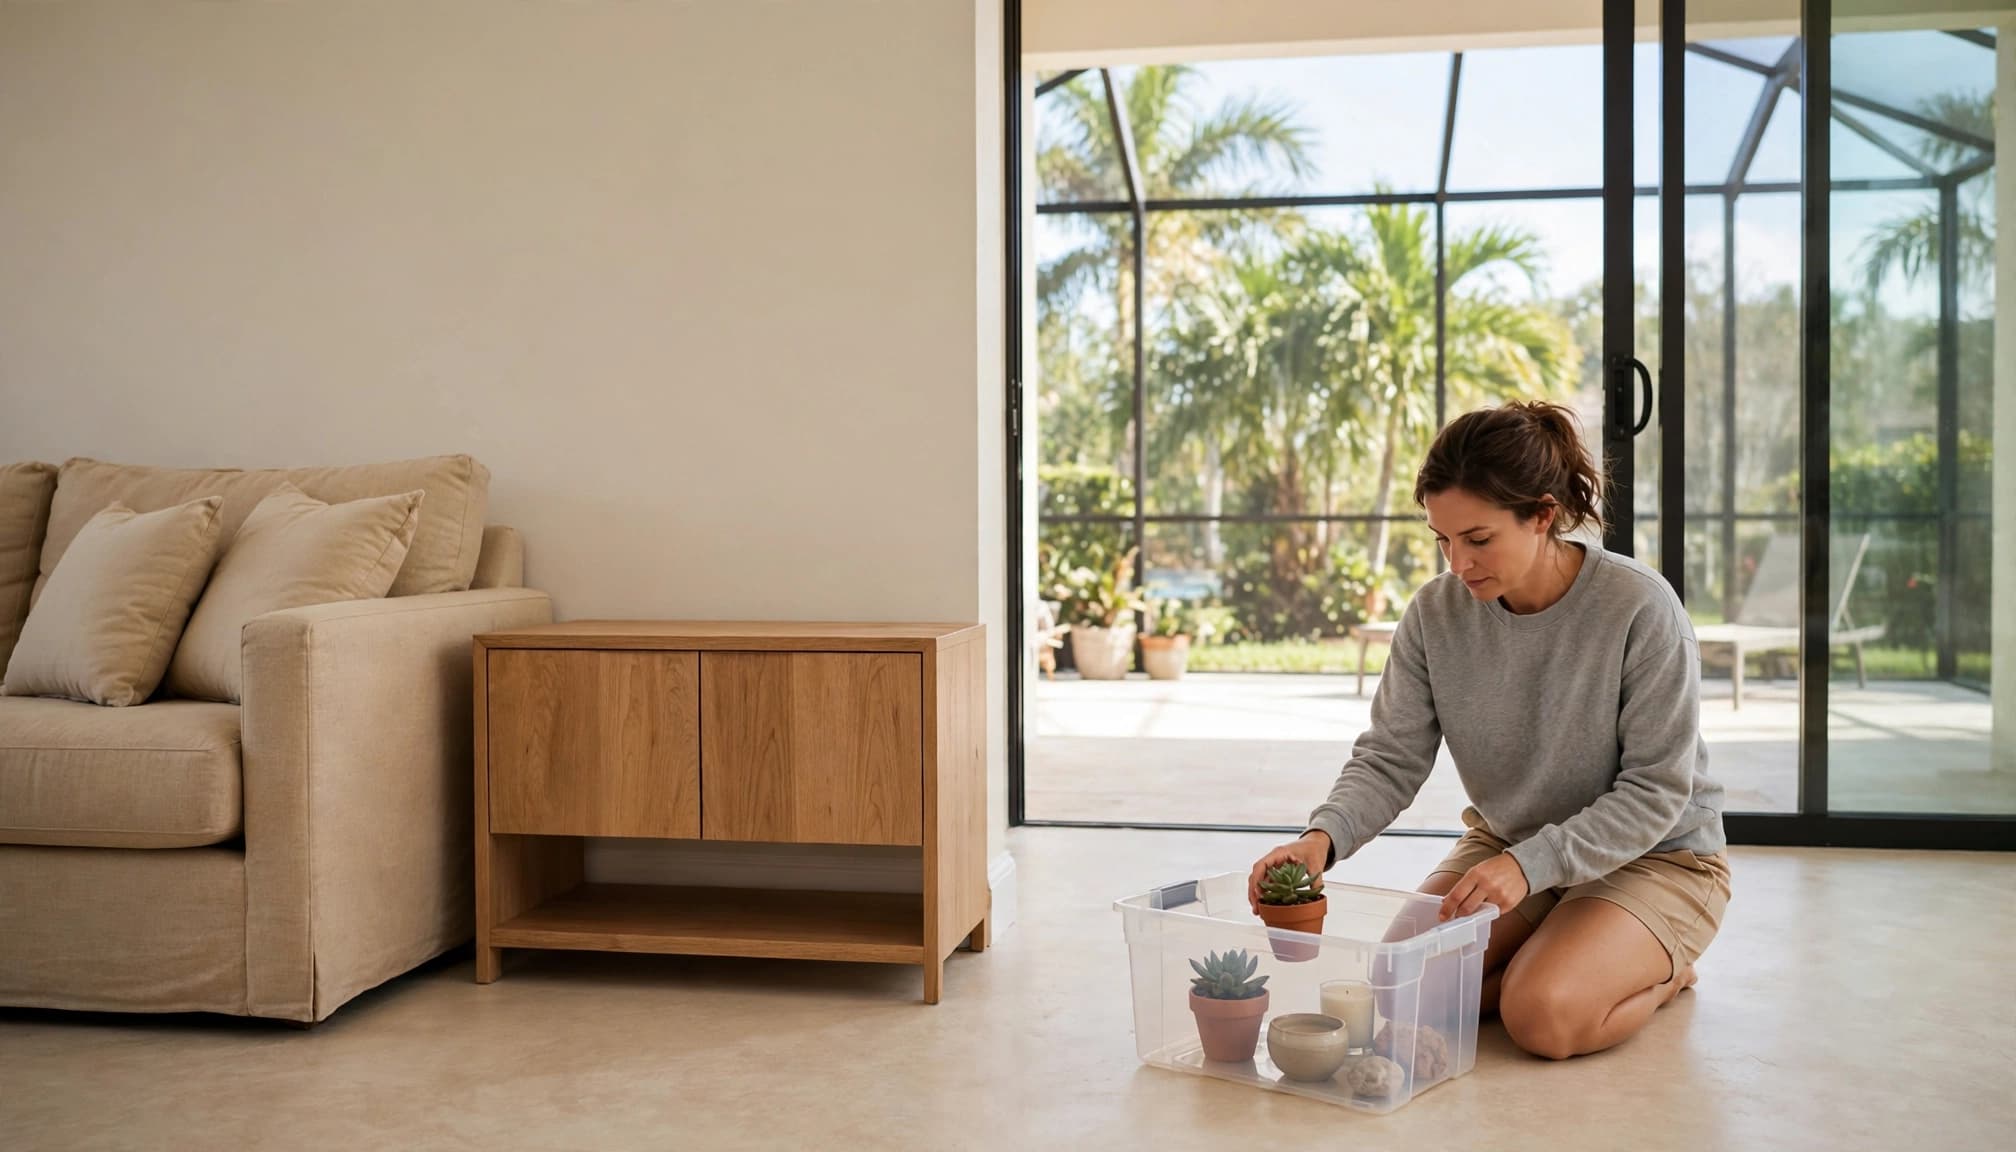
Start where people, pets, and clutter collect. You don't need to relocate heavy furniture unless your pest professional asks you to. Instead, create room around the edges where insects commonly travel.
Remove loose items along walls and baseboards
Pick up items resting on the floor near walls, especially in rooms with ant or roach activity. Small objects make it harder to inspect baseboards and can shelter pests.
Before your appointment, remove or relocate:
- Shoes, backpacks, purses, and sports gear stored against walls.
- Children's toys, pet toys, and floor cushions near treatment areas.
- Loose rugs or runners if they cover an active trail or suspected nesting spot.
- Baskets, stacks of magazines, paper bags, and cardboard boxes.
- Items beneath beds, sofas, and low cabinets if the technician needs access there.
Place these belongings in a clean bin, on a table, or in the center of the room. Avoid shifting them from one cluttered corner to another.
Make bedrooms accessible without over-clearing
For routine interior pest control, pull beds and nightstands slightly away from walls only if your technician requested it. Remove clothing, laundry piles, slippers, and storage containers from the floor near bed frames and closets.
Bed bug preparation is different. Don't move bedding, mattresses, or suspected items into another room unless you receive clear instructions. Carrying an infested blanket or bag through the home can spread the problem. If bed bugs are suspected, follow the preparation guidance for your scheduled treatment.
Remove food, dishes, and pet supplies from treatment areas
Kitchens are high-traffic pest zones because they offer water, crumbs, grease, and hiding spaces. Cape Coral's warm, humid weather can also keep pantry and sink areas attractive year-round.
Clear only the surfaces and cabinets your professional identifies. Still, it's smart to protect food-contact items before an interior appointment.
Clear counters and food-prep surfaces
Remove exposed food, fruit bowls, bread, coffee makers, toaster ovens, dish racks, and countertop appliances if treatment may occur nearby. Put food in the refrigerator or sealed containers, and store dishes in closed cabinets or another room.
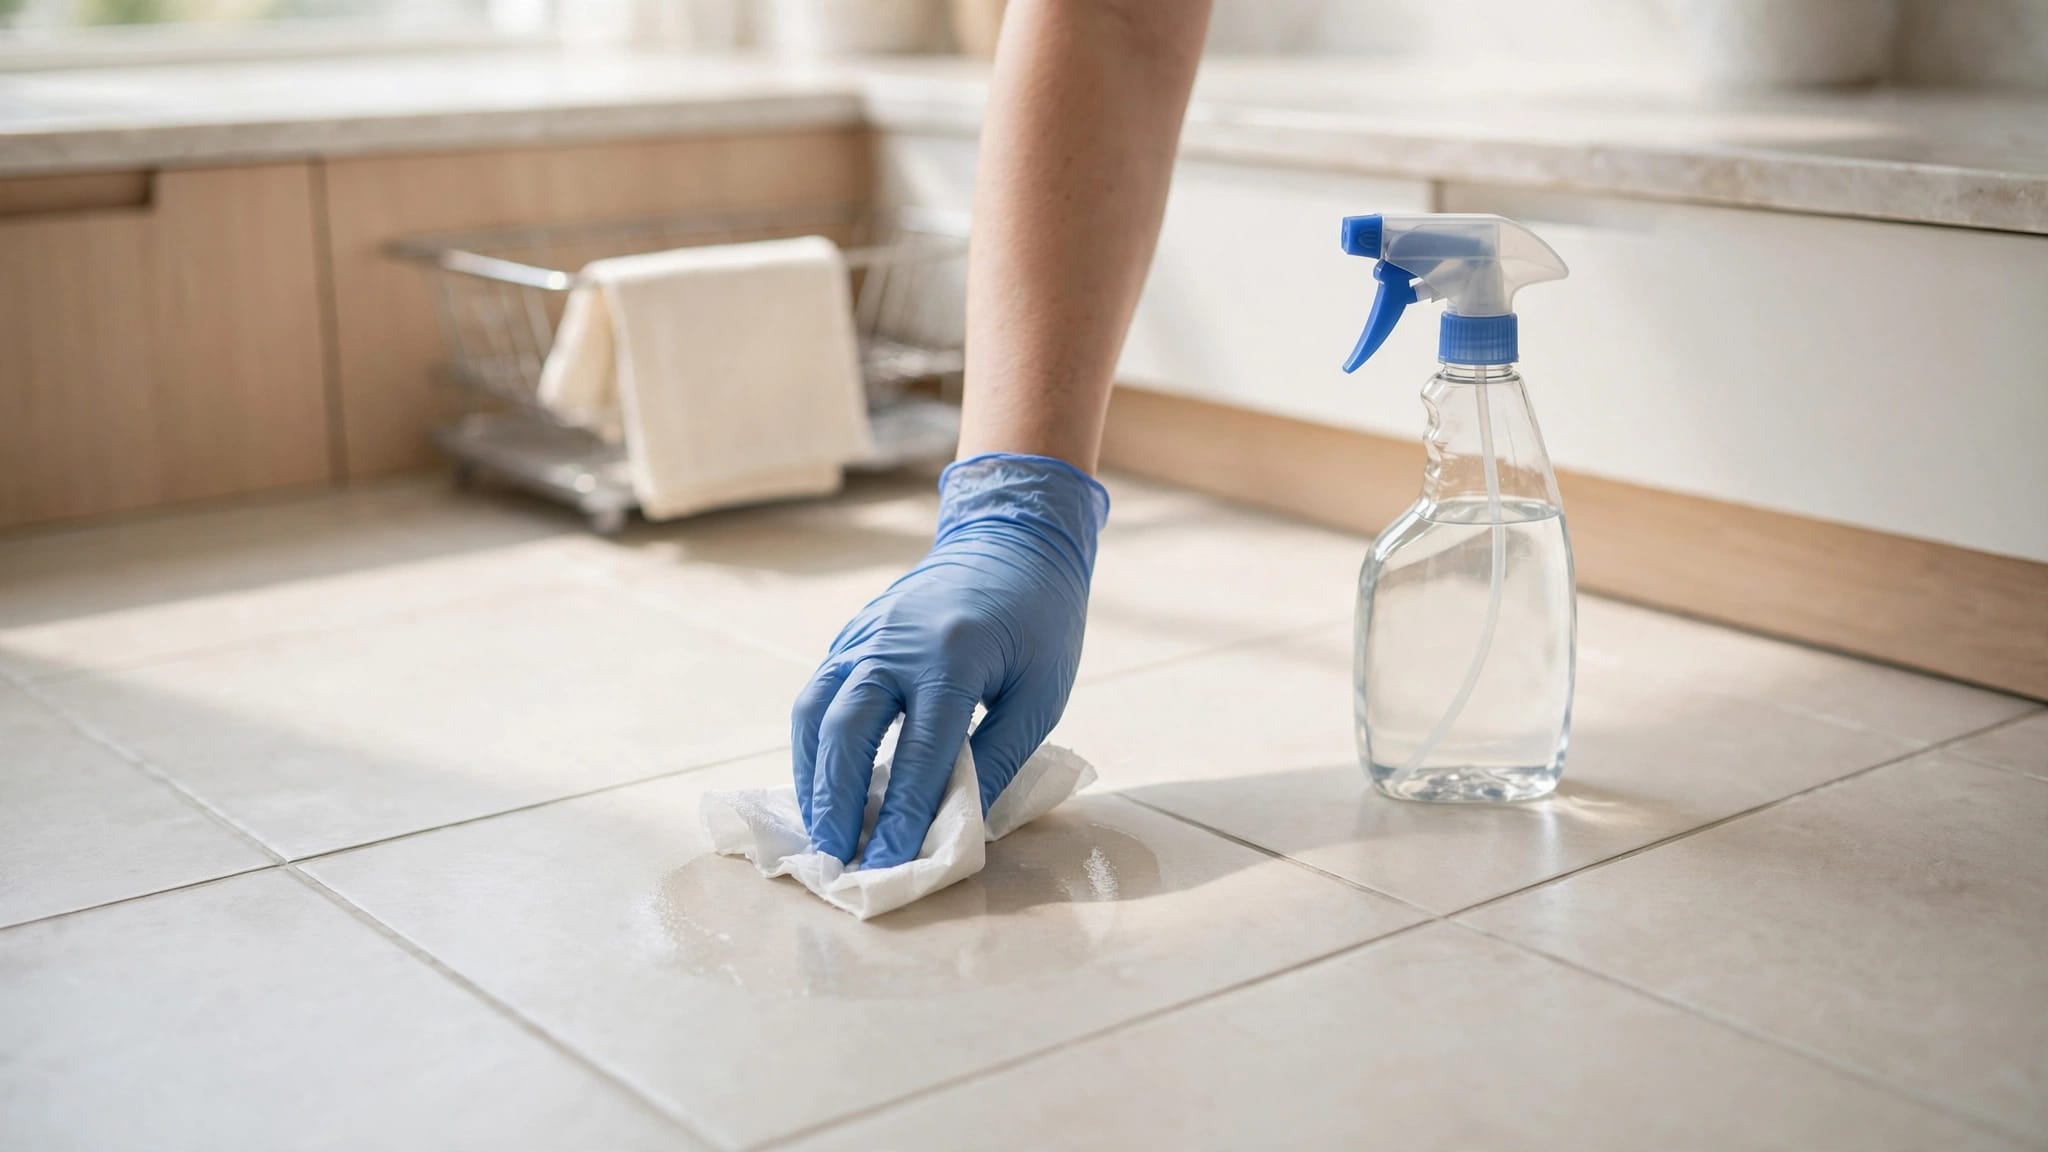
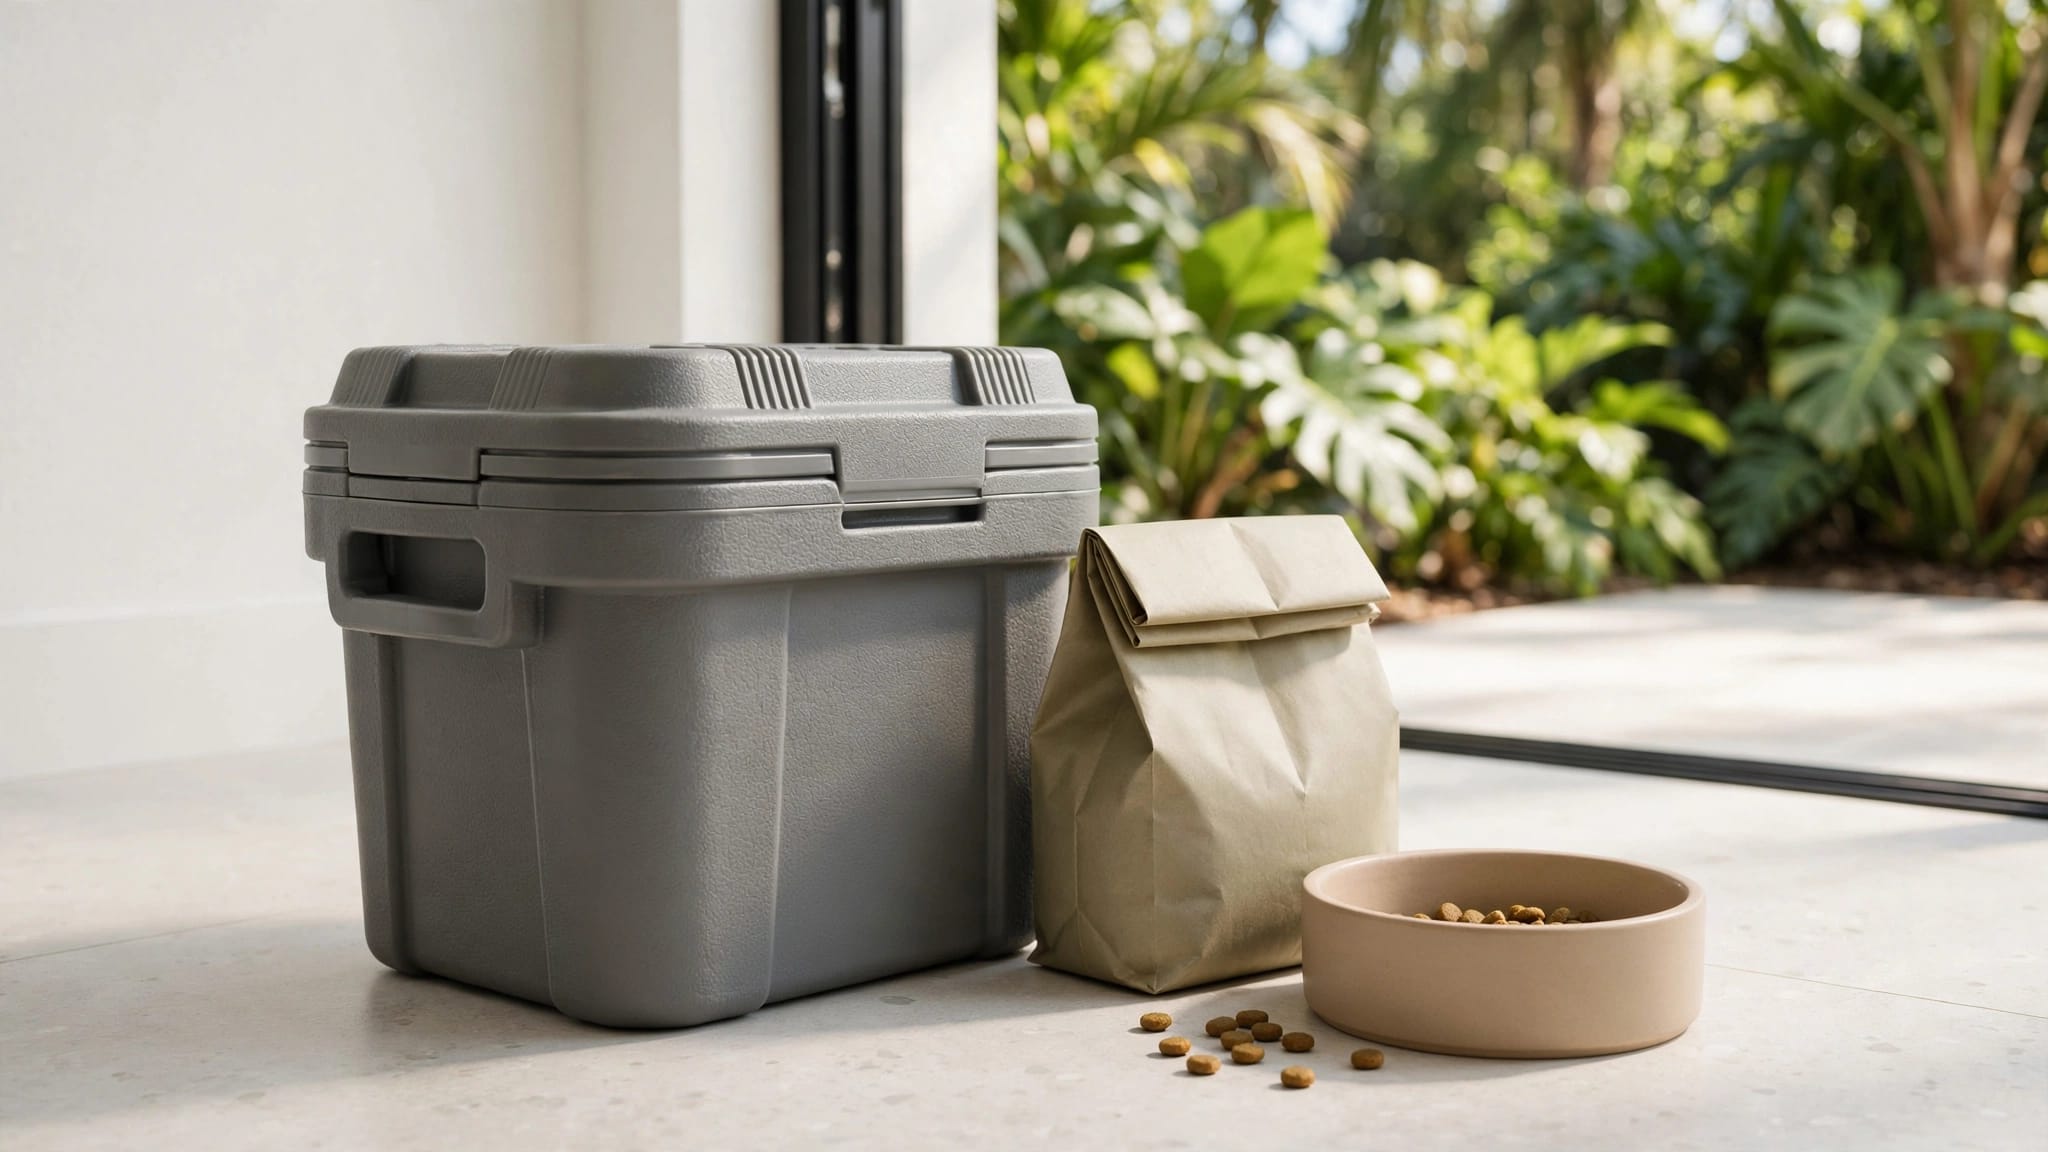
Don't leave open pet-food bags on the floor. Seal them in a hard-sided container or move them away from the service area. Wipe crumbs and grease from counters, stovetops, and the floor before the technician arrives.
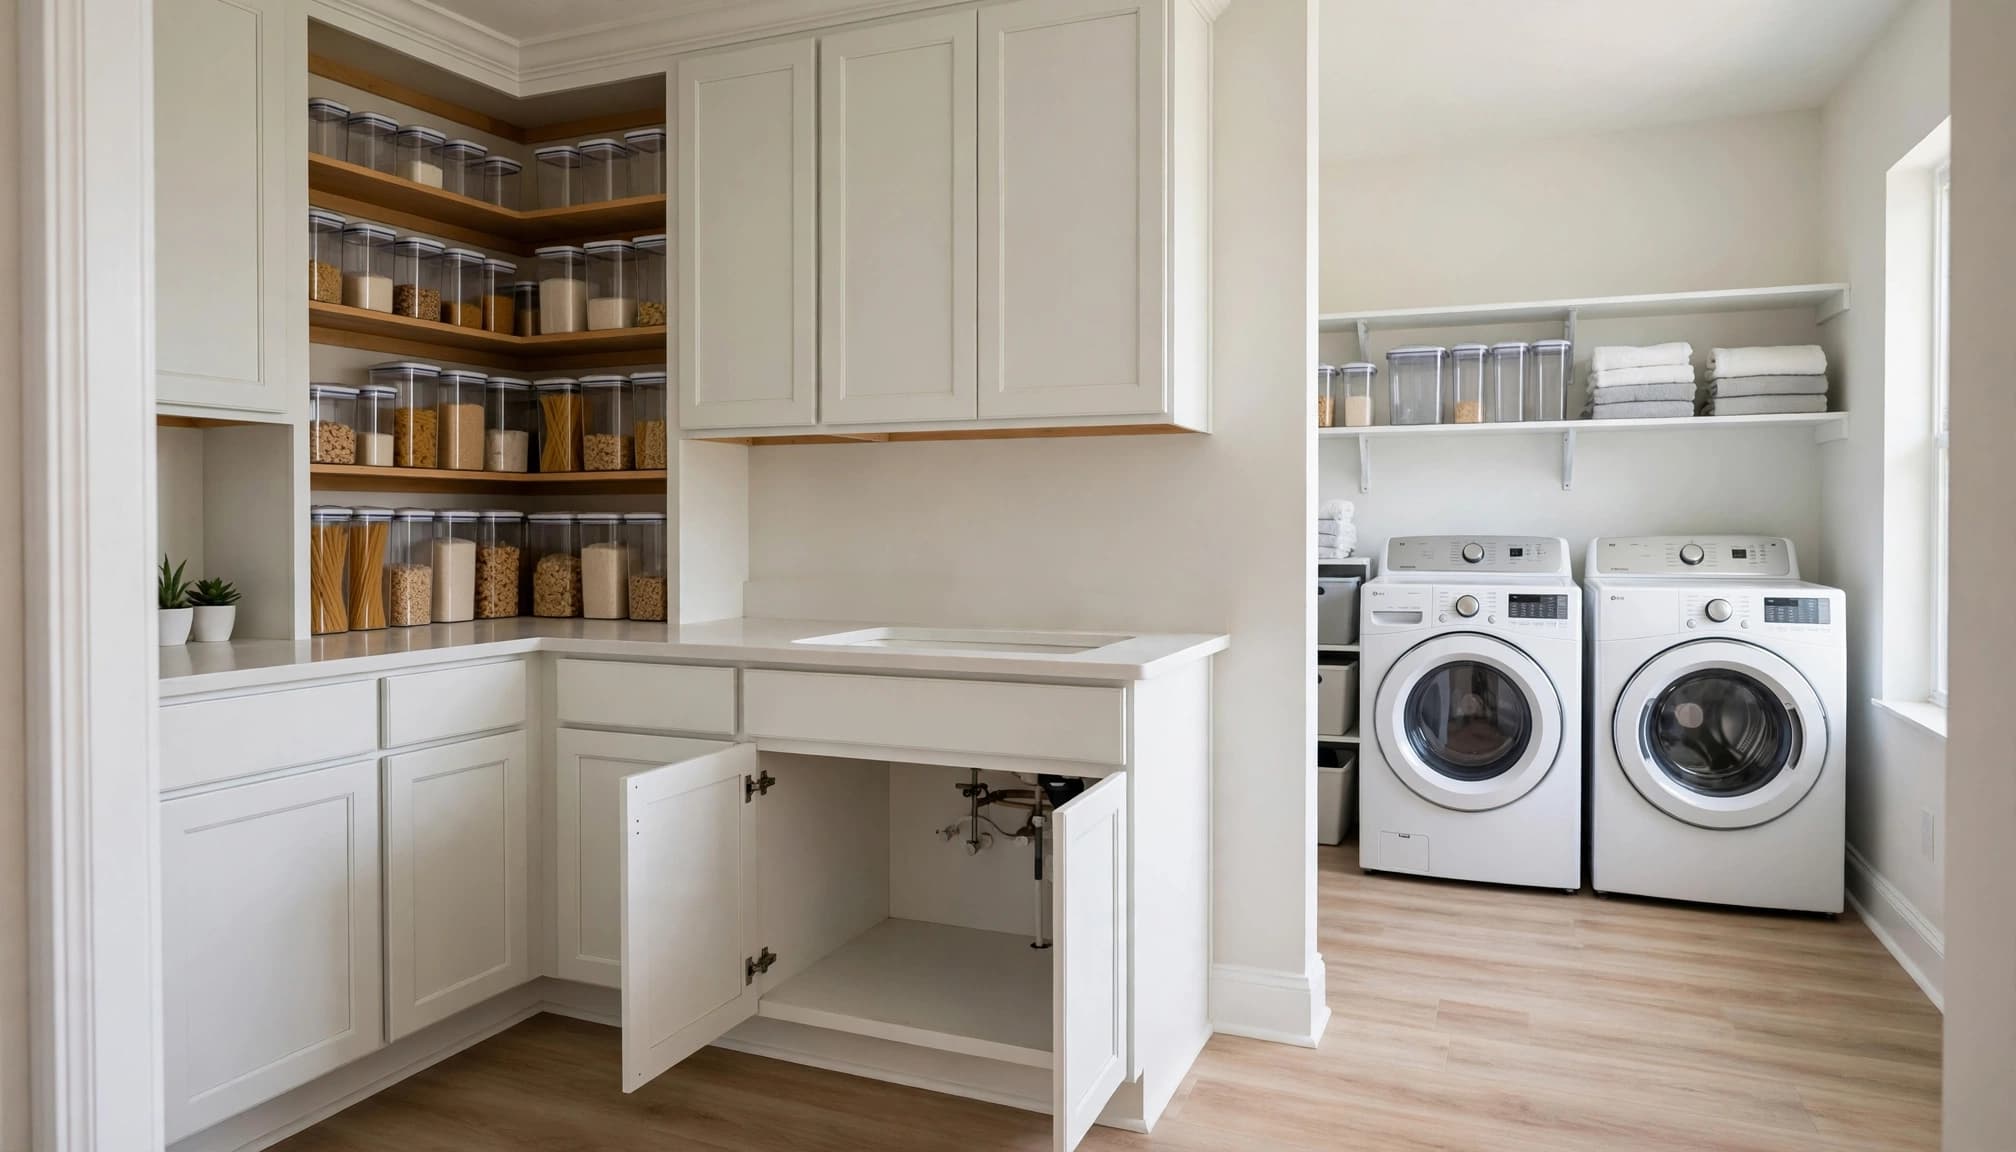
Under the sink, remove cleaning supplies, sponges, dish tubs, and loose bags if the cabinet needs inspection or treatment. Keep household chemicals in their original containers and place them somewhere the technician can identify easily.
Take pet bowls, cages, and tanks seriously
Remove pet food and water bowls, feeding mats, toys, bedding, and litter boxes from rooms being treated. Wash pet bedding if fleas are part of the concern, then keep it away from the treatment area until your professional gives the okay.
Tell the technician about aquariums, terrariums, bird cages, and small-animal habitats before treatment begins. Fish, reptiles, birds, and invertebrates can have special safety needs. Do not rely on a towel or plastic cover without direct instructions from the pest professional.
Empty problem cabinets in bathrooms, laundry rooms, and utilities
Moisture draws pests. Bathrooms, laundry rooms, water-heater closets, and utility spaces often contain plumbing gaps that ants, roaches, and occasional invaders use to enter.
These areas can be easy to overlook because their contents are tucked away. A short reset before the appointment makes a big difference.
Remove personal items from under-sink cabinets
If a bathroom vanity or utility sink will be treated, take out toothbrushes, cosmetics, razors, towels, toilet paper, and open personal-care products. Put them in a closed tote or on a high shelf outside the work area.
Also remove cleaning cloths, bath mats, and trash cans close to the vanity. Leaving the cabinet open, if requested, gives the technician a clear look at pipe openings, damp wood, and insect activity.
Clear laundry and water areas
Move laundry baskets, detergent bottles, dryer sheets, and loose clothing away from the wall behind the washer and dryer when access is needed. Check the floor drain, water connections, and baseboards for moisture, droppings, or insect debris.
Don't stack items against a water heater, HVAC closet, or electrical panel. Those spaces need safe access, and pests often use nearby gaps as travel routes.
Remove clutter, but preserve pest evidence
A clean route helps, yet some clues matter more than a spotless room. Fresh droppings, insect specimens, shed skins, damaged packaging, and chewed materials can help identify the pest and its activity level.
Take clear photos before cleaning if you can. Then point out the location during the visit.
Keep rodent signs visible and accessible
Don't sweep up rodent droppings, nesting material, or chewed wiring before your technician sees them, unless you have an immediate safety reason. Rodent droppings can reveal travel paths, while chewed insulation or cables may point to a nesting area.
If you find exposed or damaged electrical wiring, avoid touching it. Keep children and pets away, and arrange for a qualified electrician to inspect the wiring after the rodent issue is addressed.
Remove storage boxes, bags, and loose materials that hide access points. However, don't seal a suspected rodent opening before an inspection. A professional needs to determine whether animals are still inside and locate every likely entry route.
Avoid moving pests into other rooms
Don't carry a roach-infested small appliance into the garage or move a flea-covered pet bed to a guest room. Bag items when instructed, and keep them contained.
Similarly, don't relocate cardboard boxes from a garage or pantry into a bedroom. Insects can hide in folds, seams, and corrugated cardboard. If a box is no longer useful, discard it outside after checking with your technician.
What should stay in place for the appointment
Homeowners sometimes remove too much. Built-in furniture, refrigerators, washers, dryers, and large cabinets usually stay where they are unless the treatment plan calls for moving them.
Leave accessible pest evidence in place, and don't cover cracks or gaps with tape, caulk, or foam before the inspection. A technician needs to see where pests enter.
Keep these items available:
- Your pest sighting notes, photos, and any insects you collected in a sealed container.
- A list of rooms where you have seen pests, heard scratching, or noticed odors.
- Information about pets, aquariums, children, allergies, and sensitive household members.
- Access to affected rooms, the garage, attic hatch, utility closets, and sinks when relevant.
- Your current contact number in case the technician finds an issue that changes the treatment plan.
If you rent part of your property or manage a vacation home, make sure the technician can enter every reported area. Locked rooms and packed storage spaces can limit what they can inspect.
Get the home ready on treatment day
On appointment day, finish vacuuming and cleaning before the technician arrives. Don't spray store-bought insecticides, foggers, essential oils, or strong cleaners in the target area unless the pest professional told you to. Those products can interfere with bait placement, hide activity, or create unnecessary exposure concerns.
Open paths to the areas you discussed. Secure pets in an untreated room, take them with you, or follow the instructions provided for their care. Children should also stay away from active treatment areas.
After treatment, respect the stated re-entry time. Ask when you can replace pet bowls, toys, food-prep items, and personal belongings. Confirm whether surfaces need wiping, whether floors should remain untouched for a set period, and how long to wait before vacuuming.
Interior pest control is most effective when the home stays easy to inspect afterward. Keep food sealed, correct leaks, reduce cardboard storage, and leave a little space along baseboards in rooms with repeated activity.
A prepared home gives pest control room to work
You don't need to turn your Cape Coral home upside down before a service visit. Focus on removing food-contact items, pet supplies, loose belongings, and clutter from the areas where pests hide and travel.
Clear access helps your technician identify the source instead of treating around obstacles. Pair that preparation with the written instructions for your pest and treatment, and your home will be ready for interior pest control that fits the problem at hand.
Schedule a Free Inspection: