Cape Coral Pest Control Checklist for Property Managers
A small water stain under a sink can become a roach issue before the next rent cycle. Cape Coral pest control works best when property managers treat moisture, access points, and resident reports as routine maintenance concerns.
Cape Coral's humidity, heavy rainfall, dense landscaping, and warm temperatures give pests long active seasons. A practical checklist helps you spot conditions early, document them clearly, and call qualified help before a tenant complaint turns into a larger repair or vacancy problem.
Build a Cape Coral Pest Control Routine That Fits the Property
Pest problems rarely begin with a visible insect. They often start with wet mulch against a wall, a torn door sweep, an overlooked drain, or food left behind after a move-out. Set a recurring inspection rhythm for every property type, including single-family rentals, condos, duplexes, and multifamily buildings.
Monthly exterior checks work well during wetter months. Interior common areas, vacant units, and high-risk units need closer attention. Keep a calendar that connects inspections with landscaping visits, roof checks, pressure washing, and turnover dates.
Match inspection frequency to risk
A ground-floor unit beside irrigation or a canal may need more attention than a dry, upper-floor condo. Likewise, units with pets, frequent turnovers, prior rodent activity, or recurring plumbing leaks should move to a higher inspection schedule.
Use a consistent cadence:
- Check exterior conditions monthly, and again after extended rain or tropical weather.
- Inspect vacant units every seven to 14 days, especially kitchens, bathrooms, laundry rooms, and garages.
- Review occupied-unit pest reports within one business day when possible.
- Schedule recurring professional service based on property history, construction, and tenant turnover.
A pest-free inspection today does not cancel the need for recurring service. Rain, landscaping, and tenant activity can change conditions within days.
Keep residents part of the process
Residents often see the first warning signs. Give them one clear reporting route, such as a maintenance portal, email address, or phone number. Ask them to report droppings, chewed packaging, unusual odors, insect activity, leaks, and standing water promptly.
Clear communication also protects access for treatments. Tell residents when service is scheduled, what preparation is required, and when children and pets can safely return to treated areas. Qualified pest-control professionals should provide product and safety guidance for each visit.
Make Turnover Inspections a Pest Prevention Checkpoint
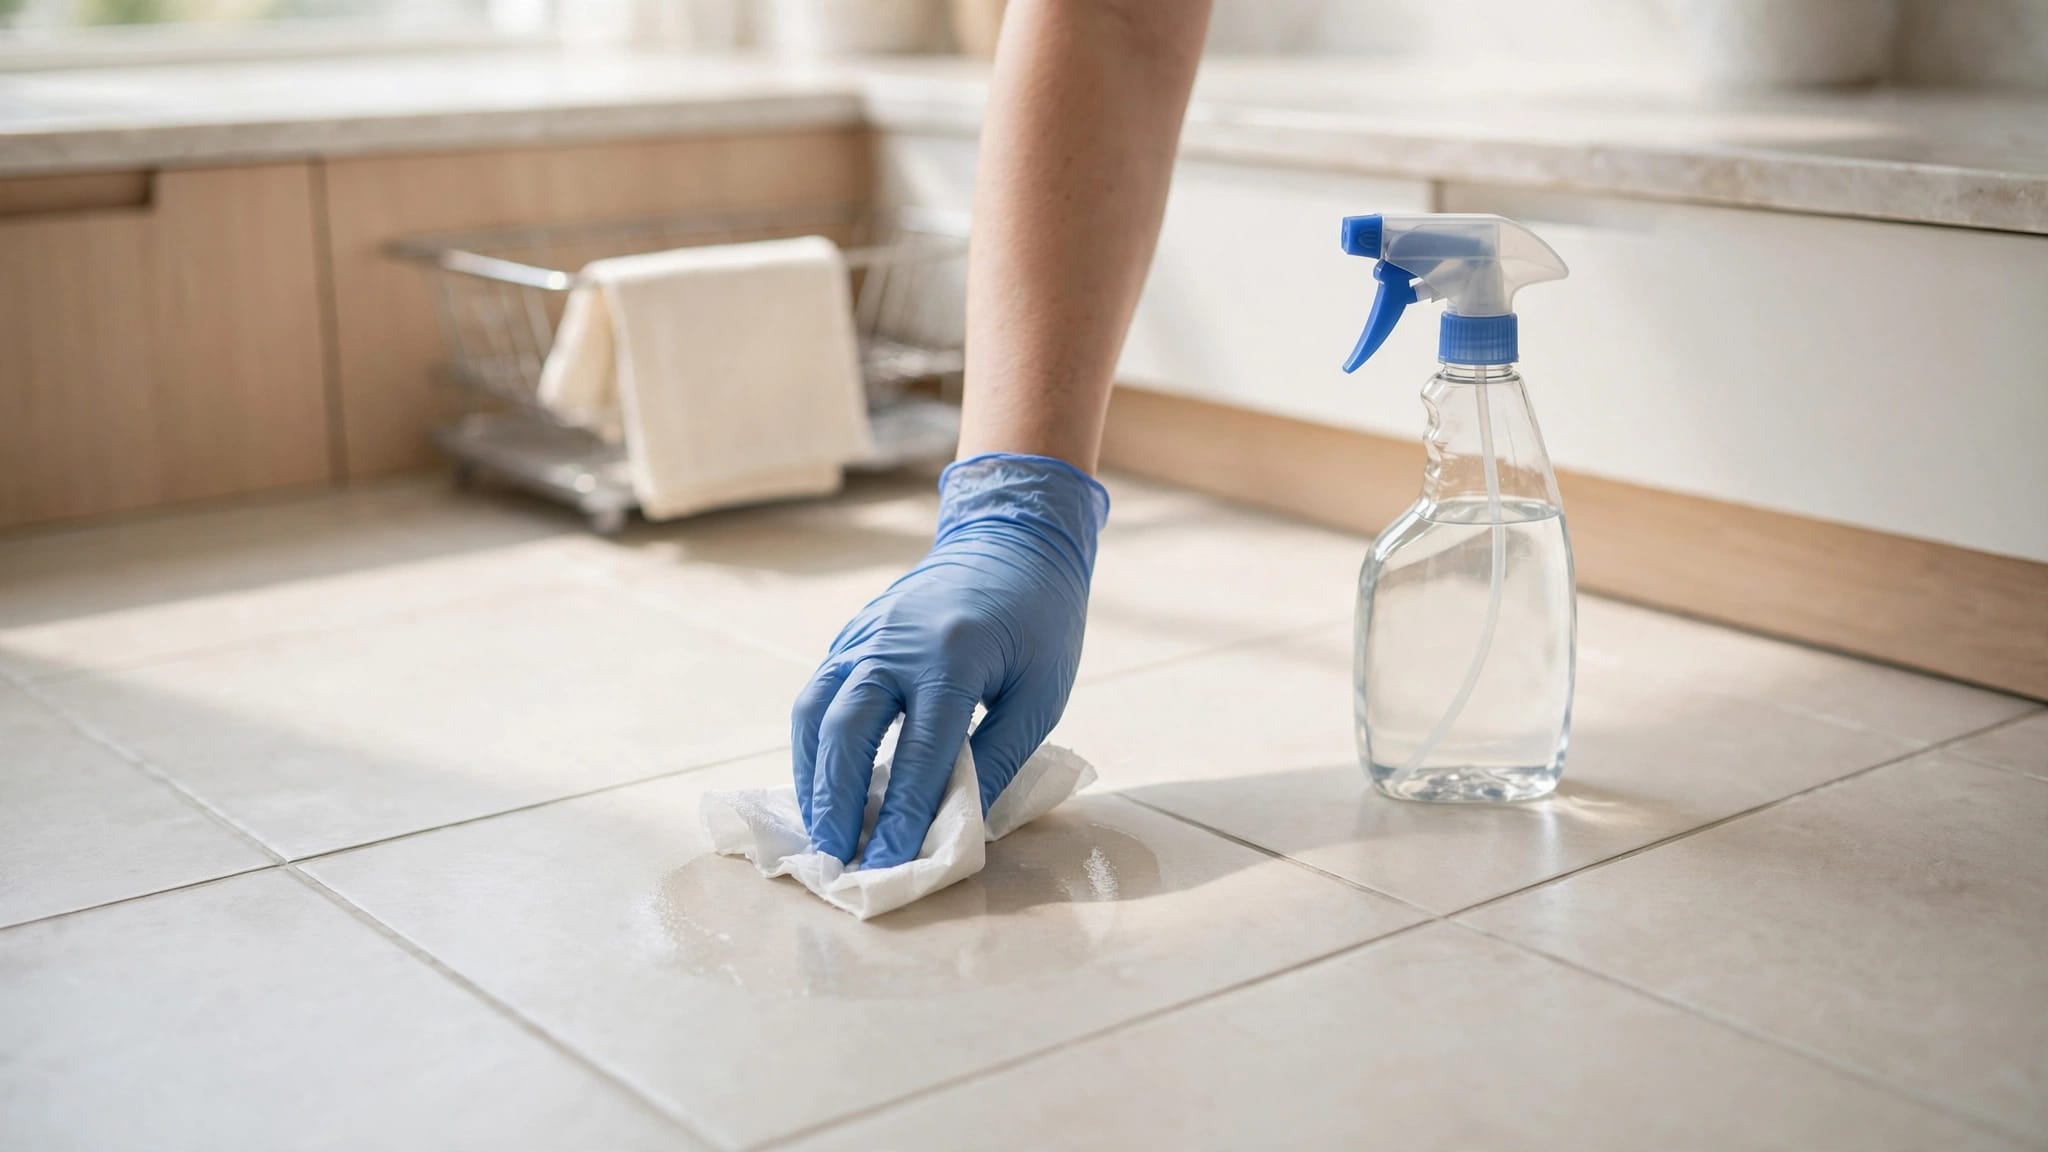
Move-outs offer the best look behind appliances, inside cabinets, under sinks, and along baseboards. A quick walk-through misses the spots where moisture and food debris collect. Build pest checks into the same process as smoke detector testing, paint touch-ups, and cleaning approvals.
Start before cleaners remove evidence. Take photos of droppings, insect casings, gnaw marks, damaged screens, leaking pipes, and gaps around utility lines. Then create the work order while the unit is still vacant.
Inspect kitchens, baths, and laundry areas
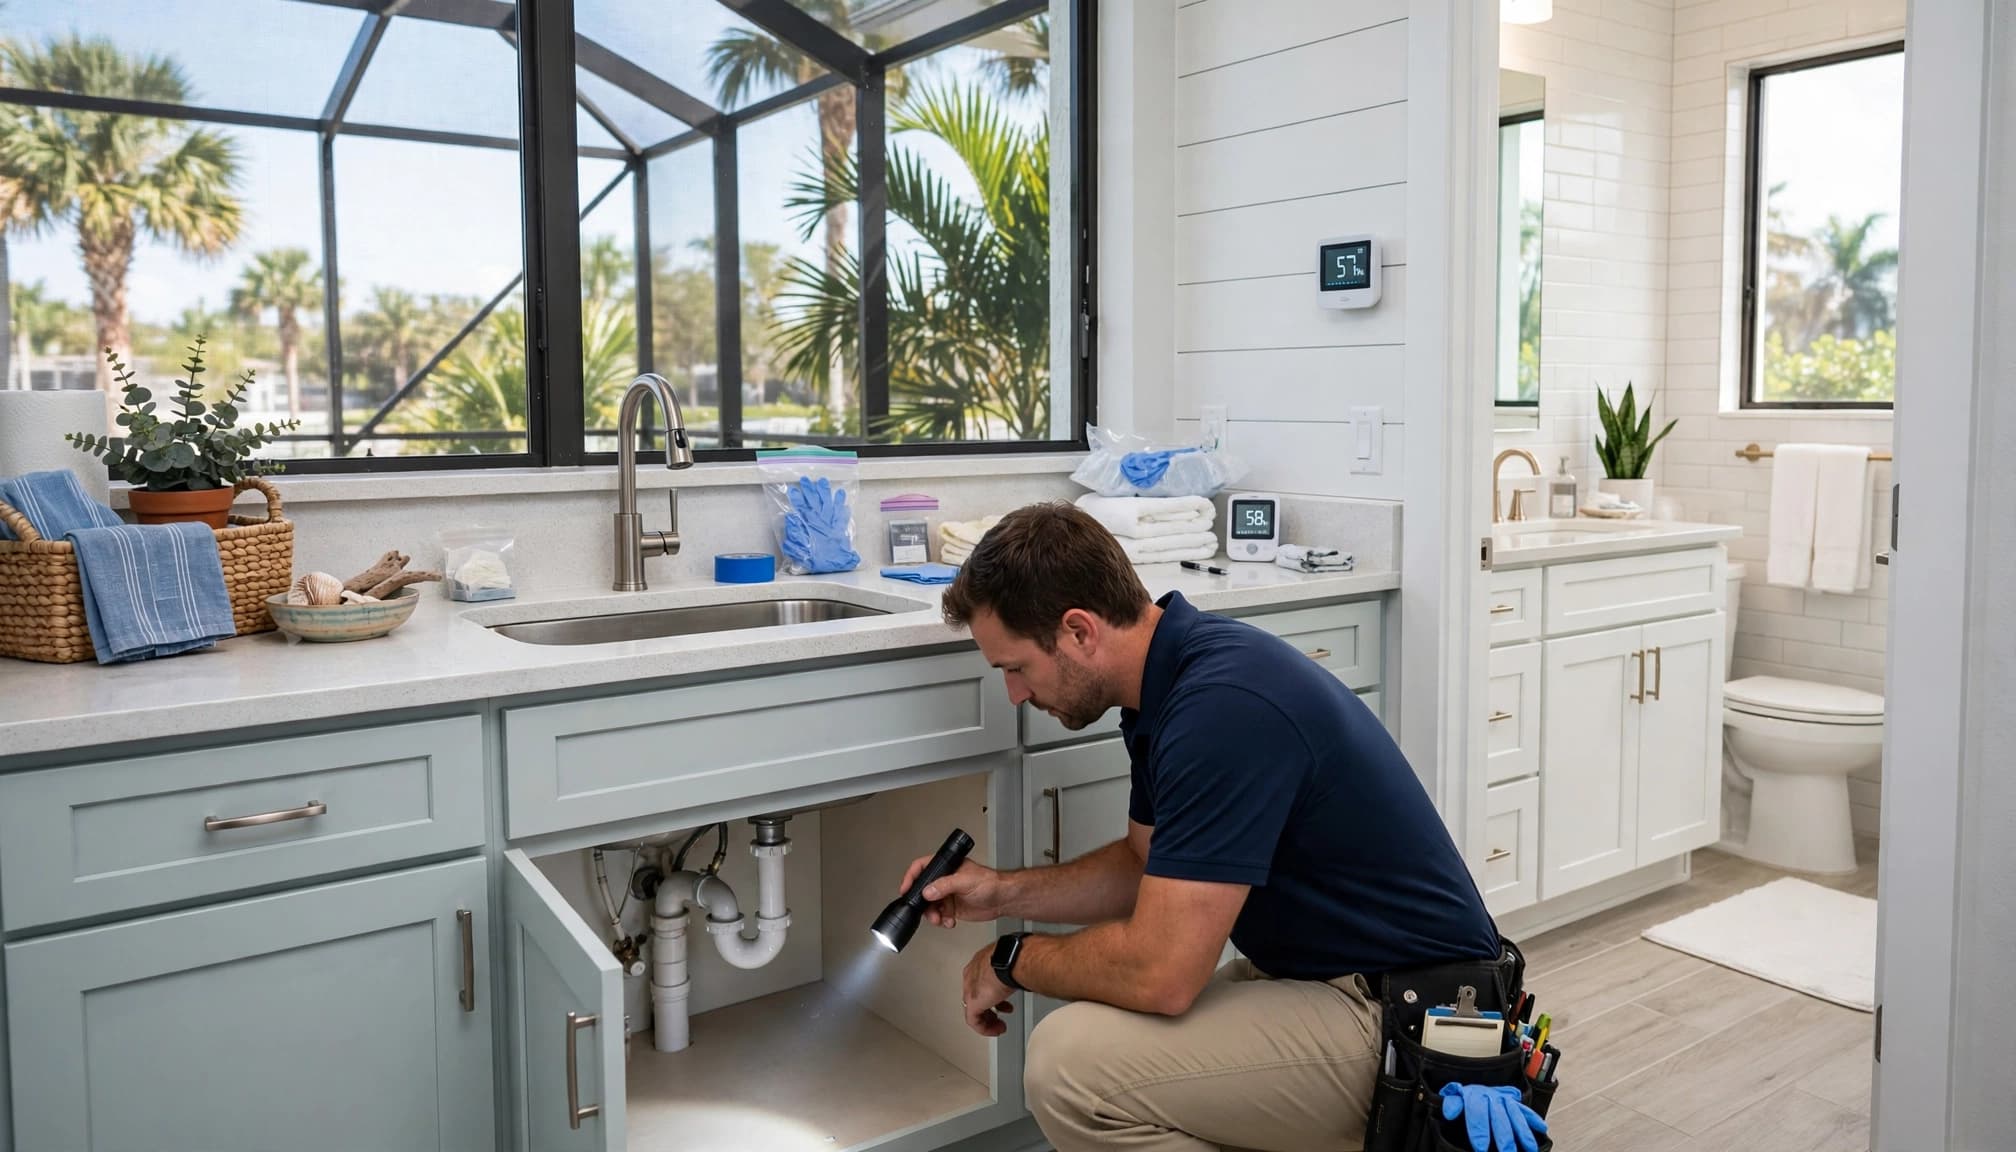
Roaches, ants, and rodents seek water as much as food. Open every lower cabinet. Check supply lines, drain connections, dishwasher hoses, refrigerator drip pans, and the wall openings around plumbing.
Look for dark specks in cabinet corners, egg cases, greasy rub marks, shed skins, or a musty odor. In bathrooms, inspect vanity voids, toilet supply lines, exhaust fan covers, and the floor around tubs. Laundry closets deserve the same attention because dryer vents and condensate lines can create hidden access or moisture.
Check storage areas and appliances
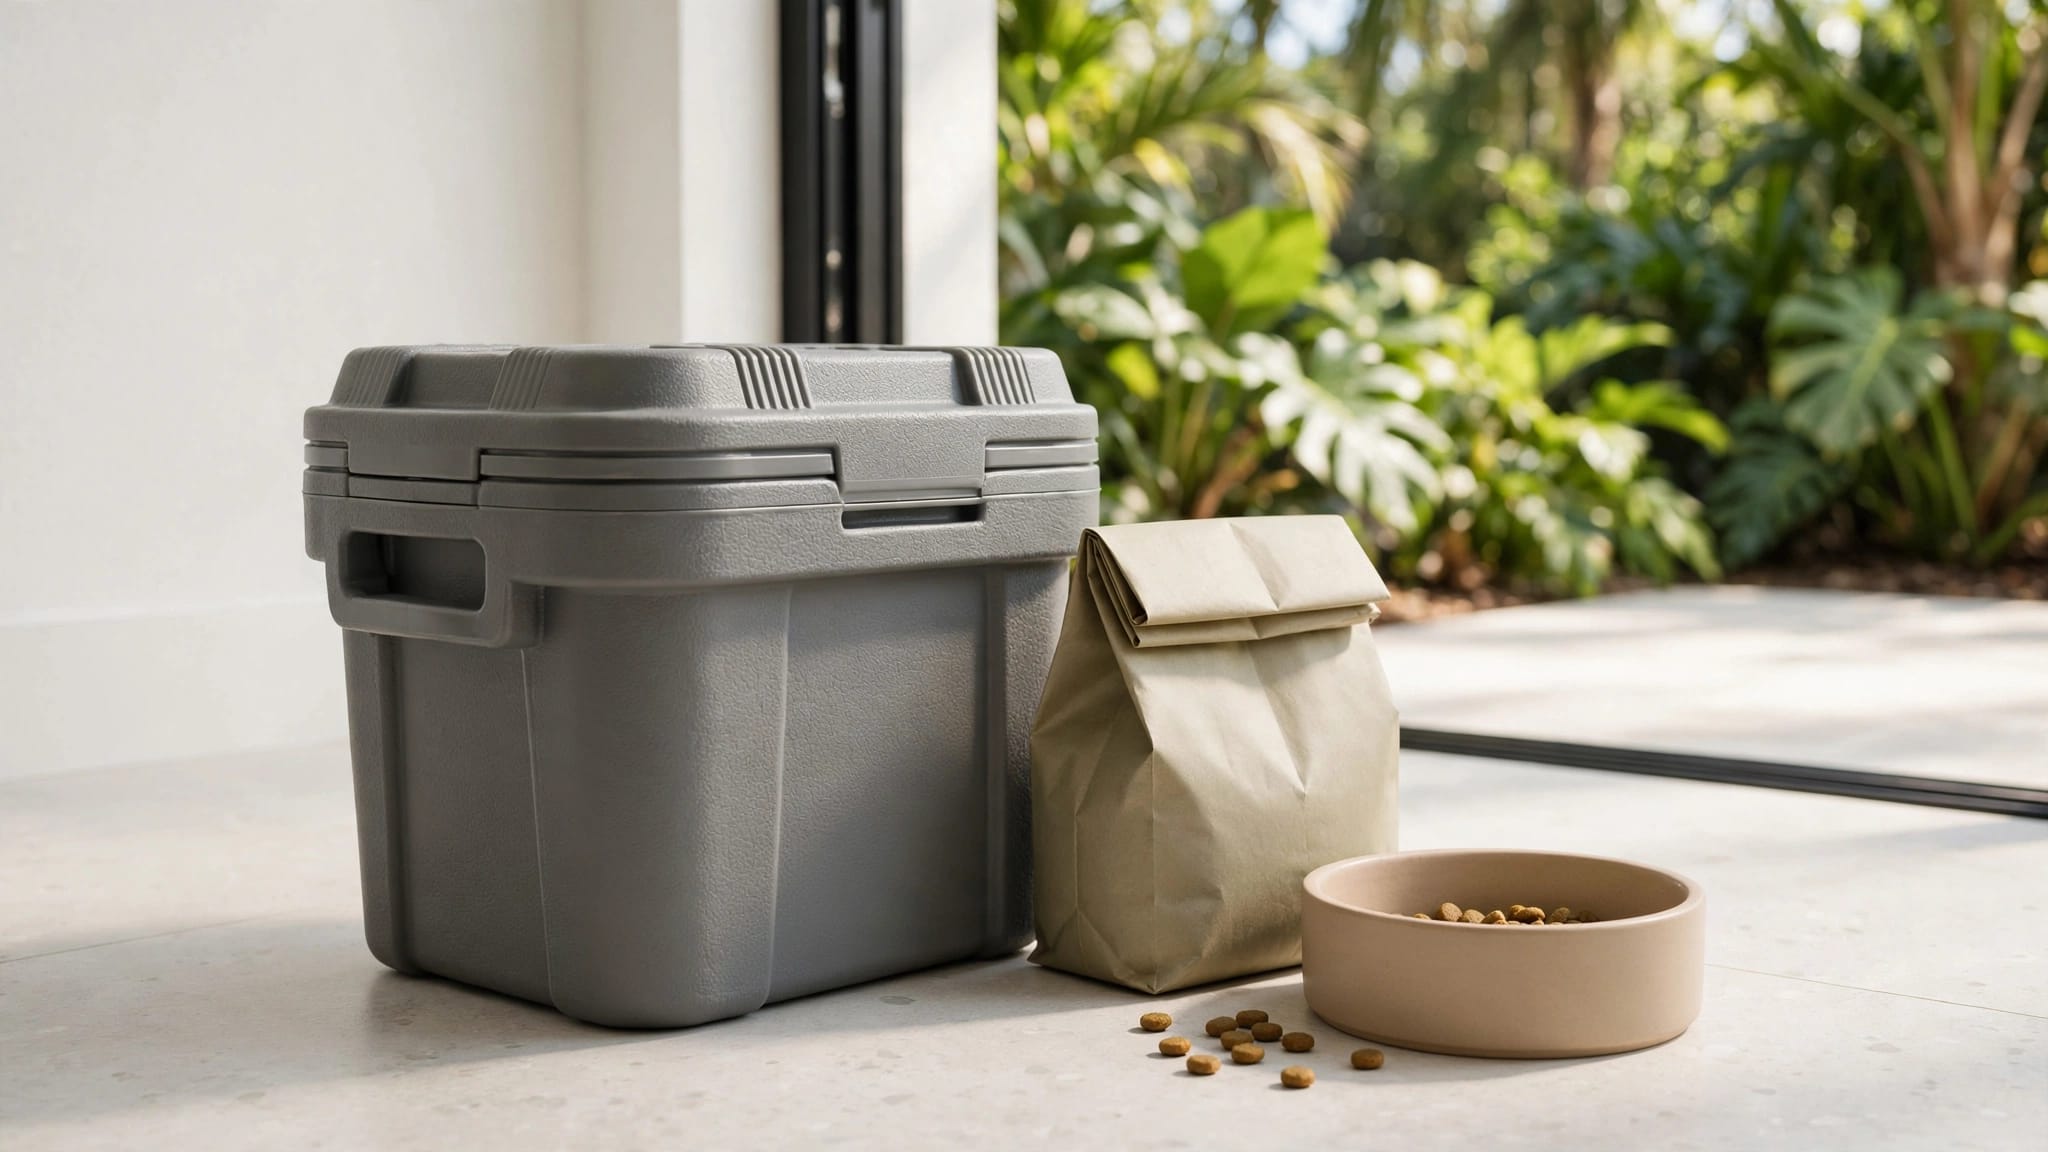
Pull appliances away from the wall when it is safe to do so. Inspect the floor behind ranges and refrigerators for crumbs, droppings, and insect activity. Empty units can still harbor pests if cardboard boxes, discarded furniture, or forgotten pet food remain.
Also inspect garages, water-heater closets, attic access panels, and screened lanais. Record the exact location of every finding, not only "pest issue in unit." That detail helps a technician choose the right inspection and treatment plan.
Inspect Drainage, Landscaping, and Exterior Entry Points
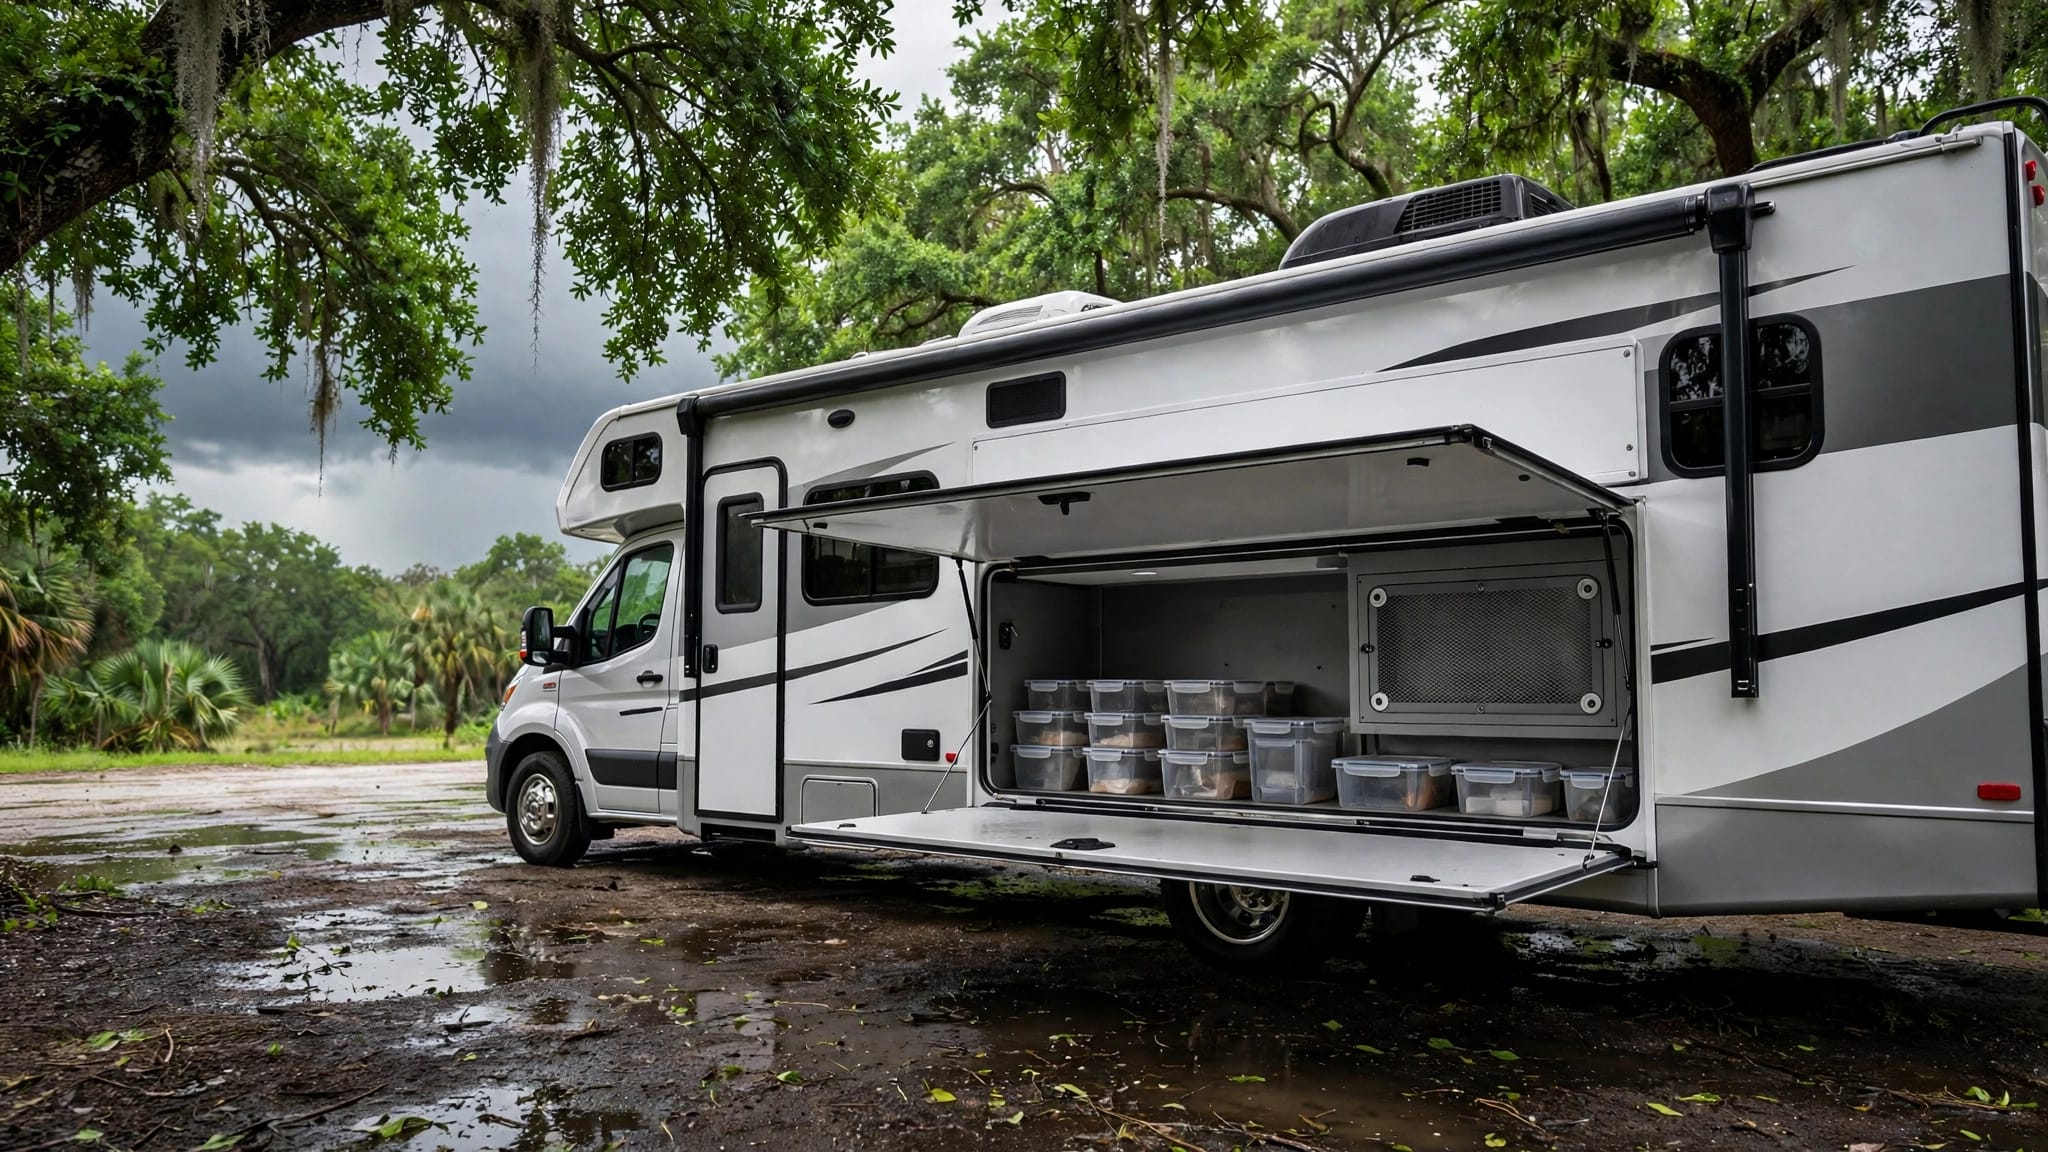
Outdoor conditions often explain indoor calls. Cape Coral's rain can saturate mulch, fill low spots, and drive ants, roaches, and rodents toward dry shelter. Landscaping also creates hidden travel routes when it touches siding, rooflines, or screened enclosures.
Walk each building from foundation to roof edge. Pay close attention to shaded areas where water lingers after irrigation or rain.
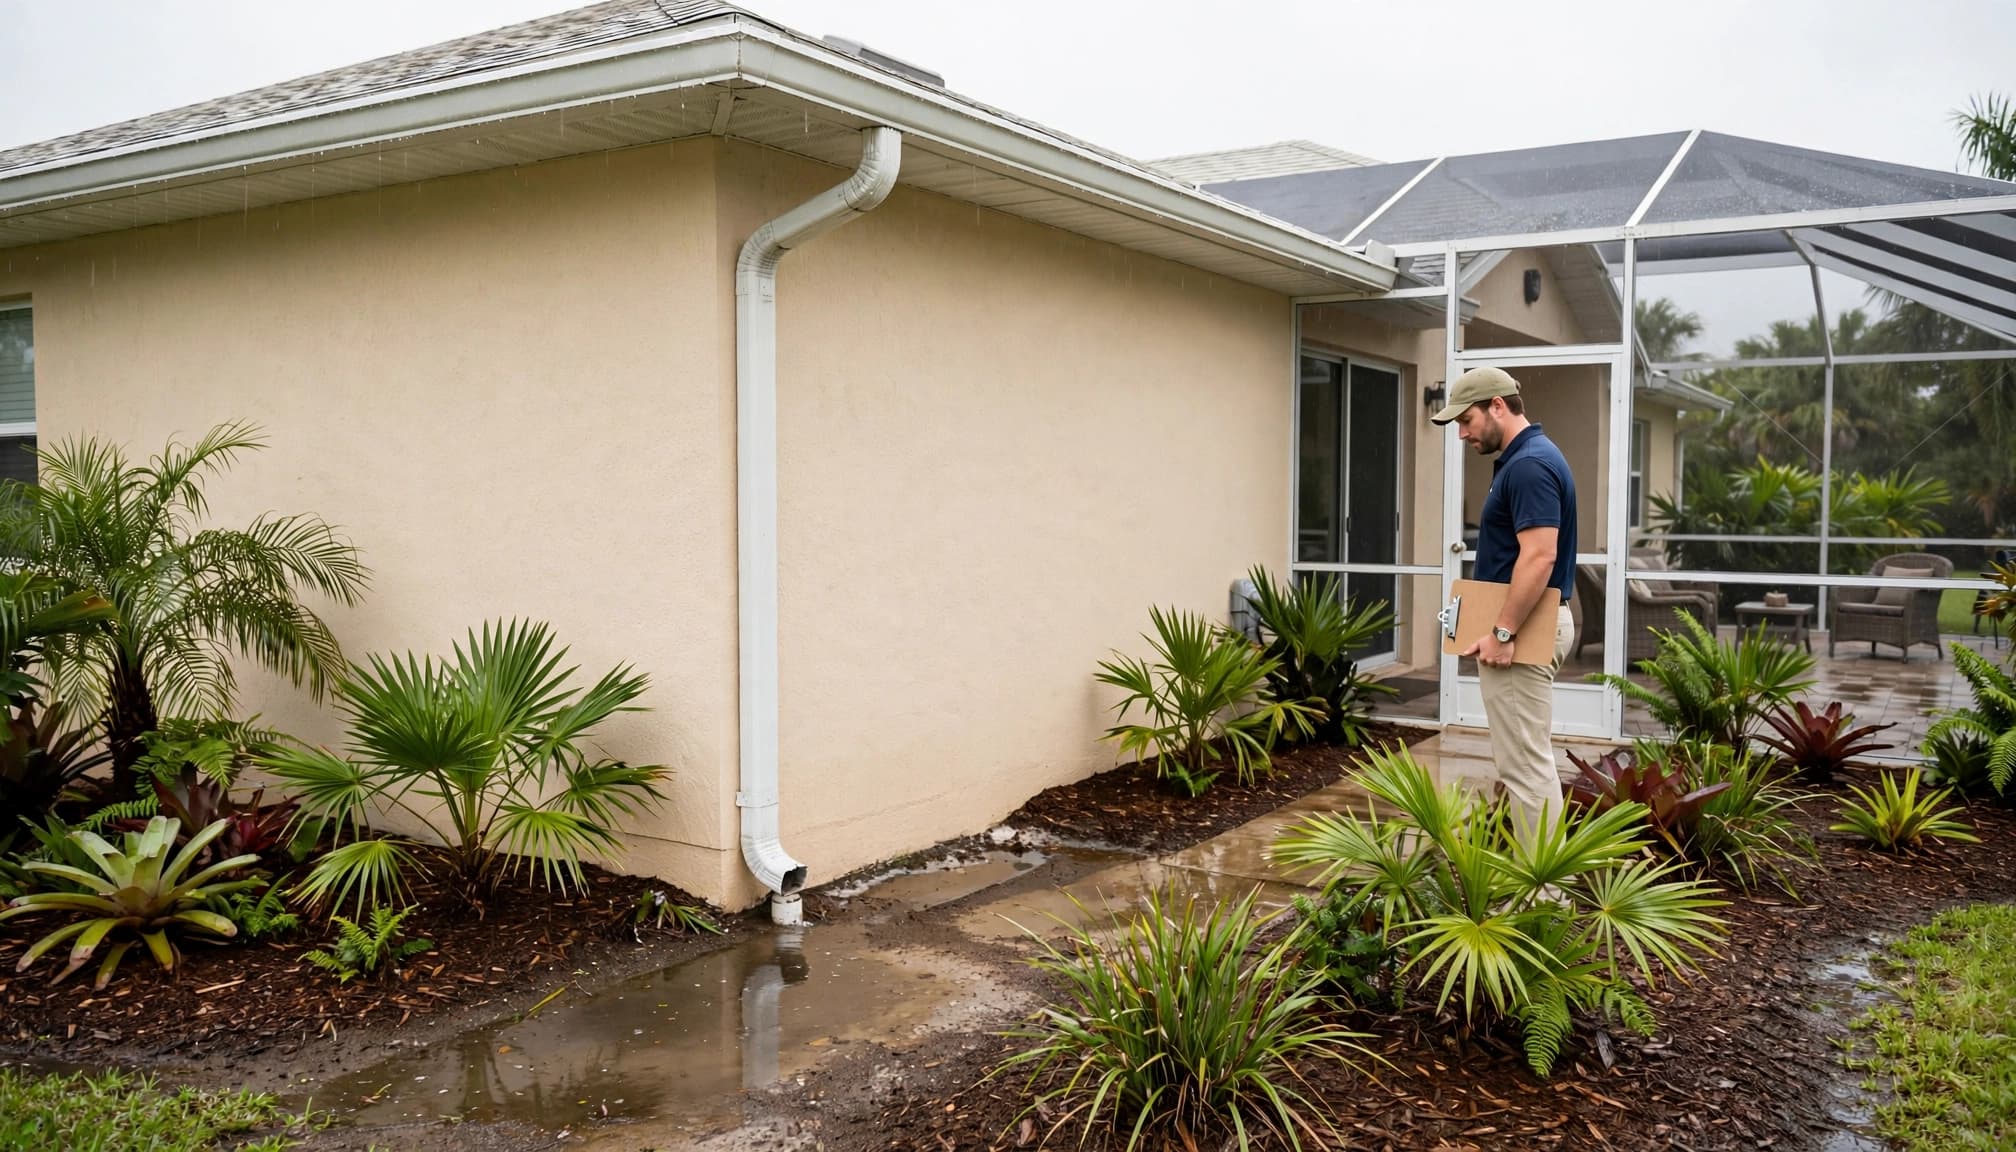
Control water near the structure
Check gutters, downspout extensions, swales, splash blocks, and drain grates. Remove leaves that block water flow, then report broken gutters or erosion for repair. Standing water near a slab, lanai, or exterior wall can support mosquito activity and raise moisture levels inside.
Irrigation heads should water planting beds, not walls, doors, windows, or air-conditioning equipment. If a property has a persistent low area, document it after rain with photos and dates. This record helps distinguish a one-time storm issue from a drainage repair need.
Reduce hiding places and seal gaps
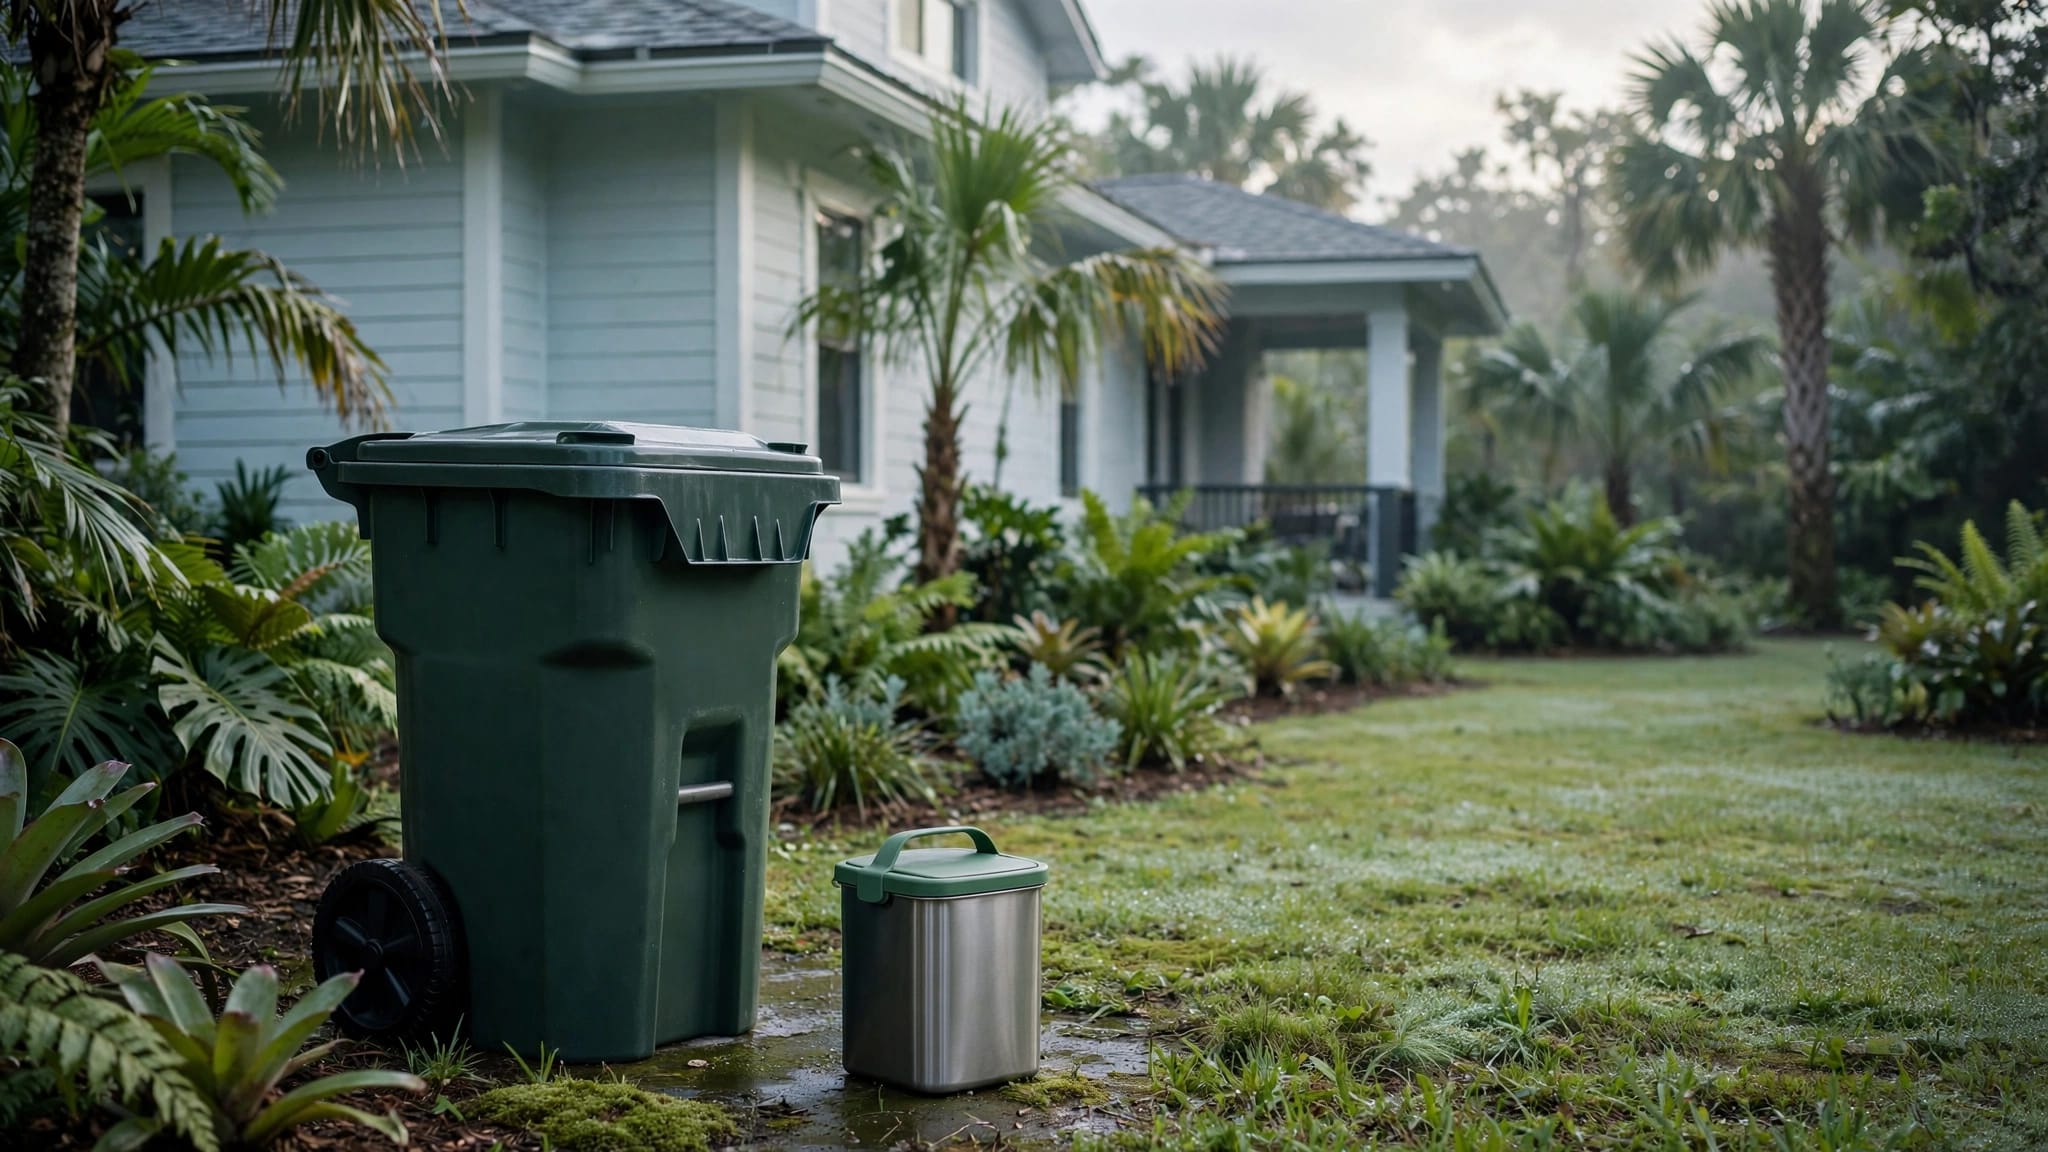
Keep mulch and plant material away from exterior walls where practical. Trim branches away from rooflines and clear dense vegetation from air-conditioning pads, utility meters, and crawlspace vents. Store trash bins away from entrances, and keep lids closed.
During each inspection, look for gaps at pipe penetrations, loose weatherstripping, damaged door sweeps, torn screens, cracked vent covers, and openings around garage doors. Small openings can admit rodents and insects. Maintenance staff can handle basic exclusion repairs, while broader activity calls for a trained pest professional.
Know Which Warning Signs Need Faster Action
A single ant trail near a sink may respond to sanitation and professional treatment. A growing number of droppings, however, can point to a rodent access problem that affects more than one unit. Speed matters because pests travel through shared walls, utility chases, attic spaces, and drainage routes.
Don't rely on a resident's pest identification alone. Ask for a photo when possible, note the room and time of day, and arrange an inspection.
Signs that suggest rodents
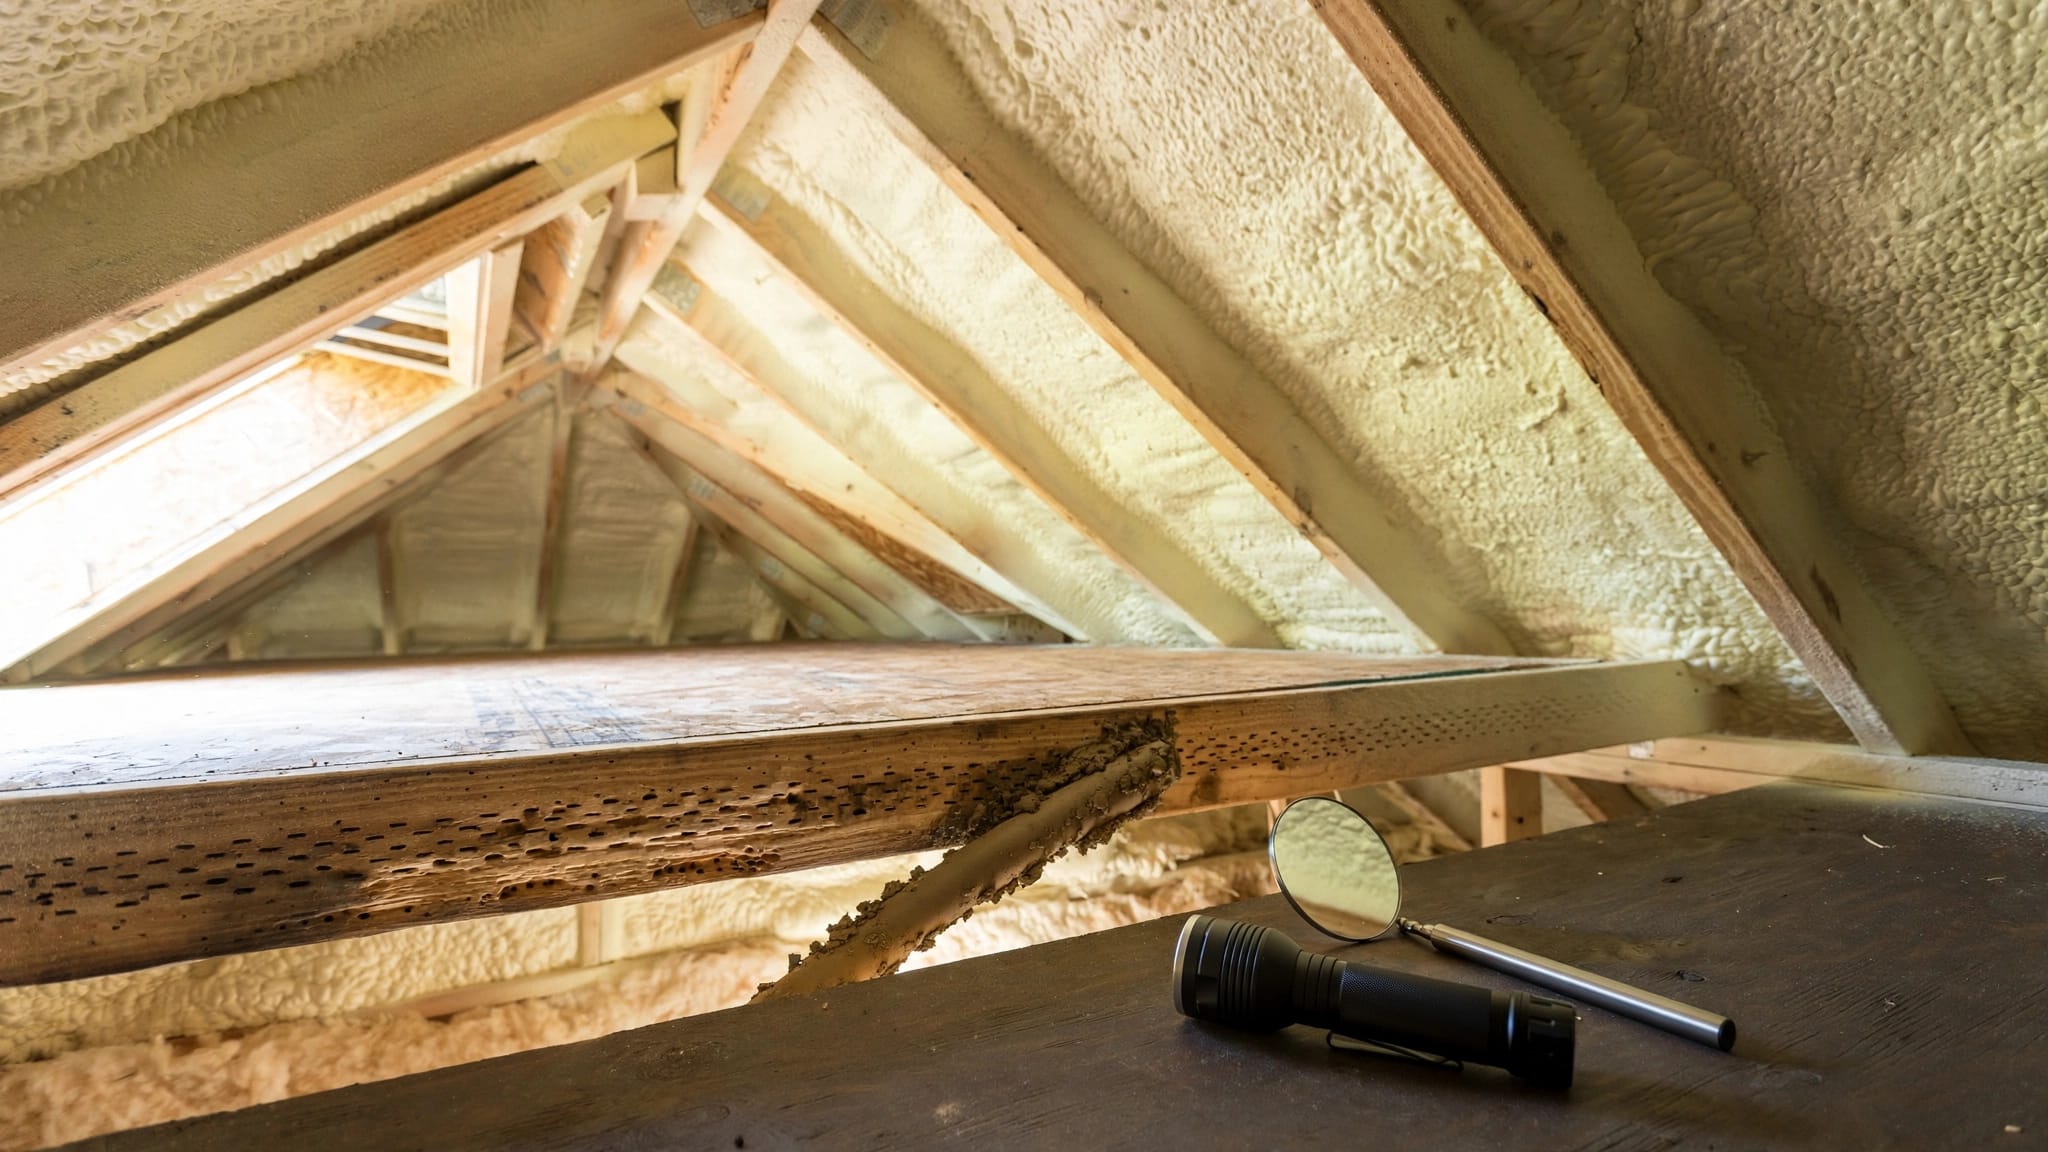
Fresh droppings are dark and moist-looking. Older droppings fade and crumble. Gnaw marks on food packaging, rub marks along walls, shredded nesting material, scratching sounds, and a strong urine odor also need prompt attention.
Rodent activity near electrical wiring, air handlers, attic insulation, or kitchen areas should move to the top of the work order list. A professional rodent control service can inspect likely access routes and recommend exclusion steps alongside treatment.
When insect reports become an escalation
Escalate quickly when a resident reports insects during daylight, repeated sightings after a prior treatment, activity in multiple units, or insects around food-preparation areas. Bed bug reports require a careful response because moving furniture or belongings can spread activity.
Fleas may persist when pets, rugs, upholstered furniture, and untreated outdoor areas remain part of the problem. Mosquito complaints can also point to clogged drains, standing water, or poorly managed irrigation. Avoid do-it-yourself chemical fixes in rental units. Product labels, resident safety, and local treatment requirements all matter.
Document Every Finding So Nothing Gets Lost
Good records turn a frustrating complaint into an organized maintenance decision. They also help you see patterns, such as repeat activity in a particular building line, floor level, or season. Keep pest records with the property file and share relevant details with your service provider.
Use the same format for inspections, resident reports, maintenance repairs, and professional treatments. Consistent notes save time when a different staff member needs to review the history.
What to include in the property file
Record the unit number, date, inspection area, pest signs, photos, tenant report, related maintenance issue, and action taken. Include work order numbers for plumbing repairs, screen replacement, weatherstripping, drain clearing, and sanitation concerns.
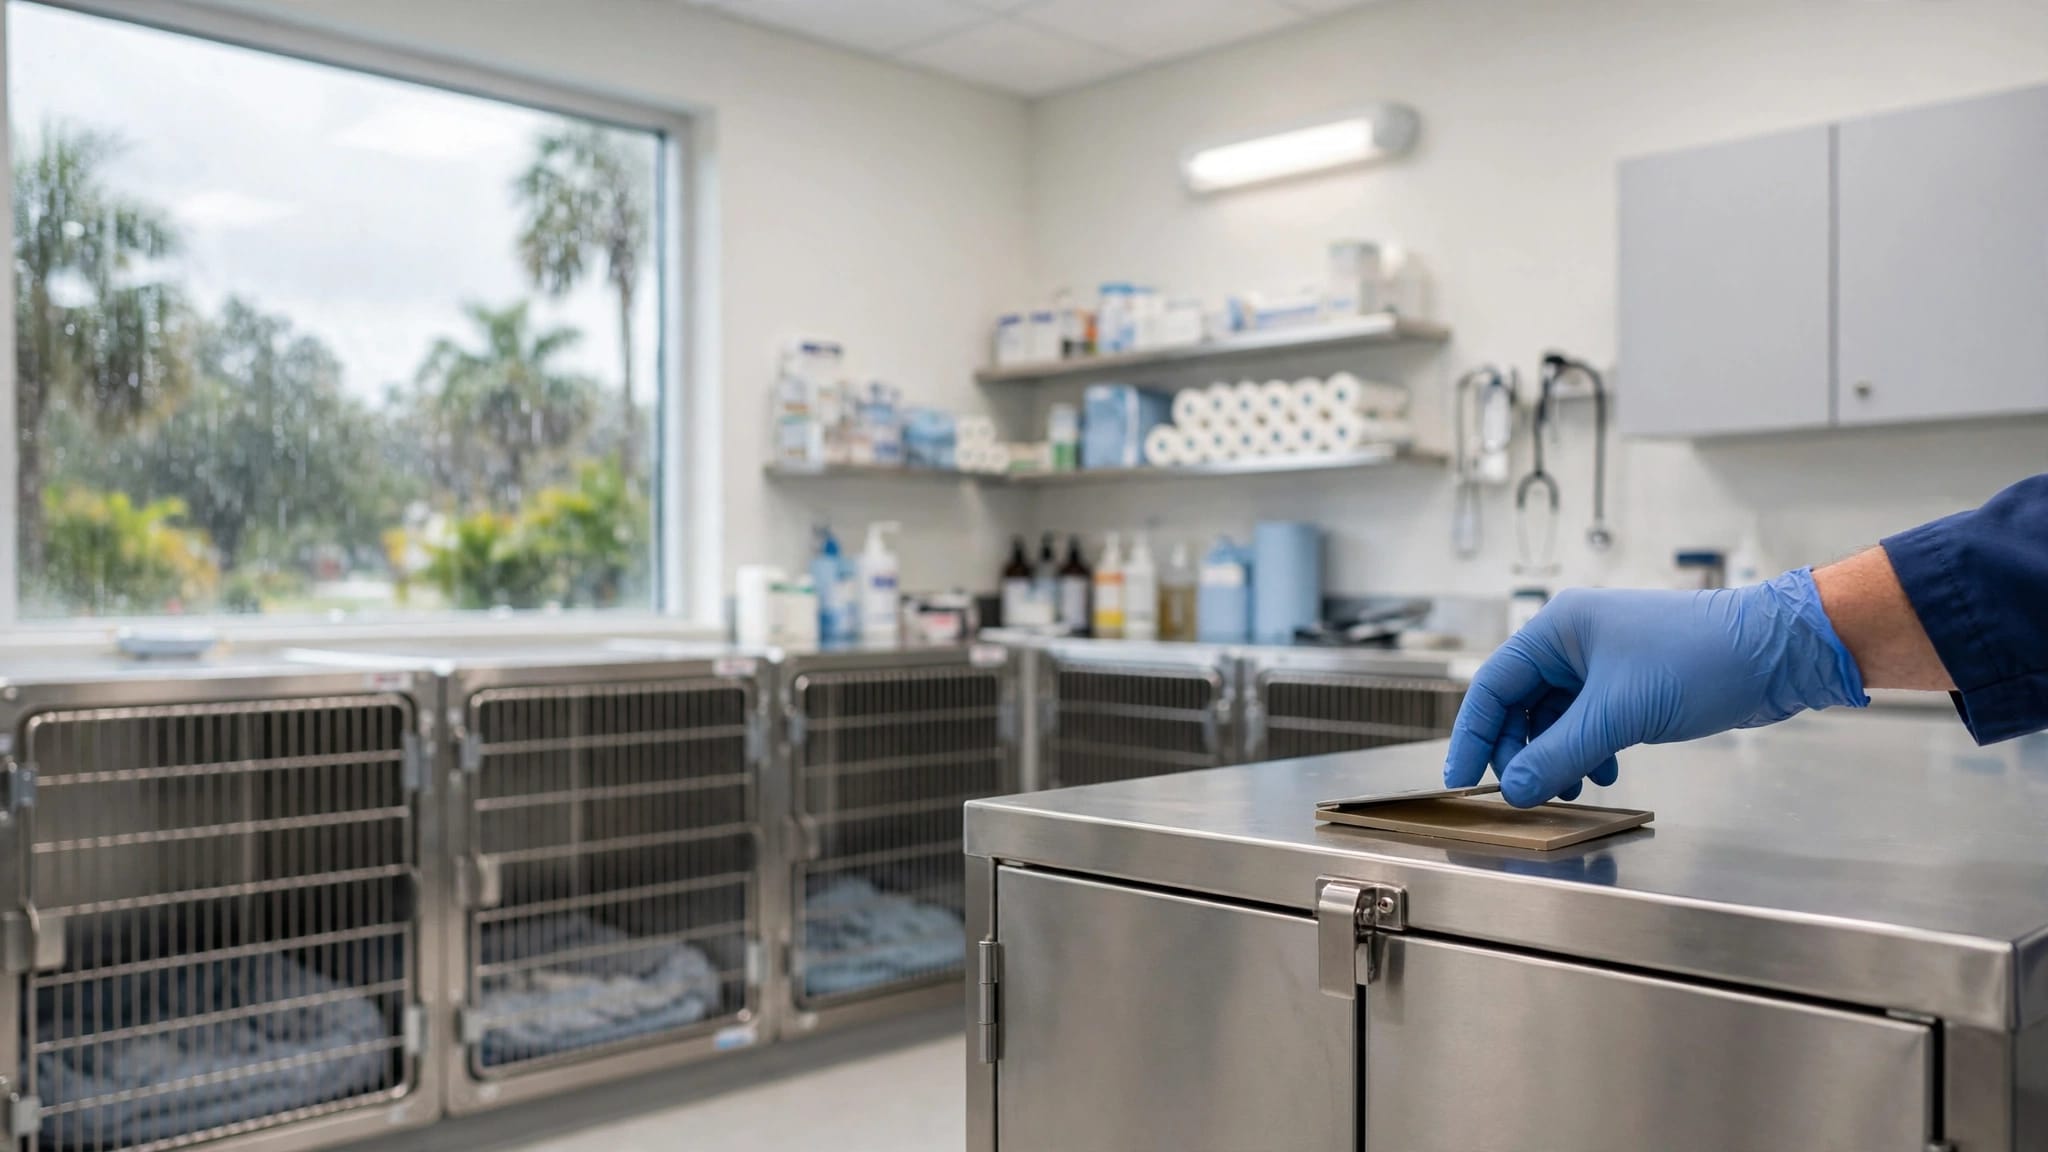
For professional visits, file the technician's service report, treatment locations, preparation instructions, and follow-up date. Keep product information and safety directions available to the people who need them. Never apply a product in a way that conflicts with its label.
Track patterns, not isolated complaints
Review pest logs at least quarterly. A cluster of roach reports near stacked kitchens may point to plumbing voids. Rodent calls around garages can reveal damaged seals or open utility chases. Repeated mosquito complaints after storms can expose a drainage issue that routine mowing won't fix.
Cape Coral pest control becomes more predictable when you connect reports to repairs and weather events. That history also helps you set a more accurate service schedule for the next season.
Coordinate Recurring Service With Maintenance Work
Professional service works better when the property is ready for inspection and follow-up. Give the technician access to reported areas, utility rooms, garages, common spaces, and vacant units. Share recent tenant complaints and repair notes before the visit.
Treatment alone can't correct a leaking pipe or an open soffit. Pair pest service with maintenance deadlines, then verify that repairs were completed.
Set clear responsibilities
Property managers should coordinate appointments, tenant notices, inspection records, and repair follow-up. Maintenance teams should correct moisture issues, close entry points, repair screens, remove debris, and report conditions they find.
Qualified technicians should identify pest pressure, apply treatments according to label directions, and explain preparation or re-entry instructions. Residents should report sightings early, protect food during service when asked, and avoid disturbing placed monitoring devices.
For ongoing concerns, ask your provider whether the schedule needs to change after summer rain, a vacancy period, construction work, or an increase in calls. A recurring Cape Coral pest control plan should respond to the property's actual conditions, not a generic calendar alone.
A Simple Checklist for the Next Property Walk
Use this short list during your next inspection, then create work orders before leaving the site:
- Check under sinks, behind appliances, around drains, and in utility closets for moisture or pest evidence.
- Look for broken screens, worn door sweeps, gaps around pipes, damaged vents, and garage-door openings.
- Review gutters, drainage paths, irrigation spray, mulch depth, standing water, and vegetation against the building.
- Photograph findings with the unit or building location, then add dates and clear notes to the property file.
- Arrange qualified pest treatment when signs persist, spread between units, involve rodents, or create a health and safety concern.
Keep Small Conditions From Becoming Big Complaints
Property managers can't control Cape Coral's rain or humidity, but they can control inspection habits and response times. Frequent checks for moisture, access points, and outdoor harborage reduce the conditions that bring pests indoors.
The strongest results come from pairing maintenance repairs with recurring professional pest service . When every report has a record, a repair plan, and a follow-up date, tenants get a cleaner and more dependable place to call home.
Schedule a Free Inspection: